.
GitLab

A complete DevOps platform in a single application
🚀 About
GitLab provides a complete CI/CD toolchain in a single application. One interface. One conversation. One permission model. Thousands of features. GitLab simplifies DevOps by providing everything you need to build, test, deploy, and monitor your applications in one place.
⏱️ Setup Information
- Duration: 15-30 minutes
- Requirements: Your Docker daemon should have at least 12GB RAM
- GitLab: 6GB
- Minikube: 2GB
- Operating System: 2GB
- Process: We'll bring up the Docker daemon and Minikube, then deploy GitLab on top of Minikube using Helm
📋 Provision
vagrant up --provision-with basetools,docker,docsify,minikube,gitlabdocker compose exec hashiqube /bin/bash
bash hashiqube/basetools.sh
bash docker/docker.sh
bash docsify/docsify.sh
bash minikube/minikube.sh
bash gitlab/gitlab.sh🖥️ Installation Process
During the installation, you can monitor progress via the Kubernetes Dashboard once Minikube is installed. Initially, you'll see some red indicators as GitLab pods and services start up, which will gradually turn green as the deployment completes.
- Kubernetes Dashboard: http://localhost:10888/
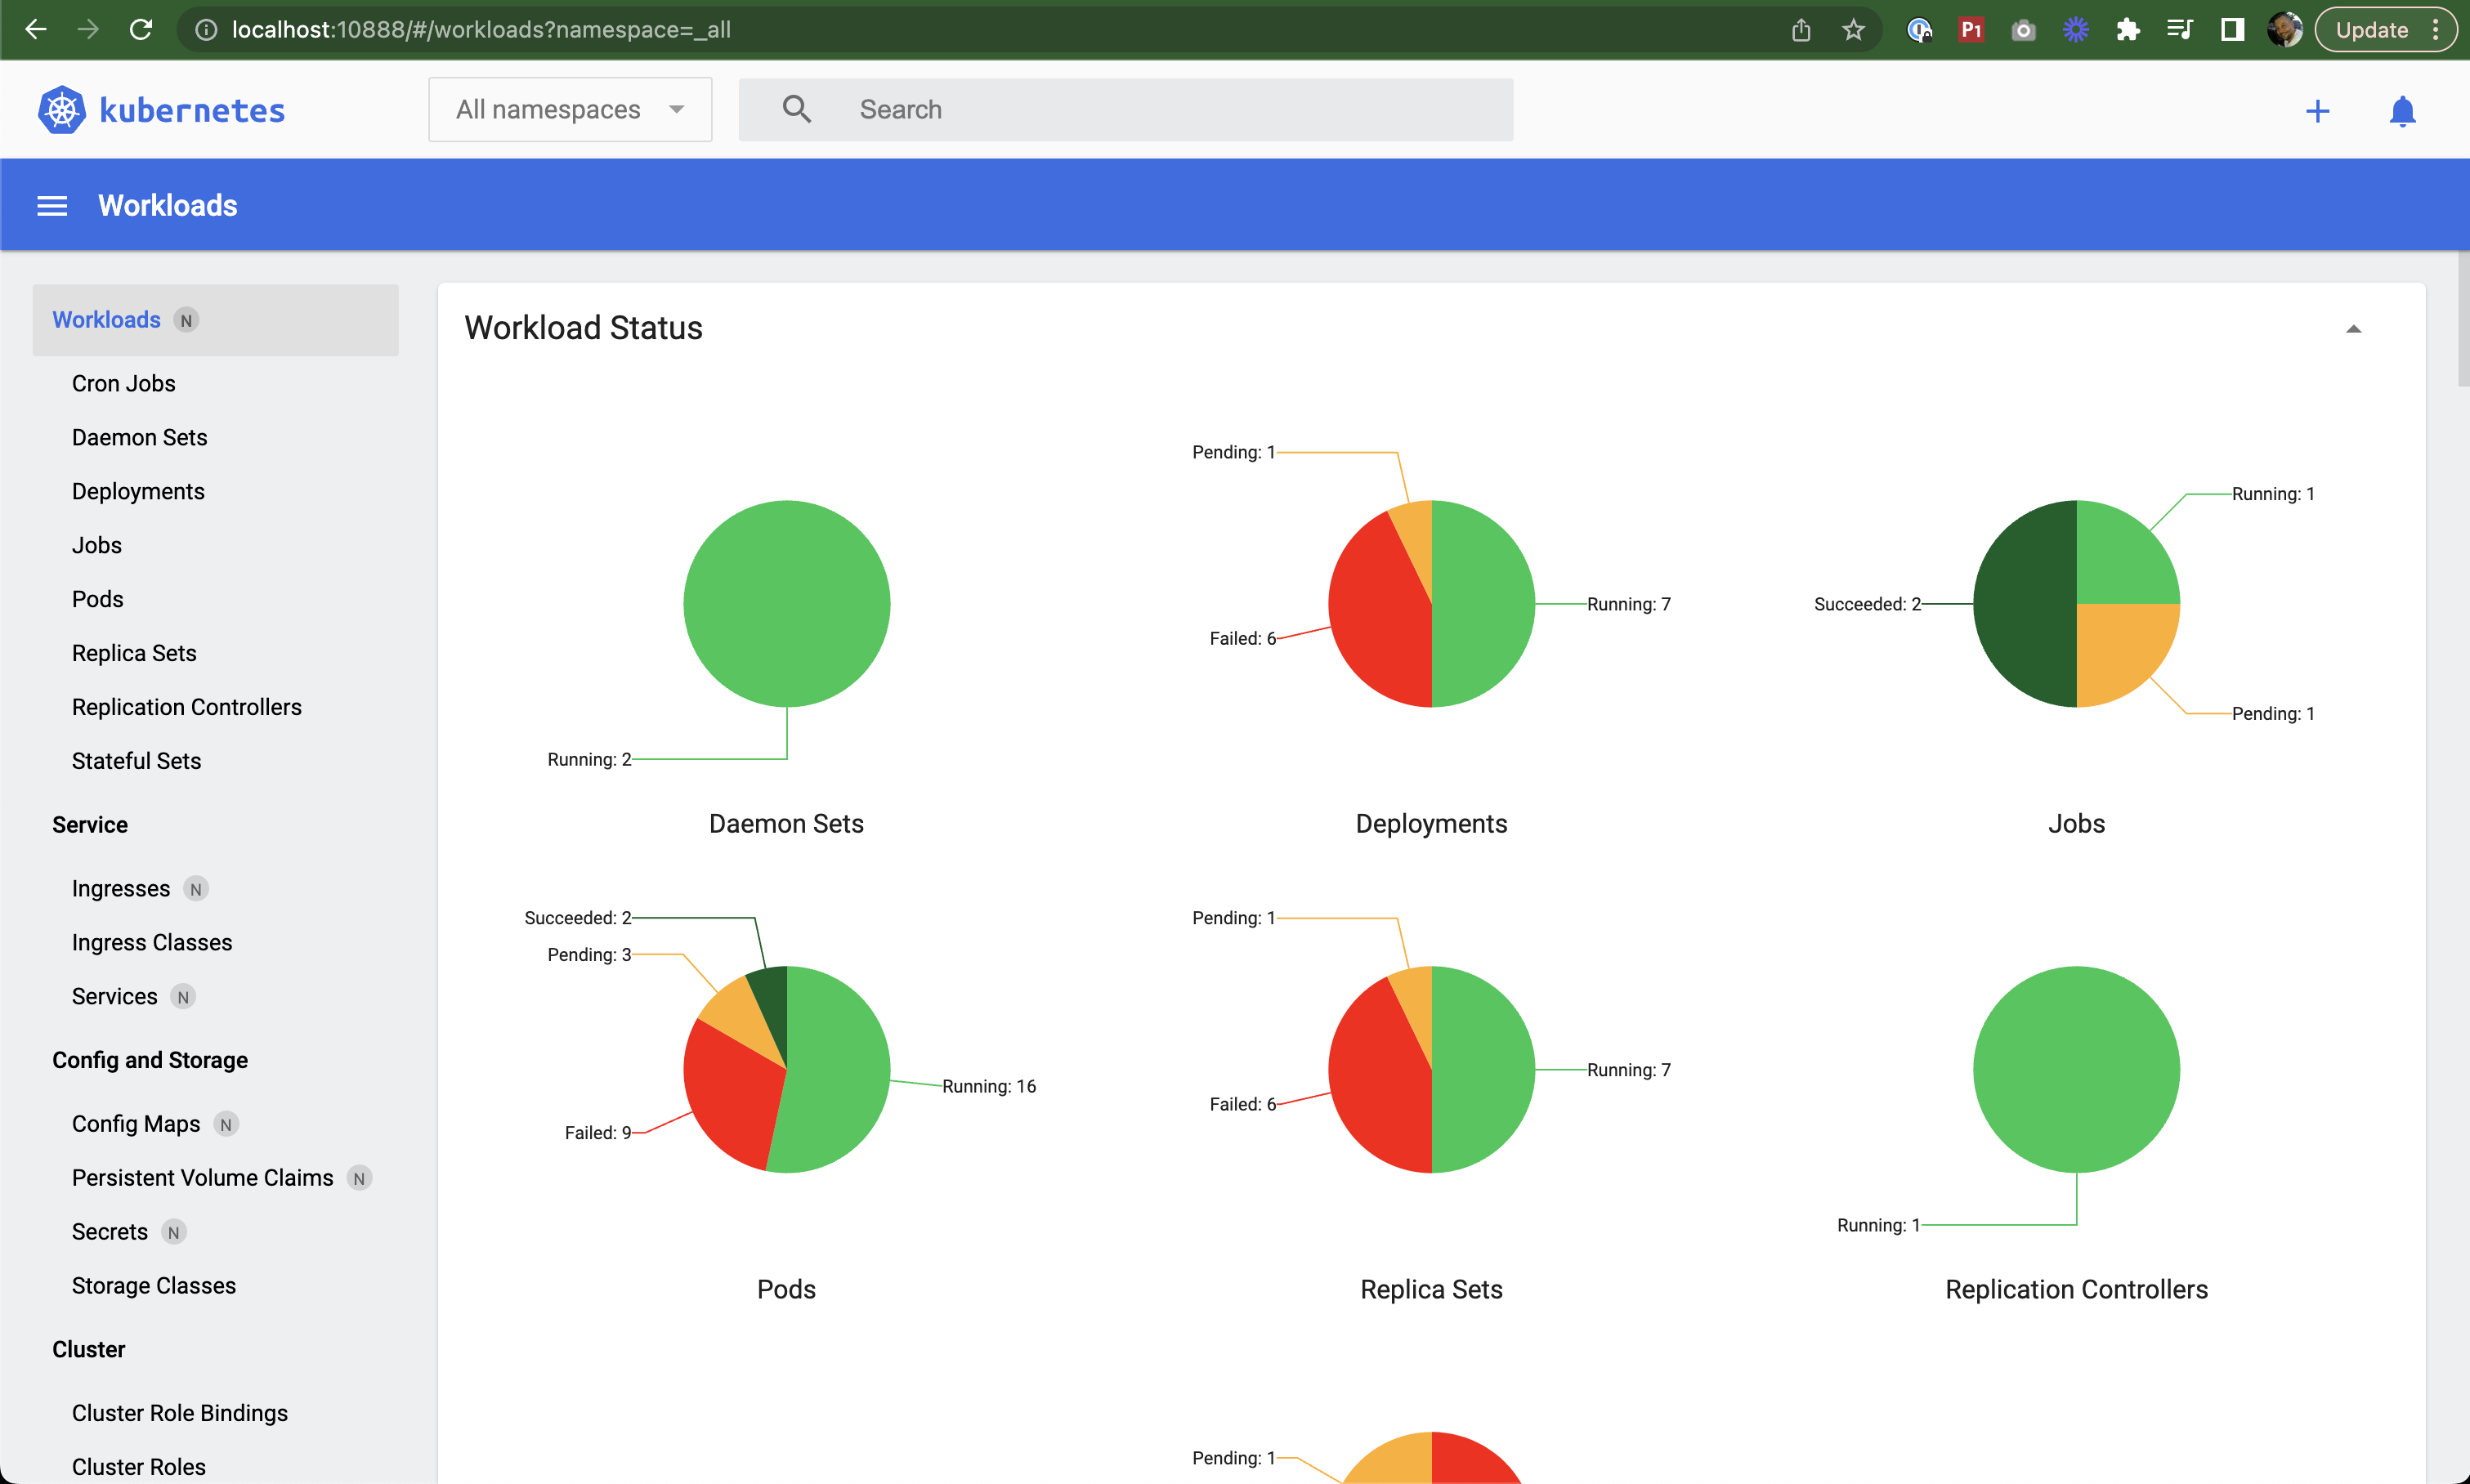
Minikube Dashboard showing GitLab deployment progress
The GitLab provisioning process will look like this:
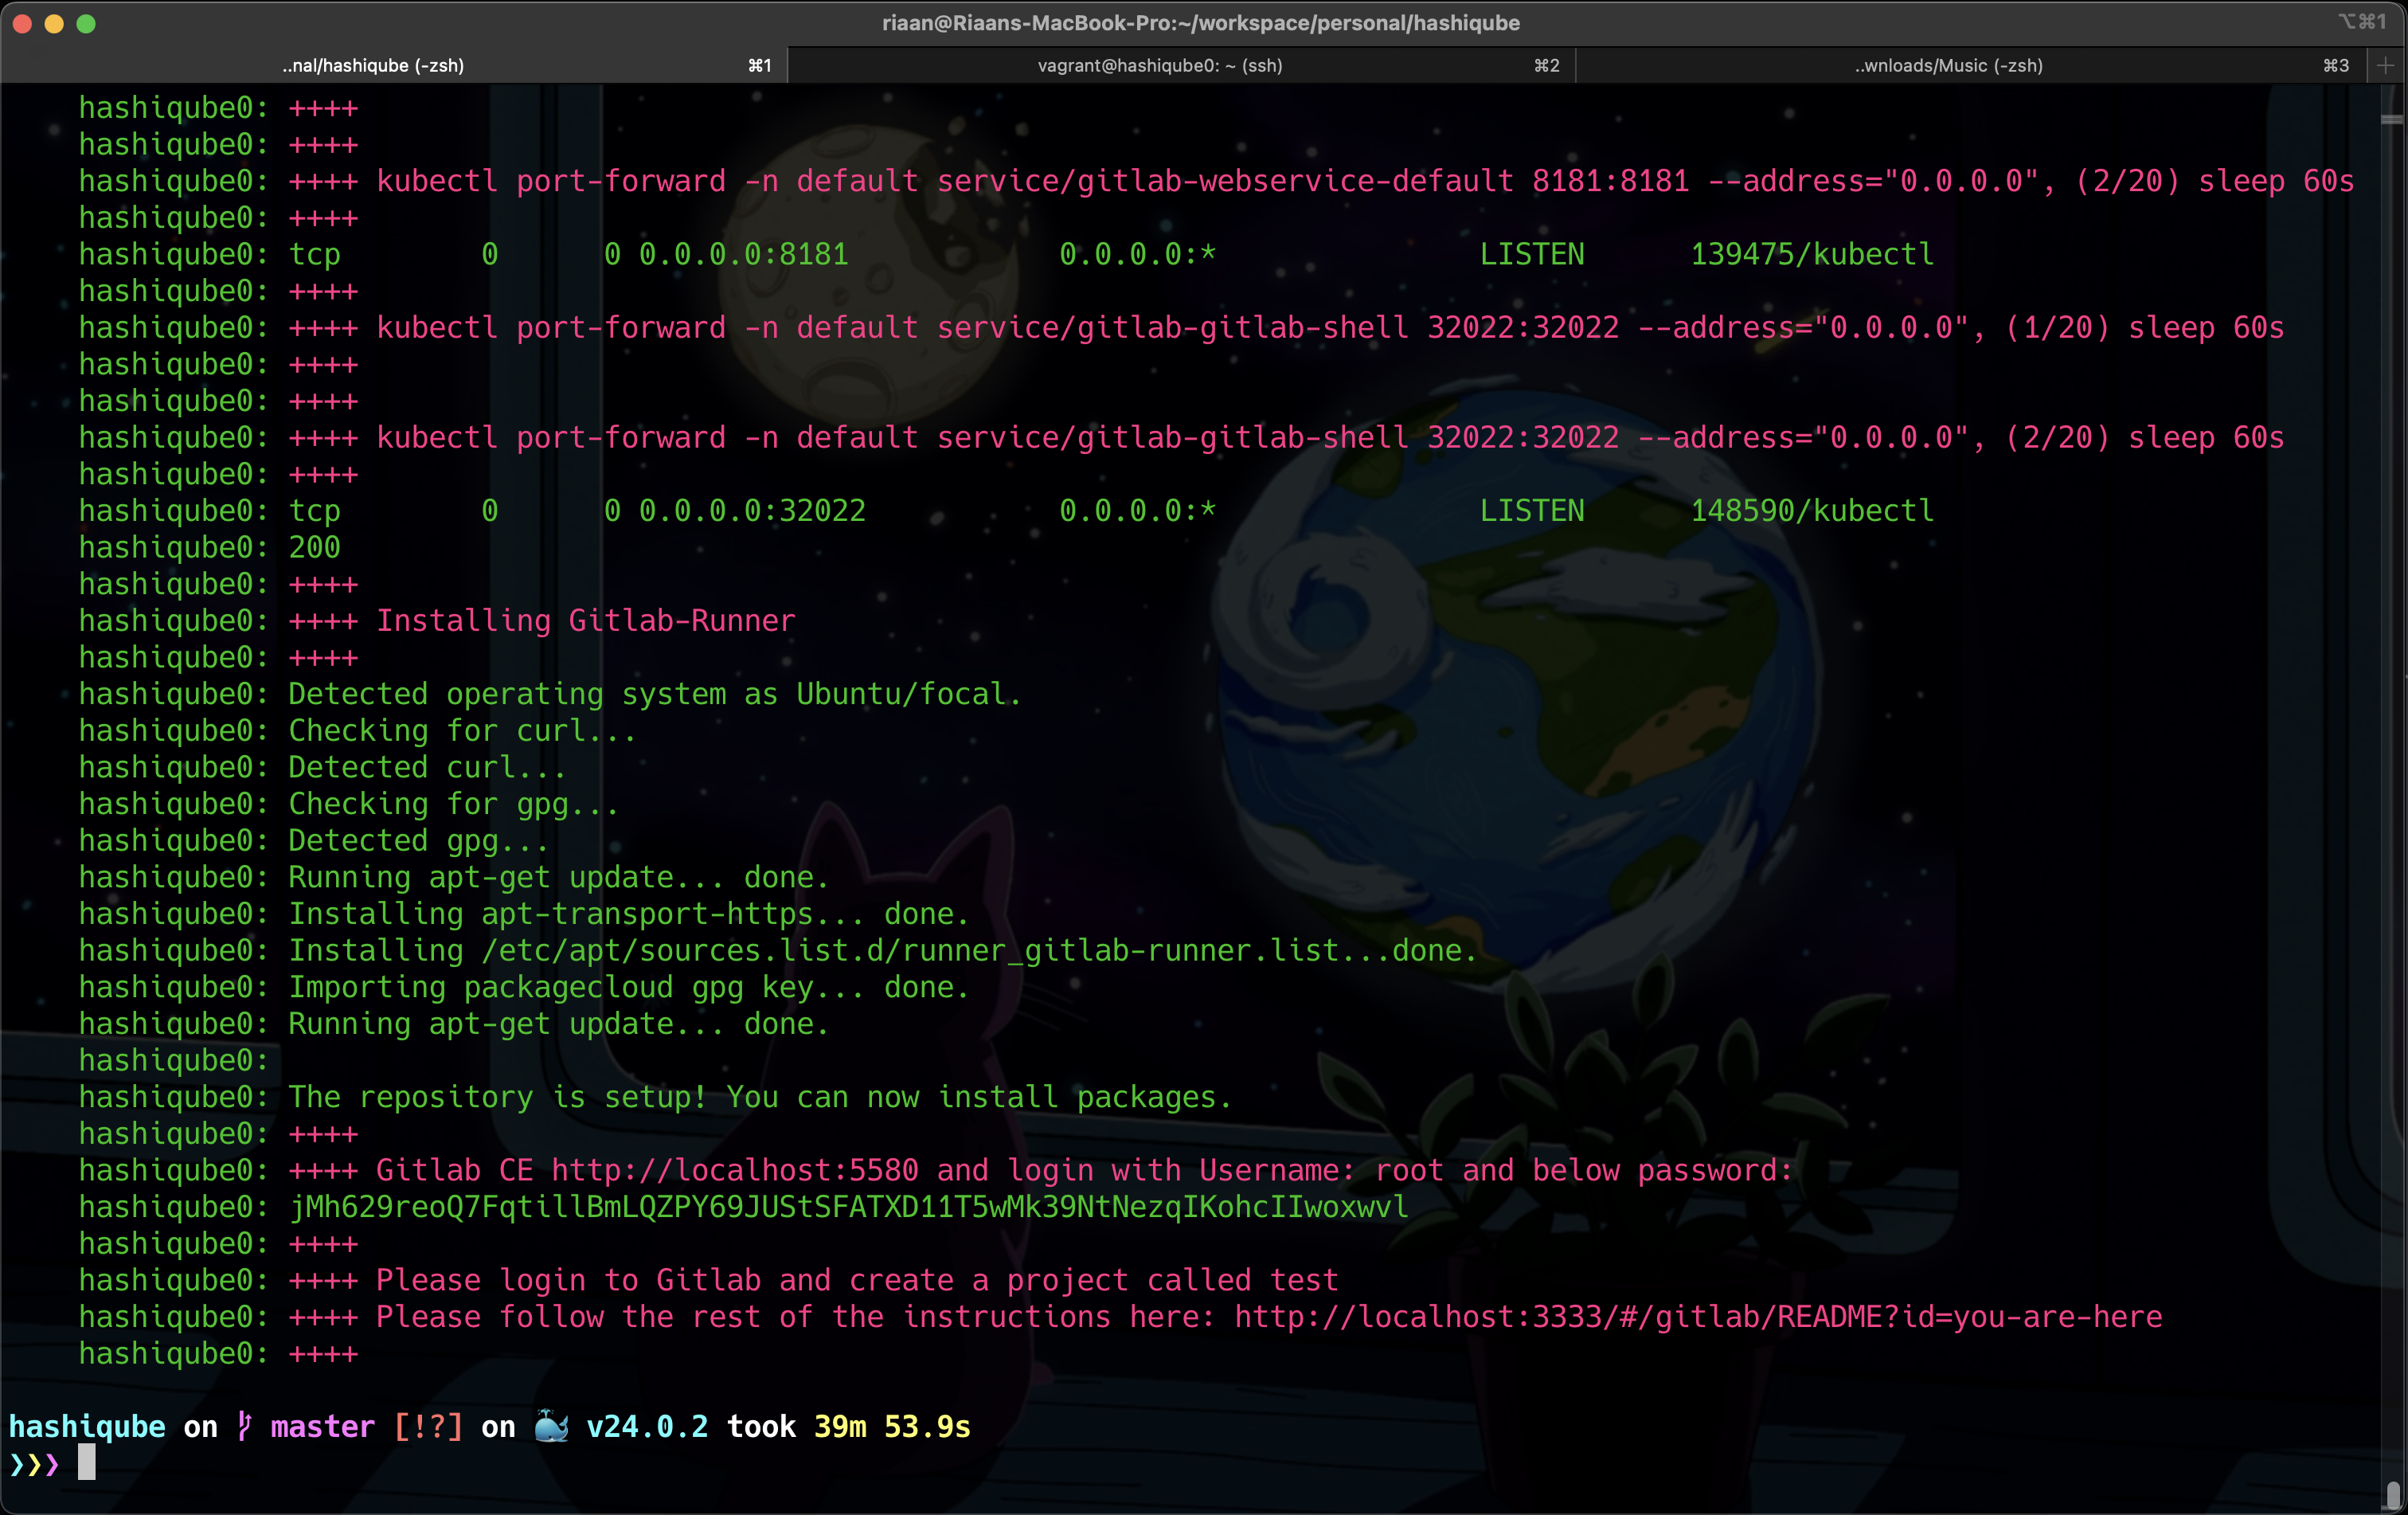
Terminal output during GitLab provisioning
🔑 Accessing GitLab
Once installation is complete, you can access GitLab at:
- URL: http://localhost:5580
- Username:
root - Password: The password is printed in the terminal output
- Example:
jMh629reoQ7FqtillBmLQZPY69JUStSFATXD11T5wMk39NtNezqIKohcIIwoxwvl
- Example:
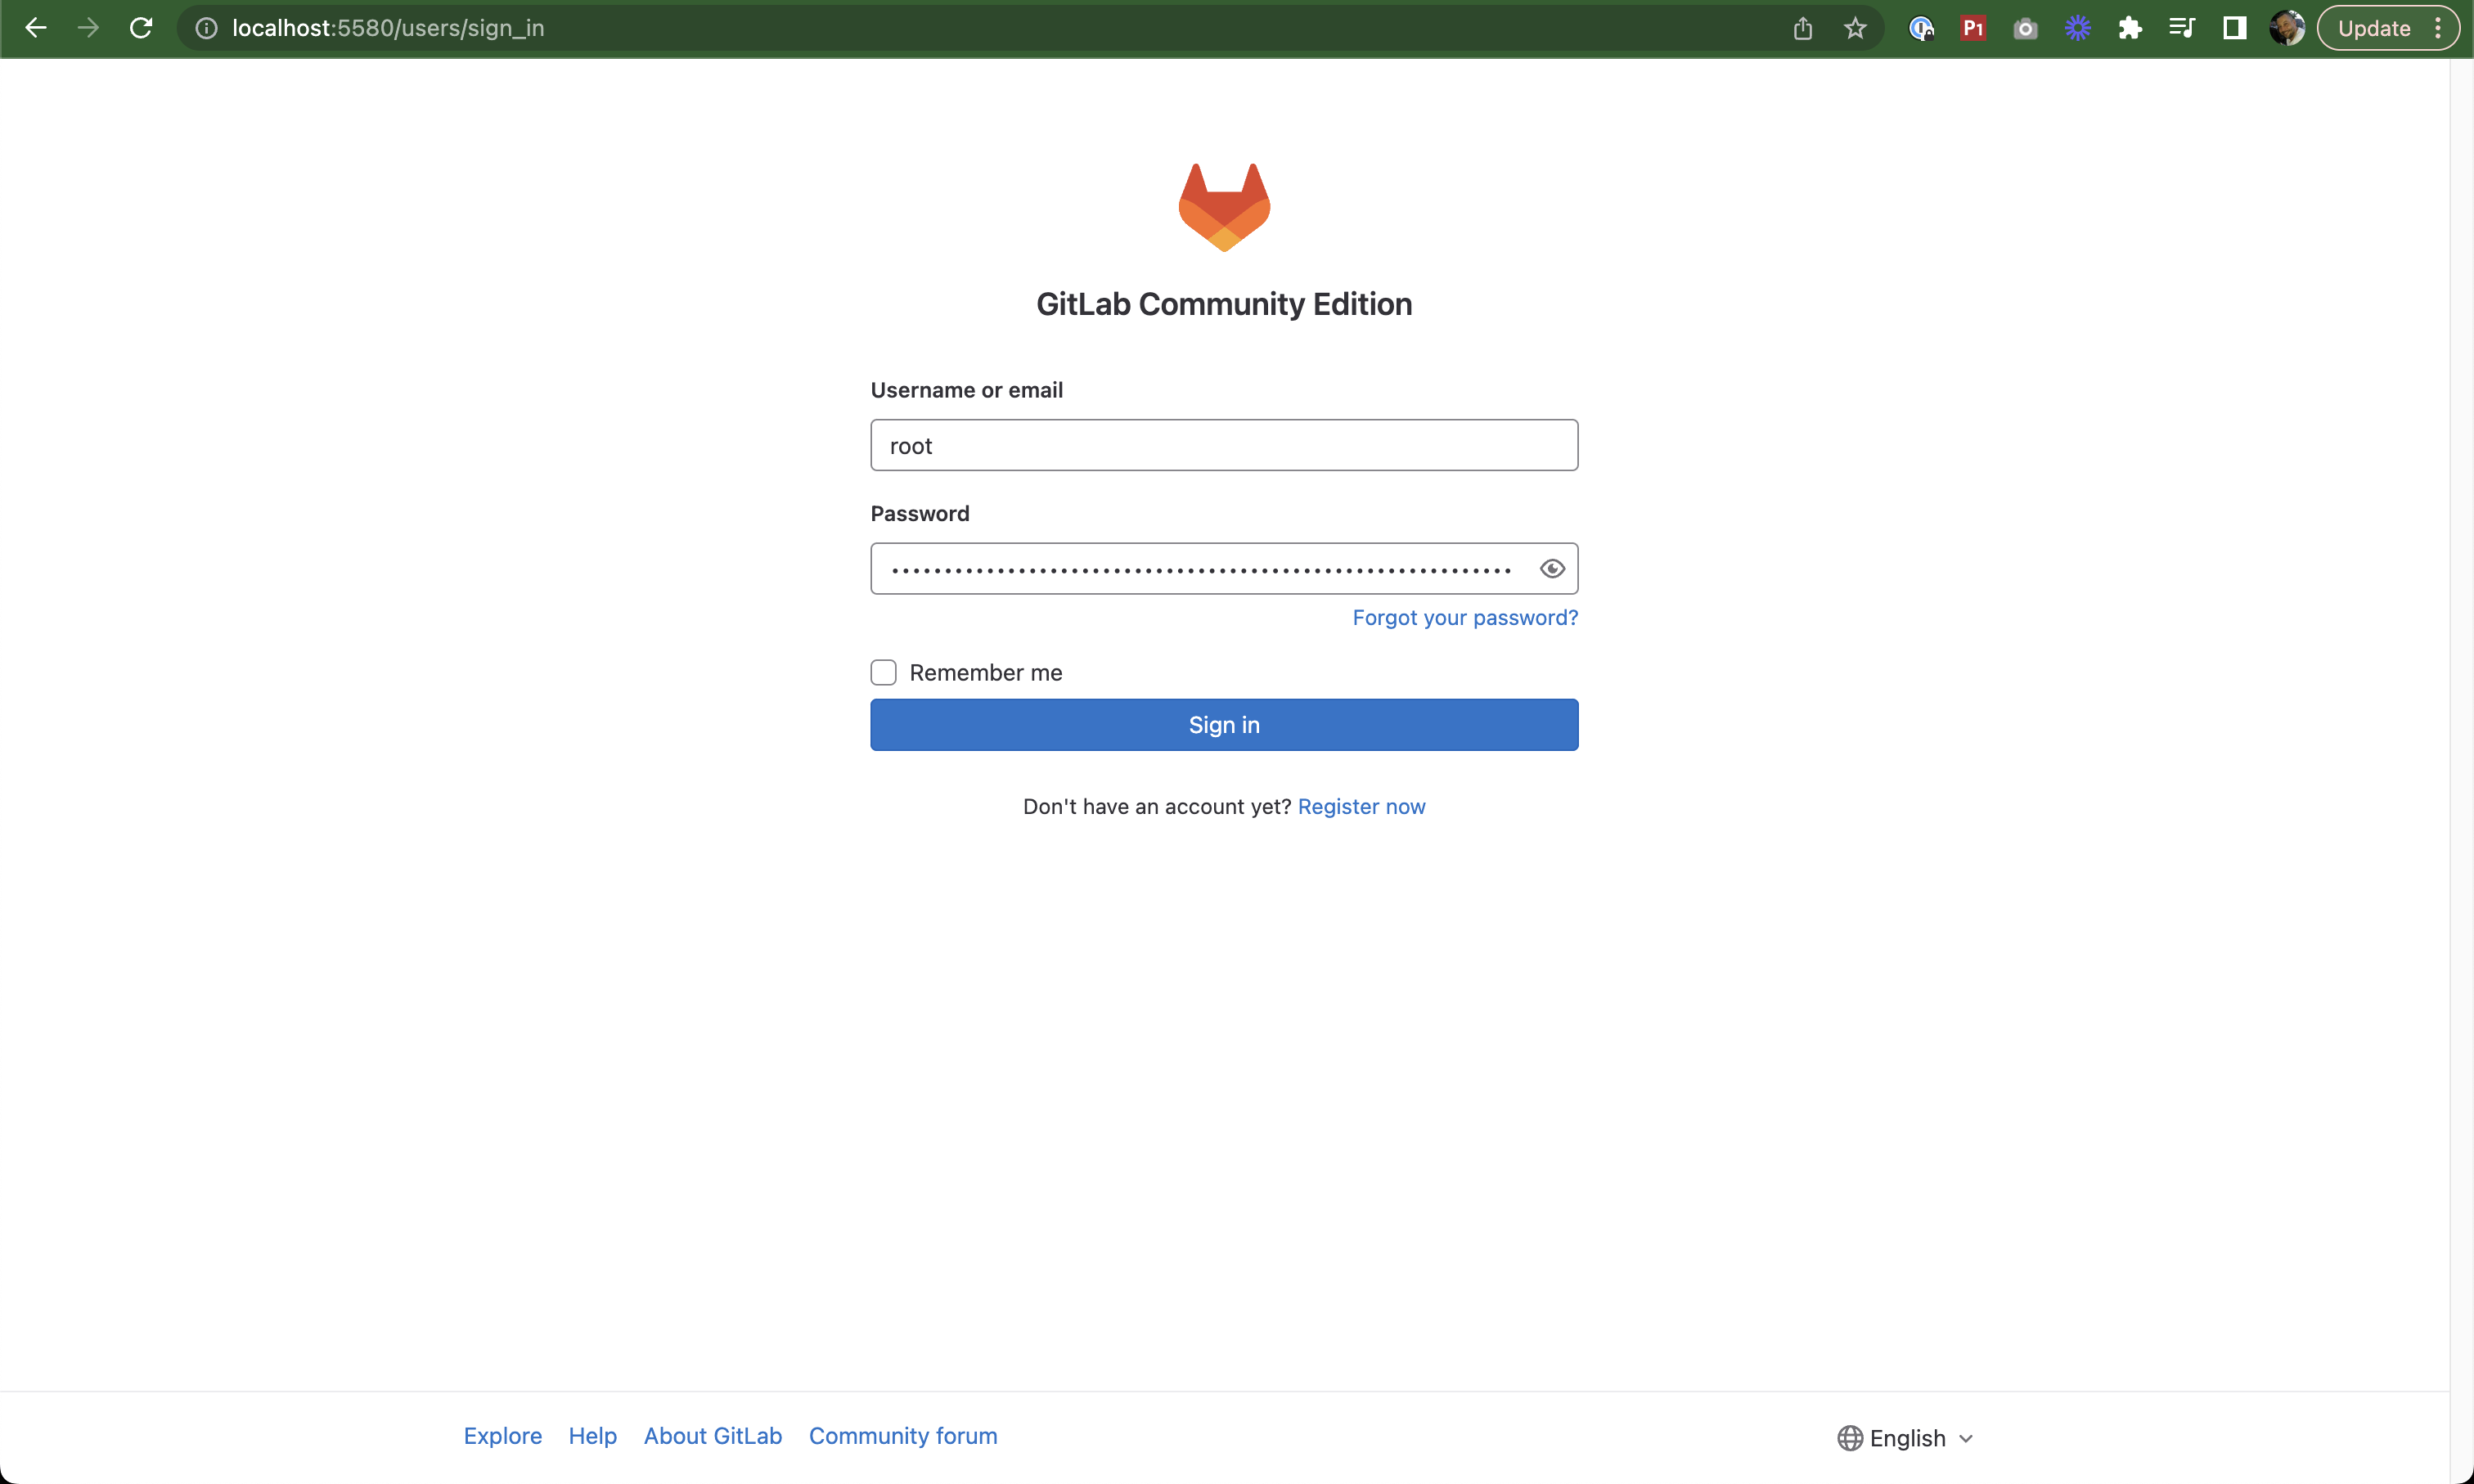
GitLab login page
After logging in, you'll see the GitLab dashboard:
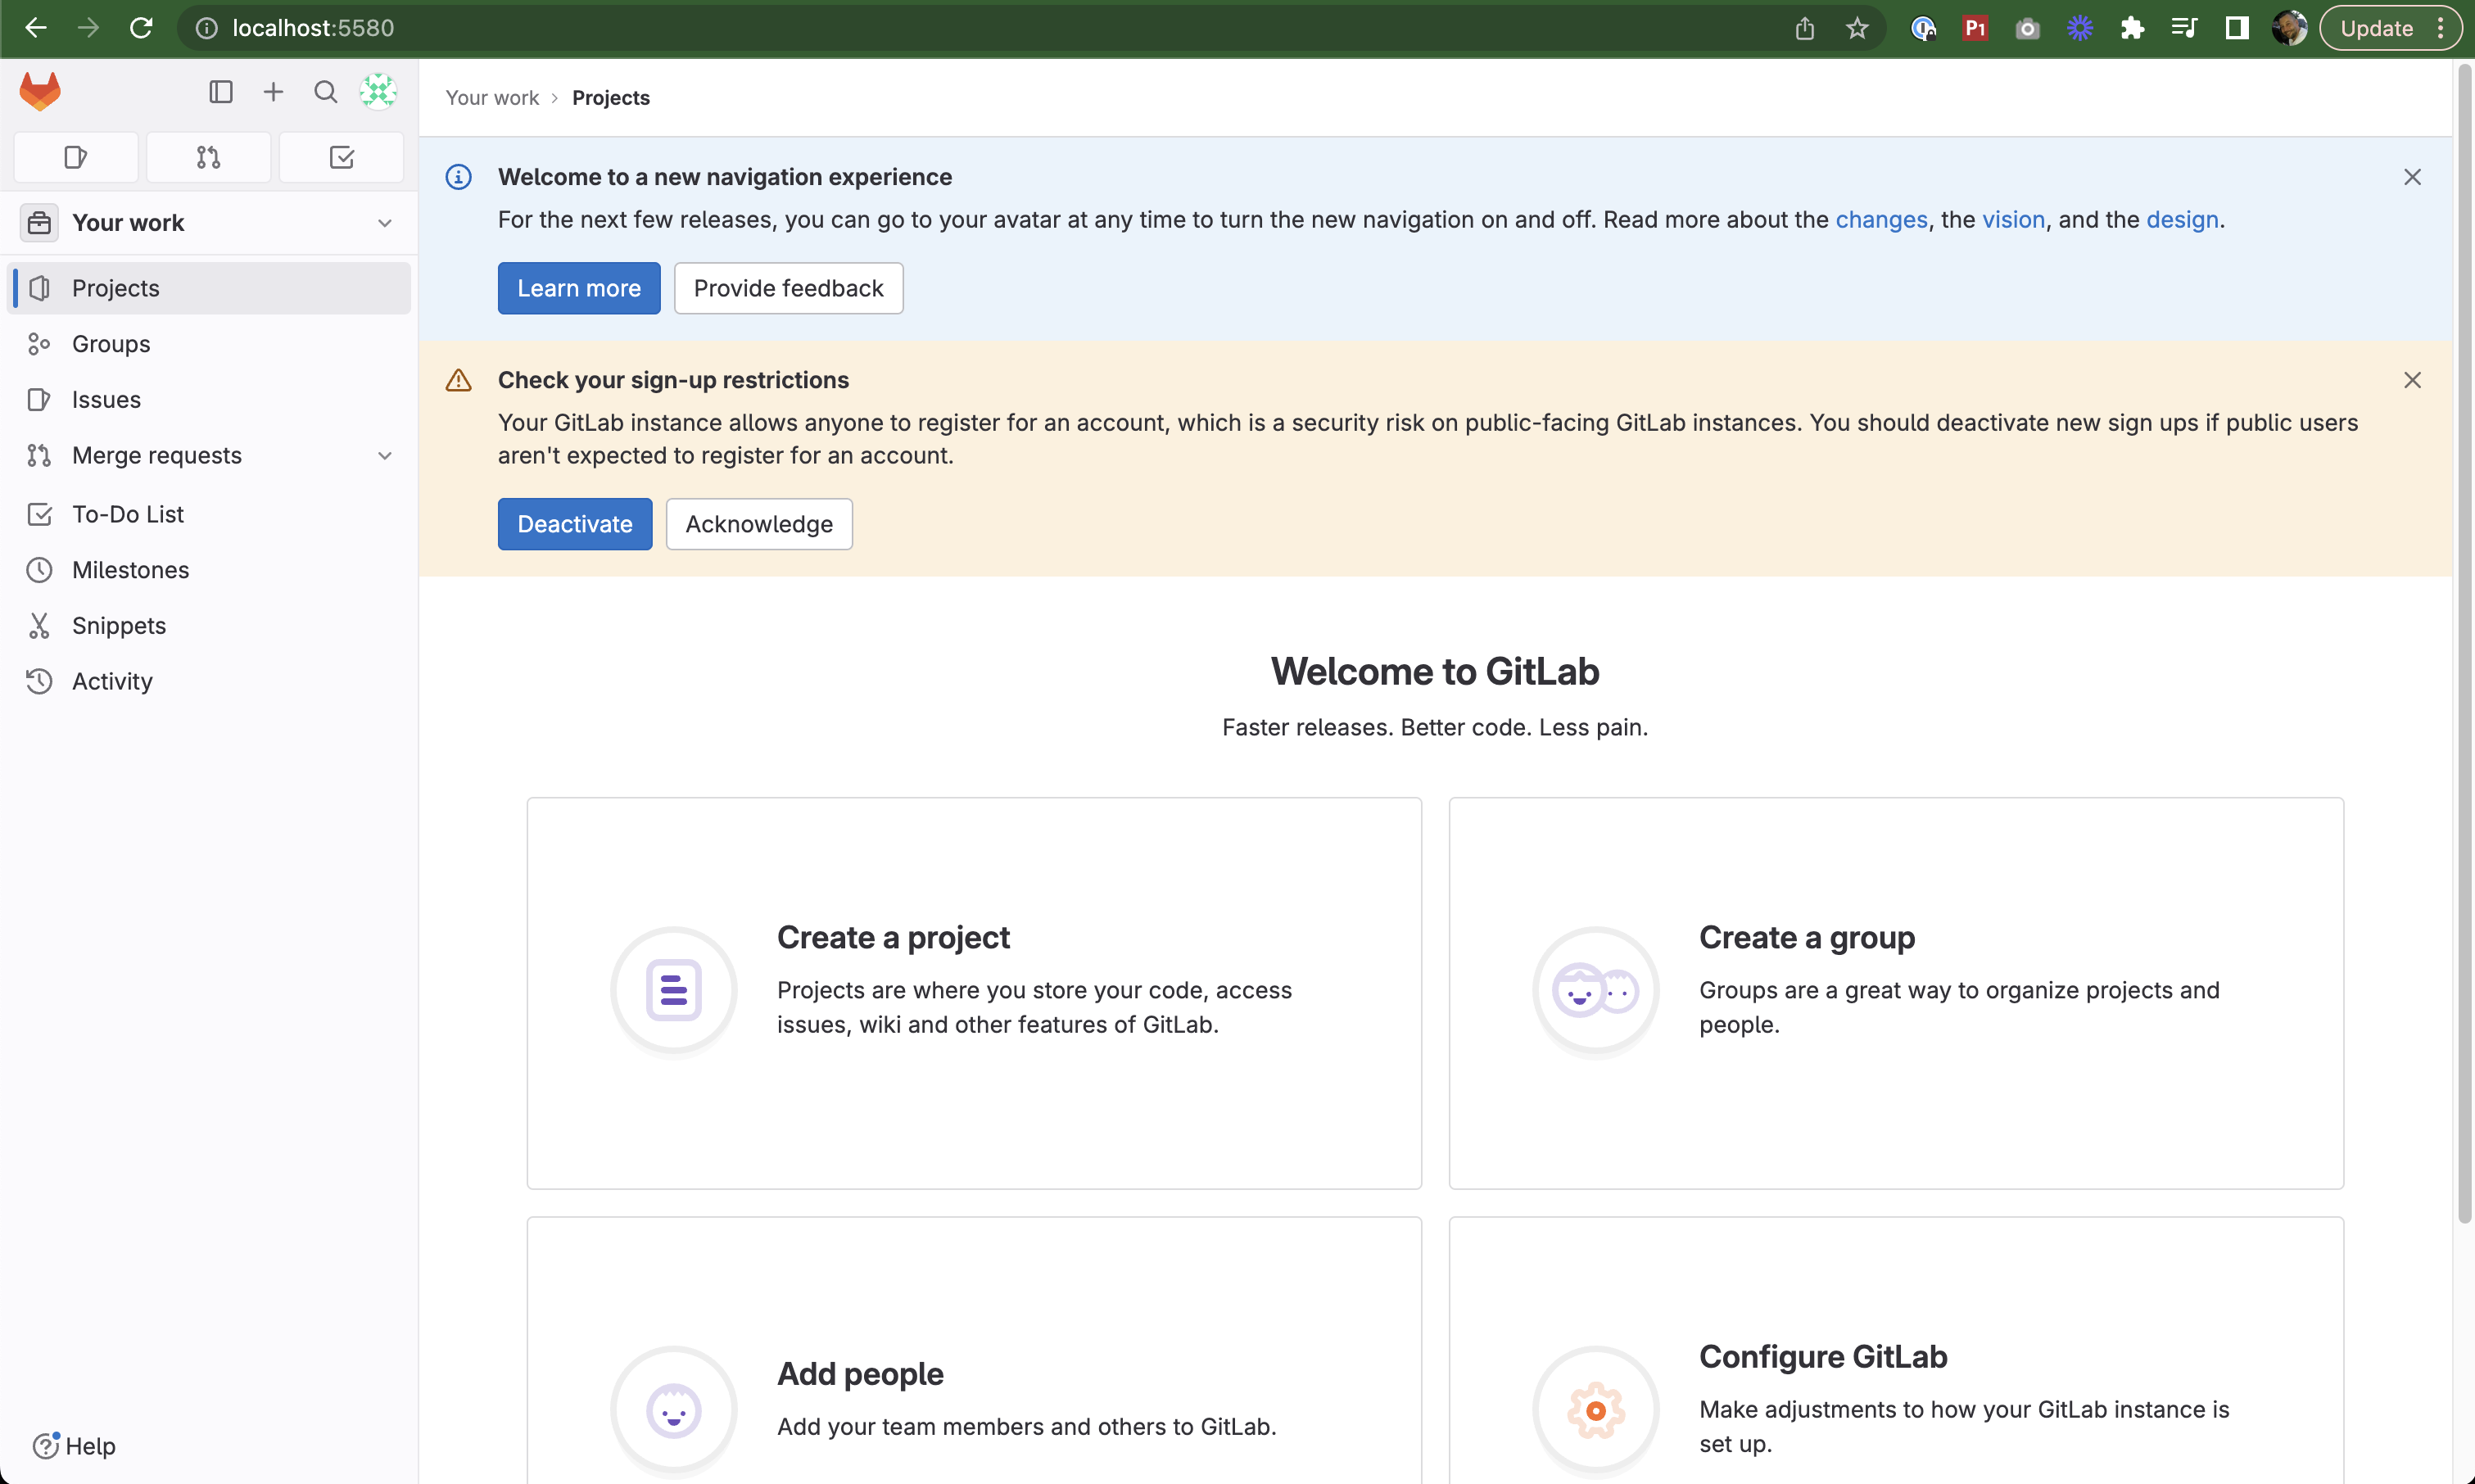
GitLab dashboard after first login
🛠️ Hands-On Tutorial
Creating Your First Project
- Click on Create a Project → Create a Blank project
- Enter the project name as
test - Select the namespace as
root - Make it a Public repository
- Click Create Project
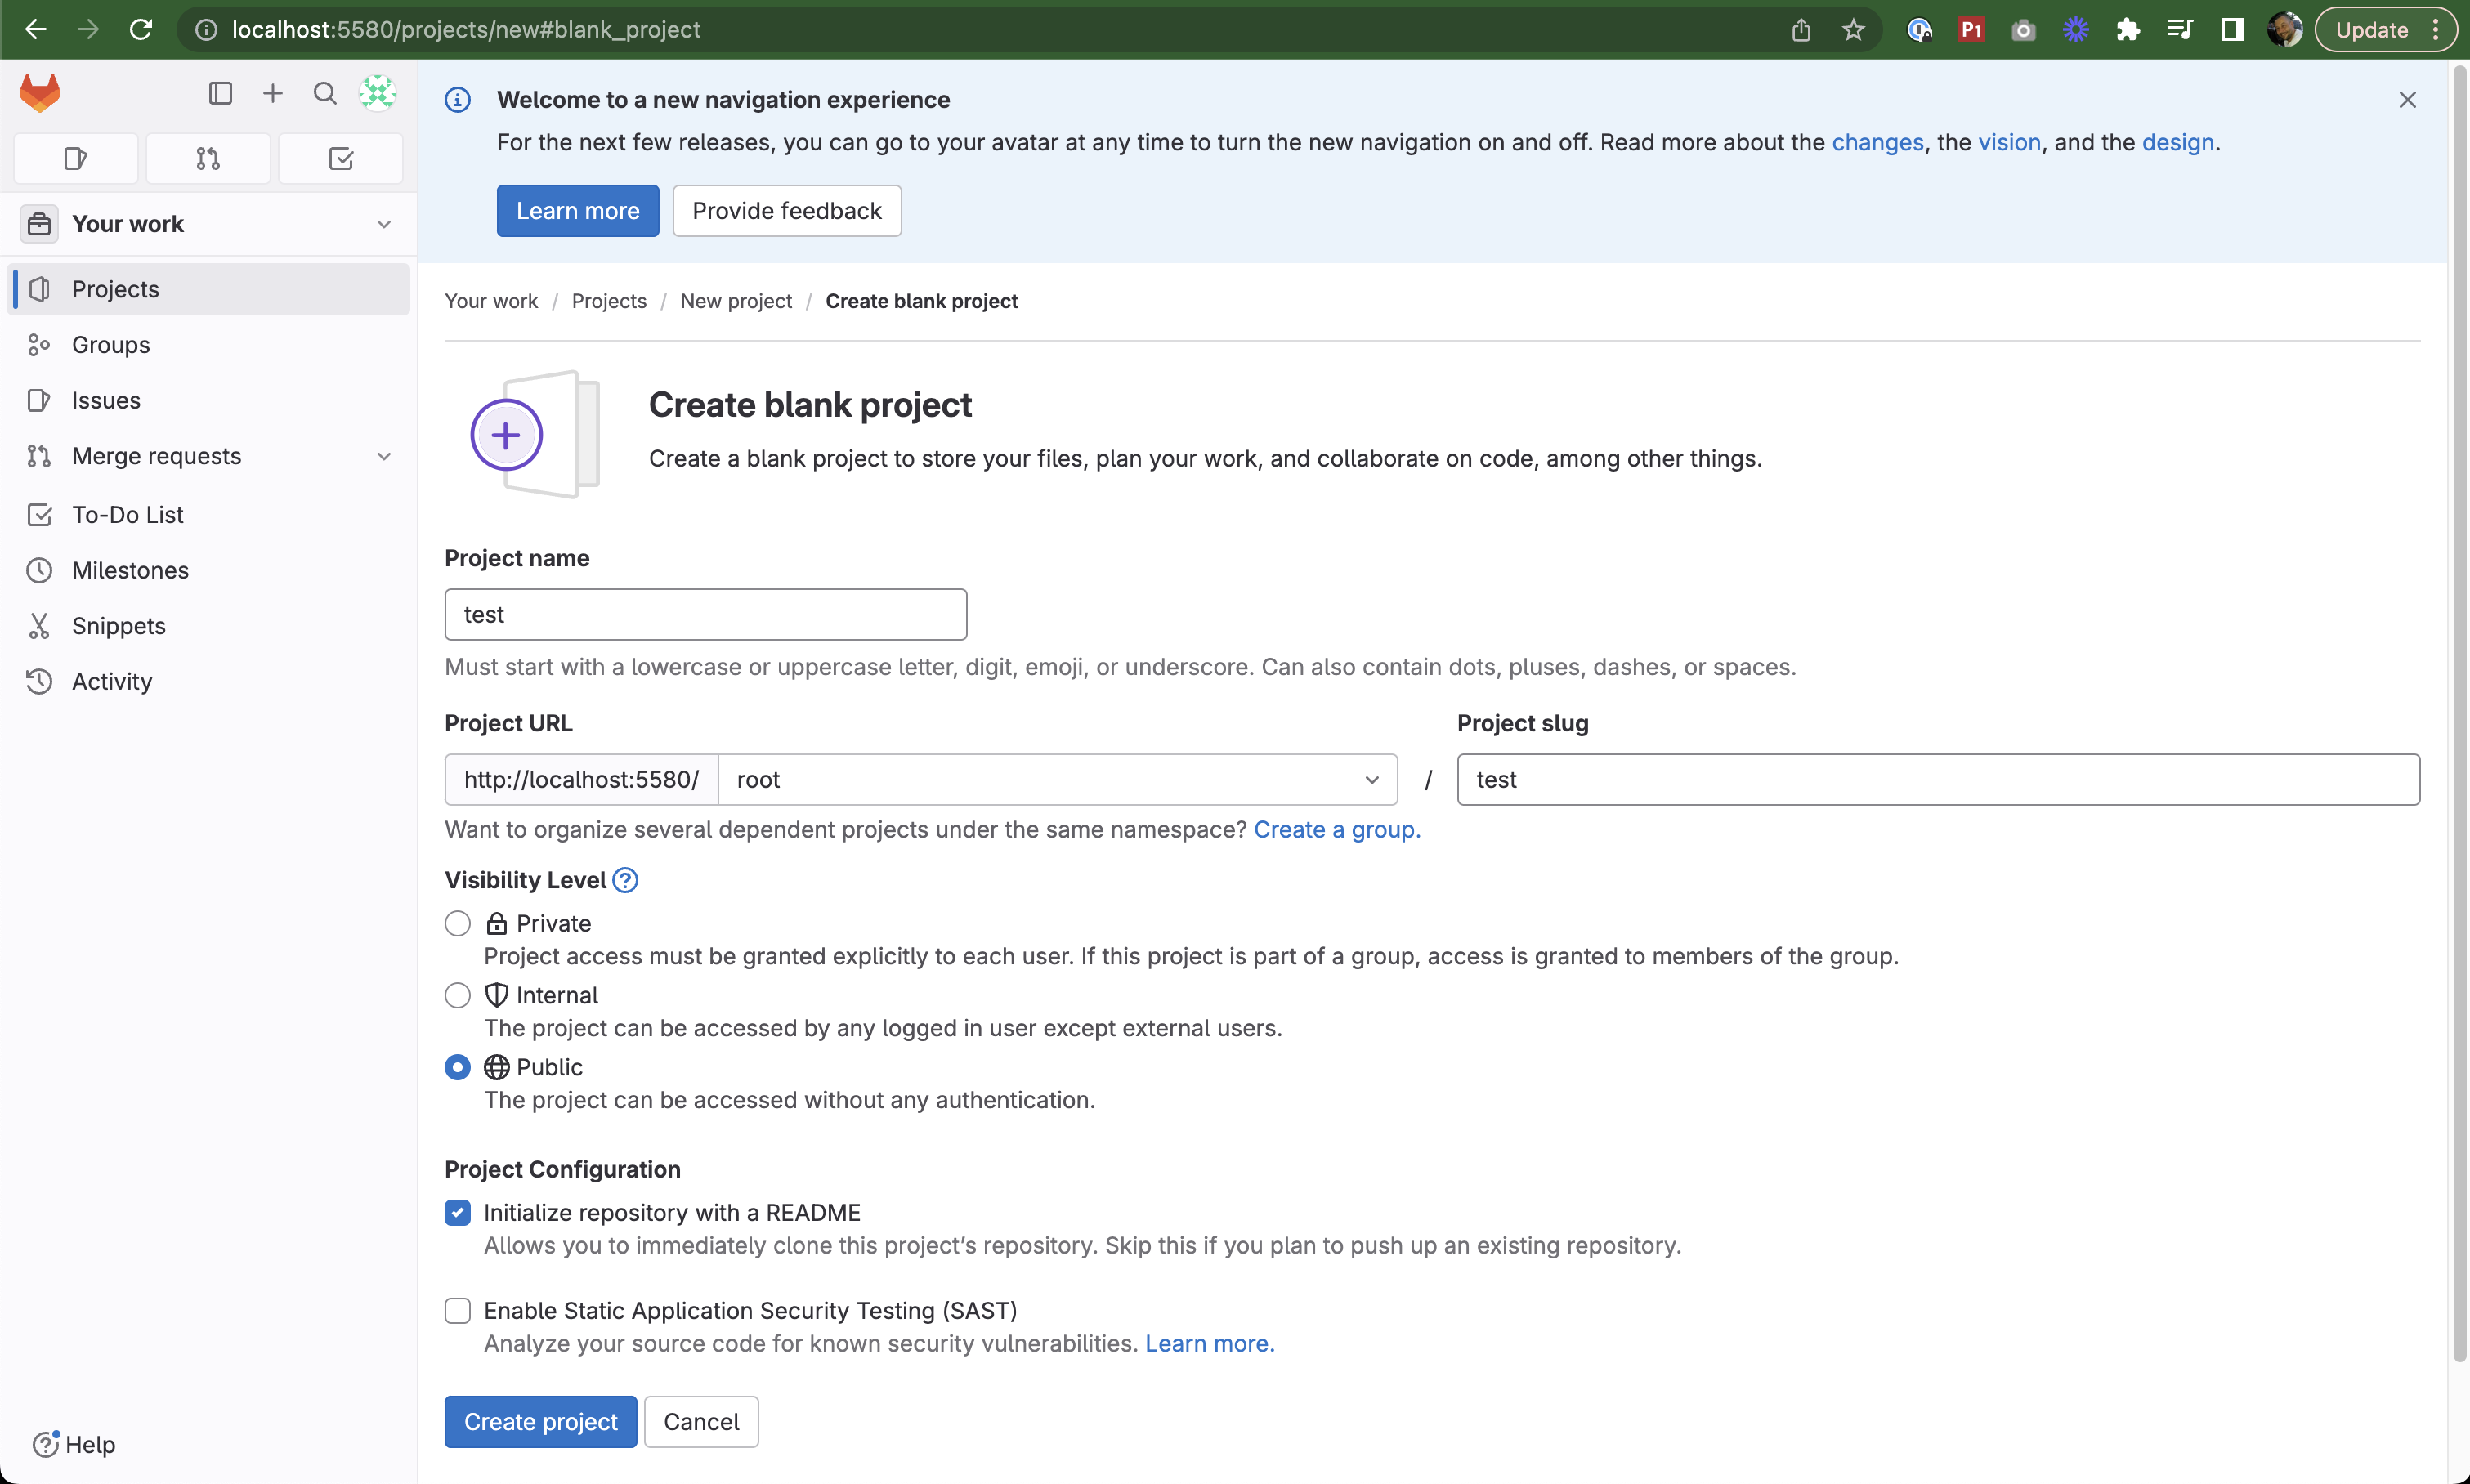
Creating a new project in GitLab
Once created, you'll see your new repository:
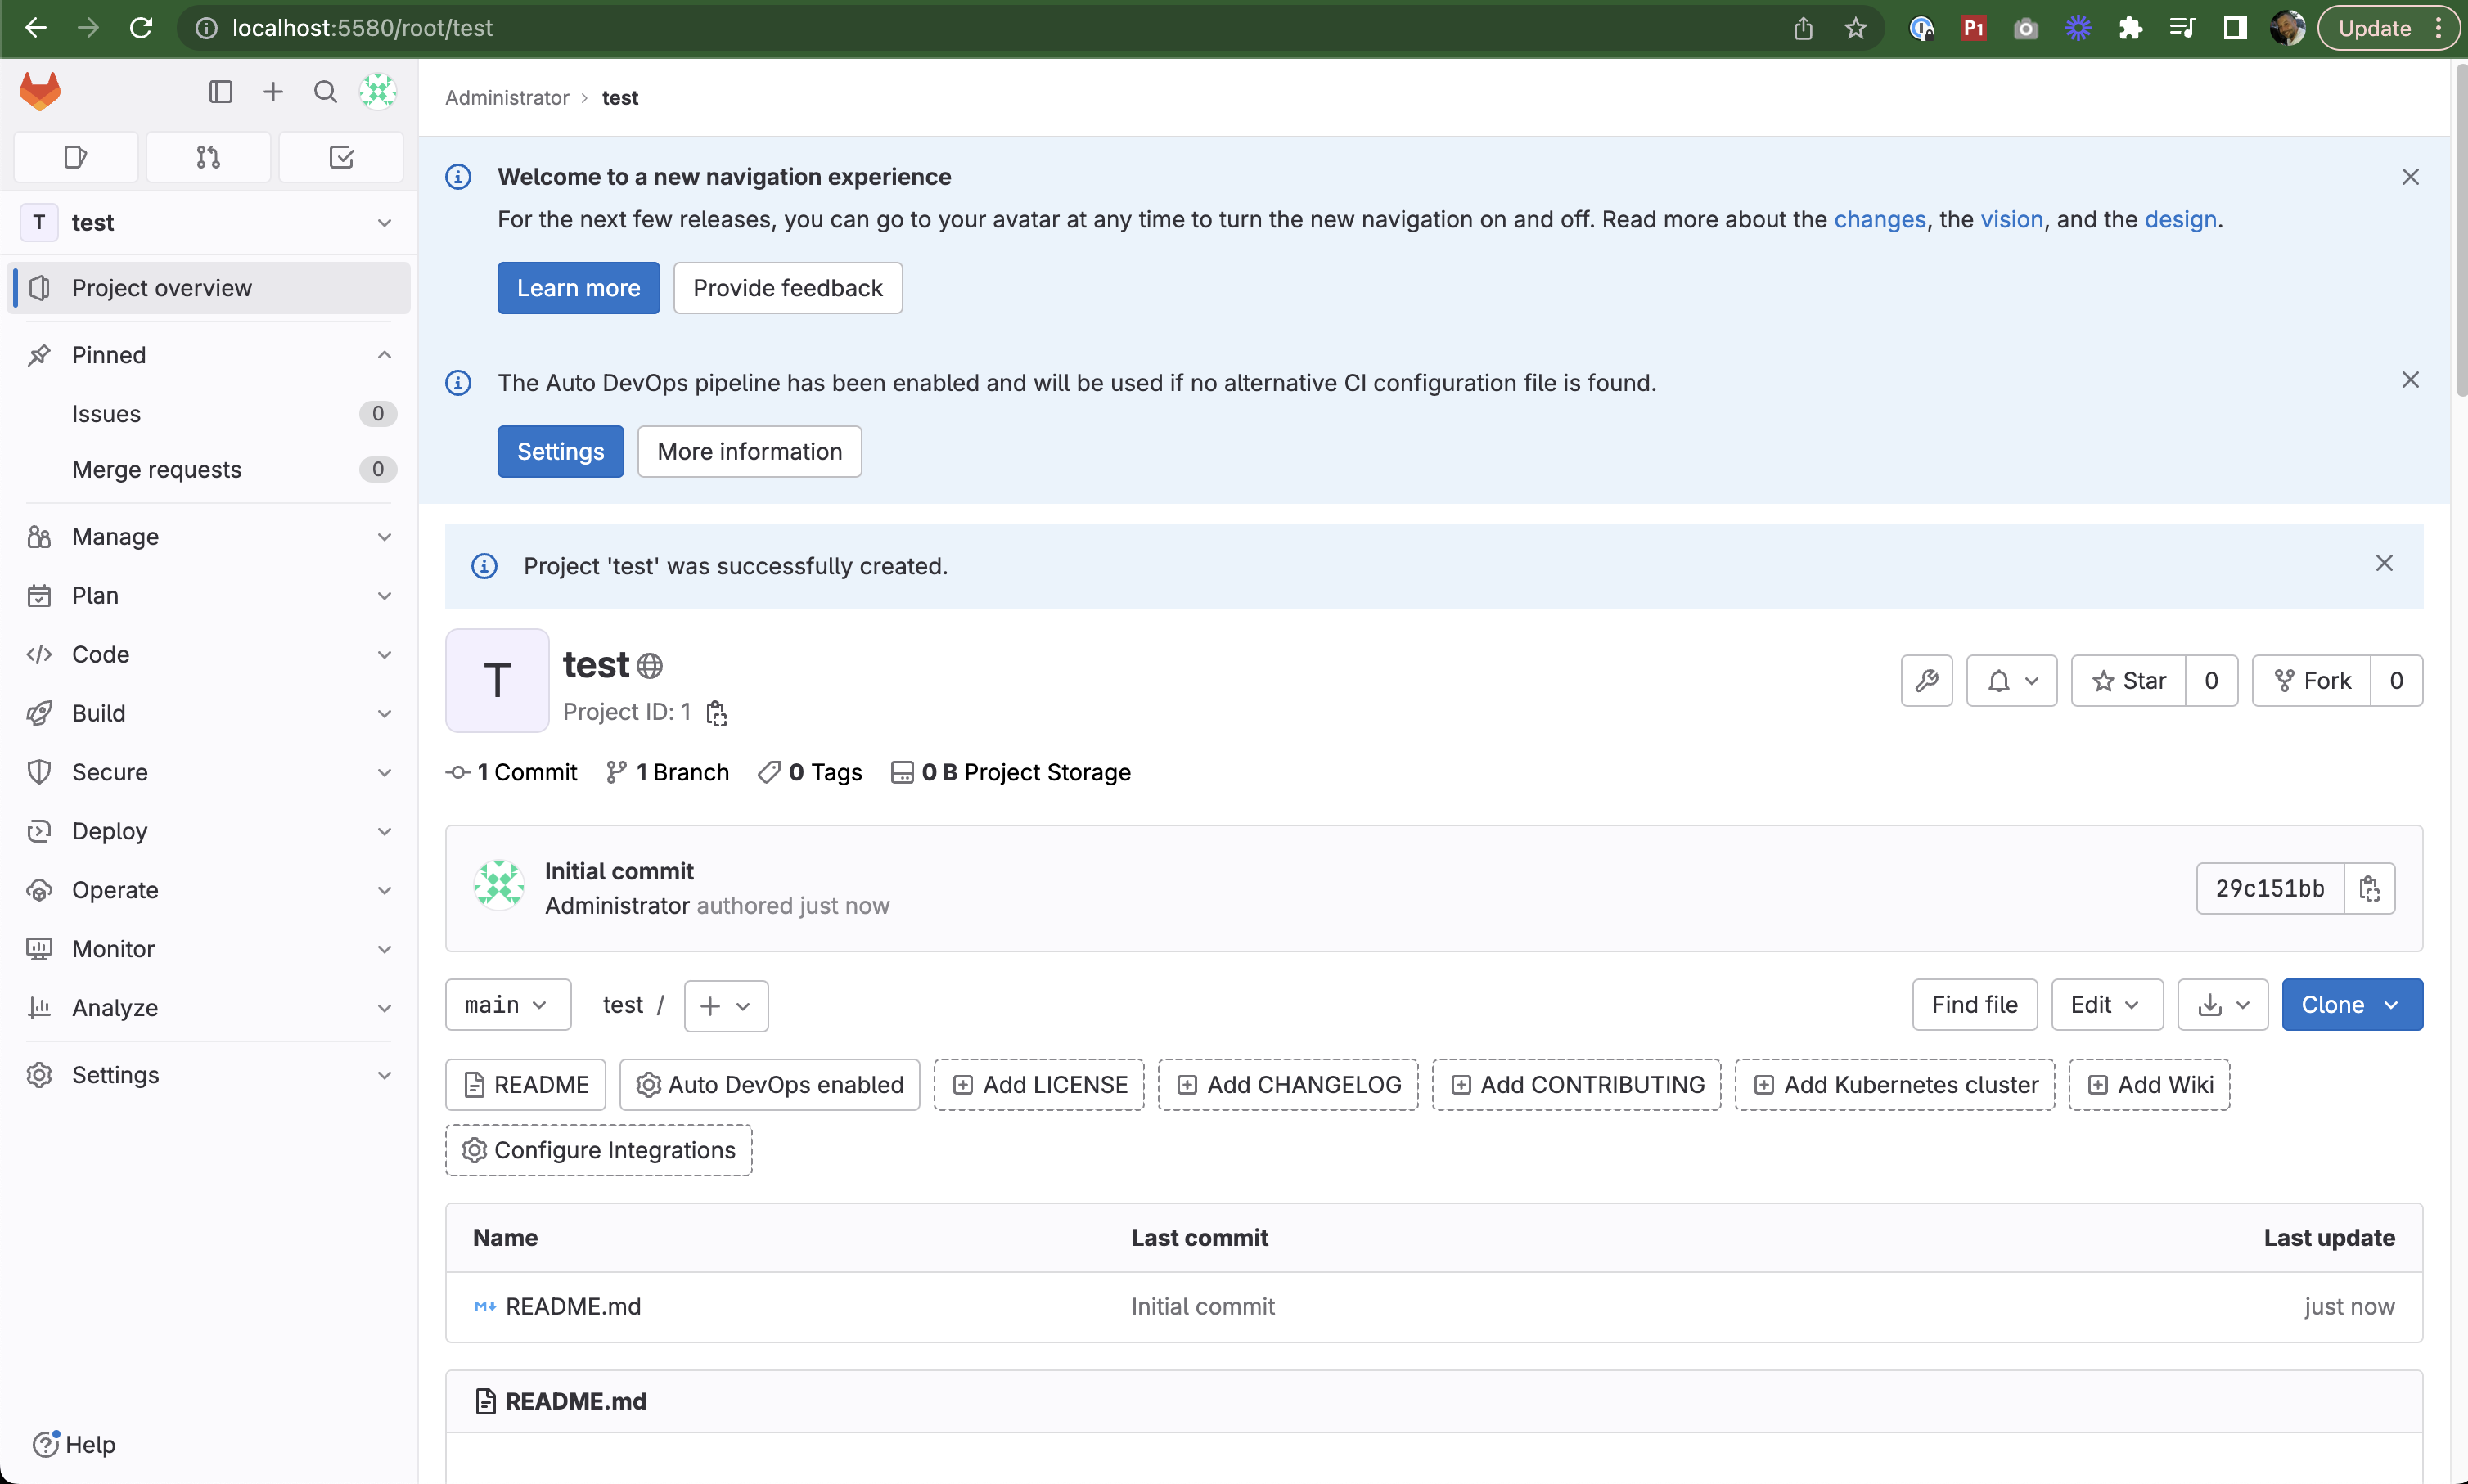
Newly created test project
Adding SSH Keys
To clone the repository using SSH, you need to add your SSH key to GitLab:
- Click on your profile icon in the top left corner
- Select Preferences
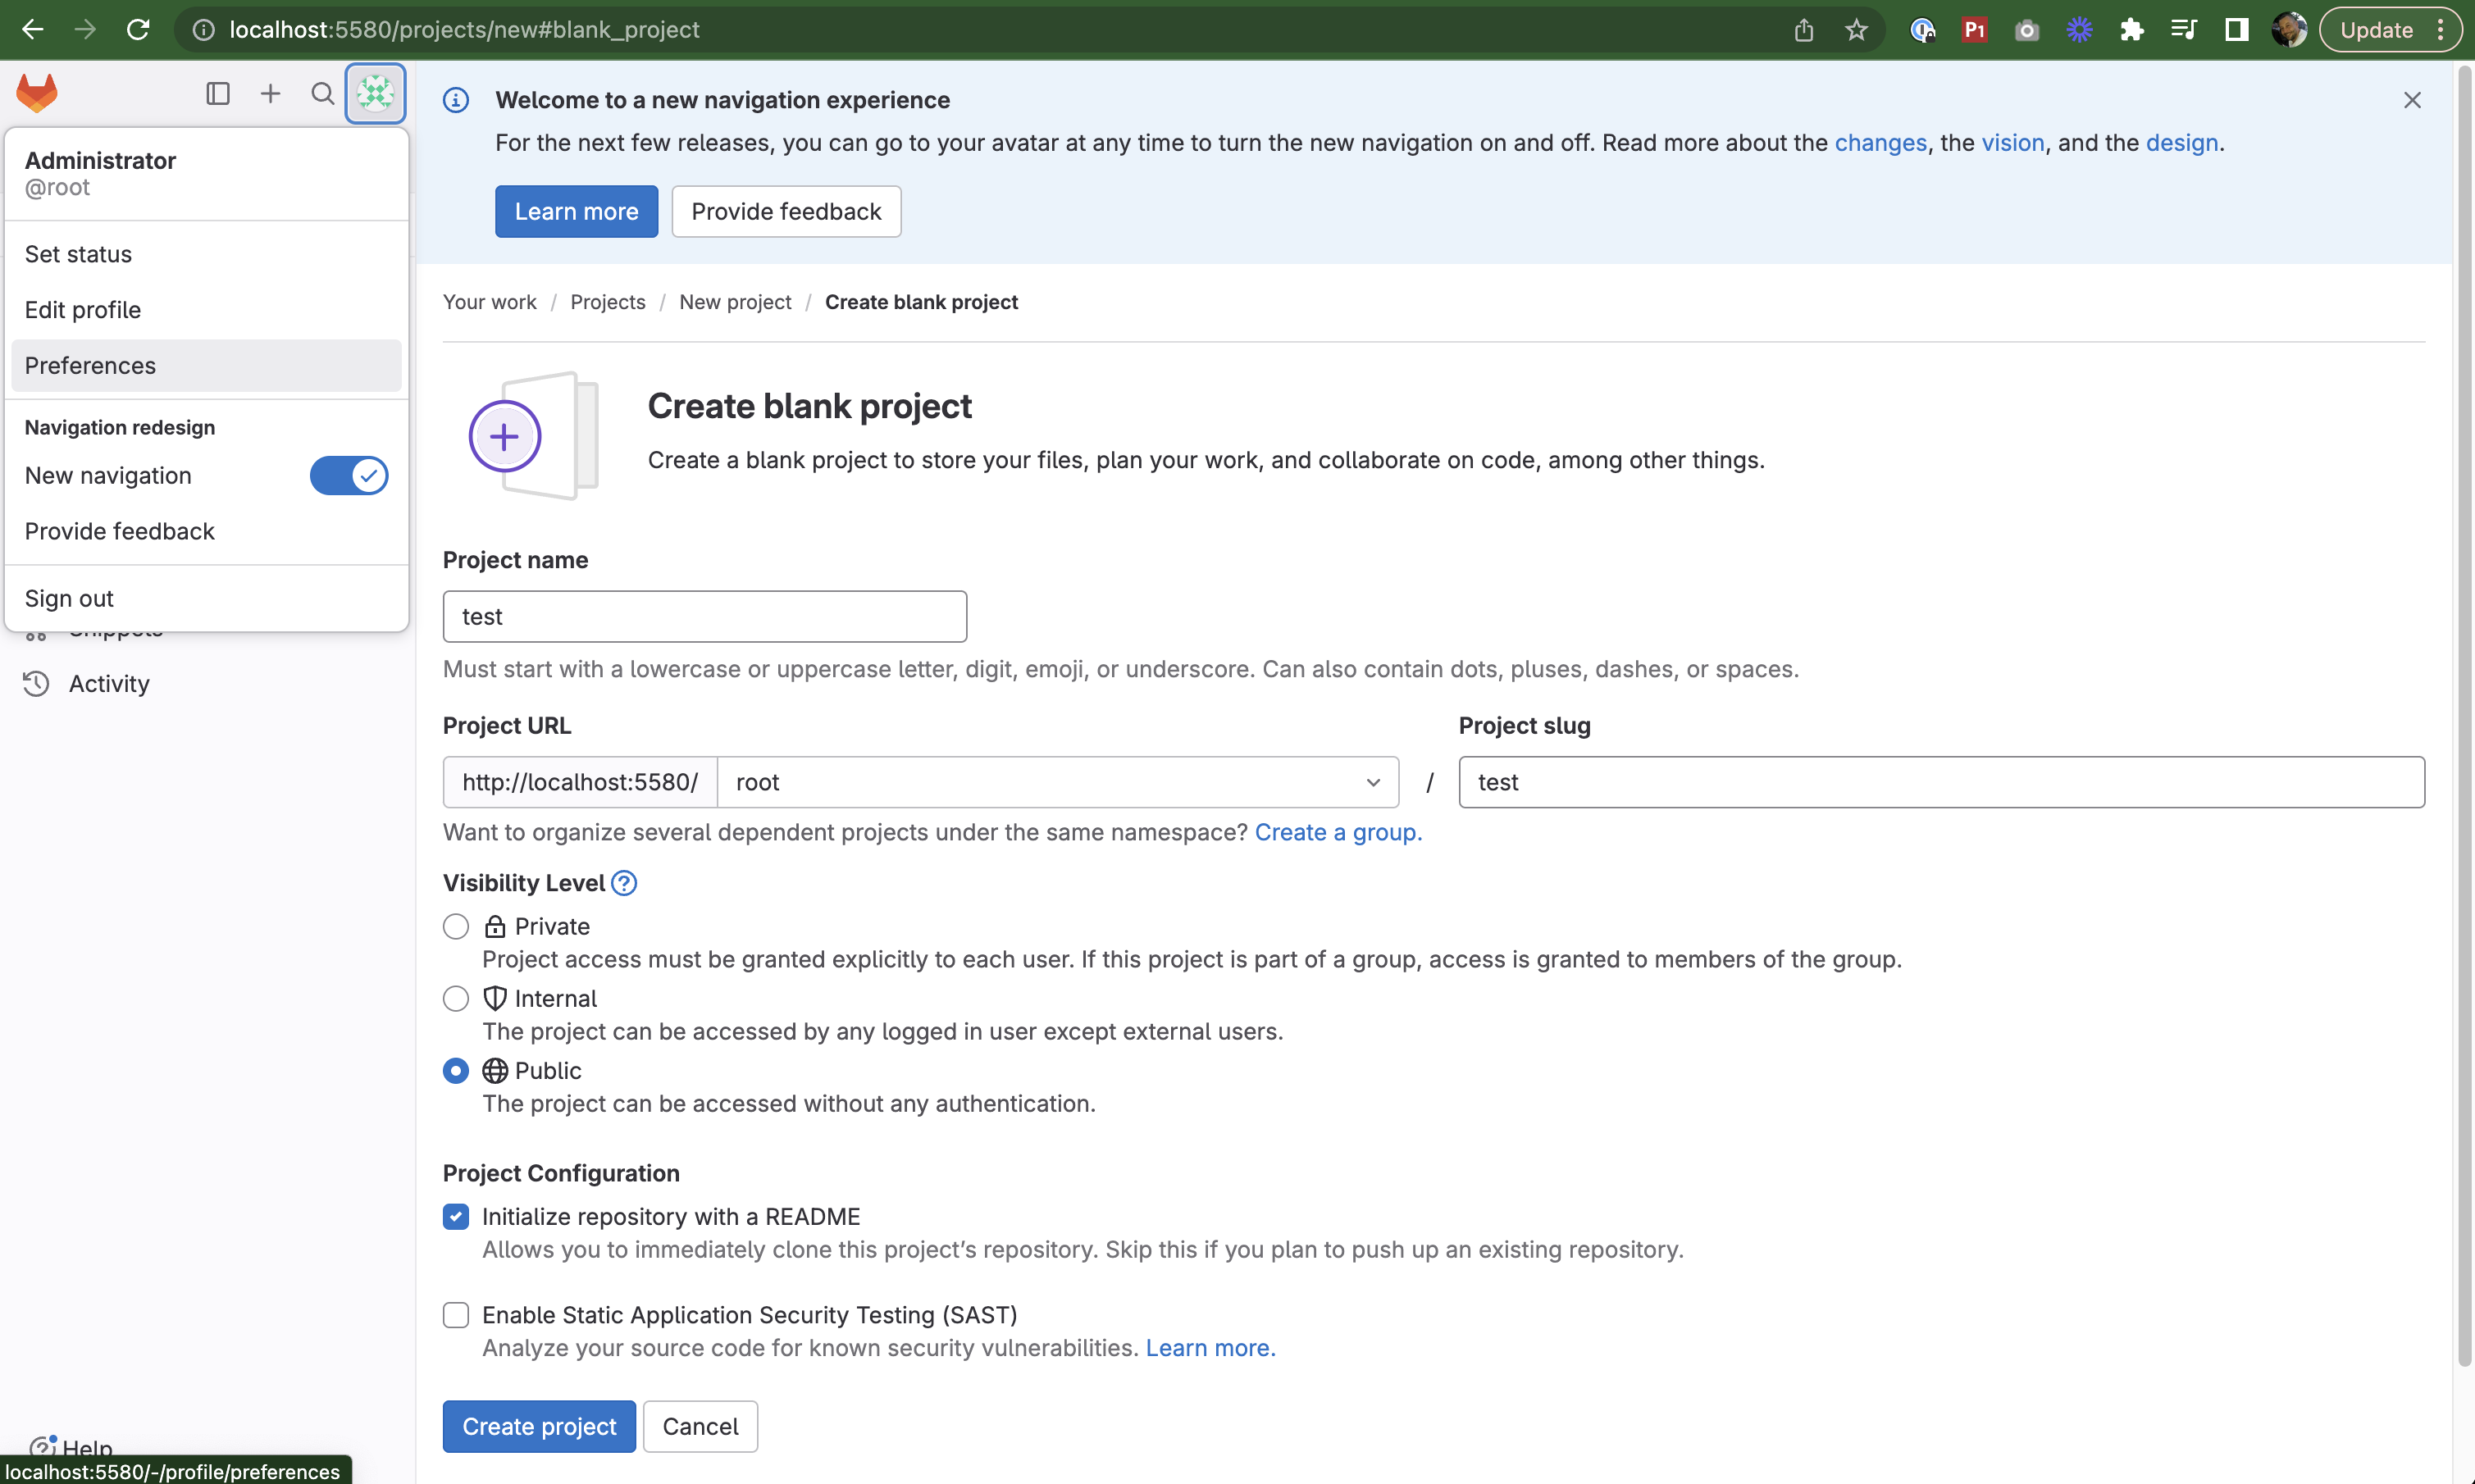
Navigating to user preferences
- Navigate to SSH Keys in the sidebar
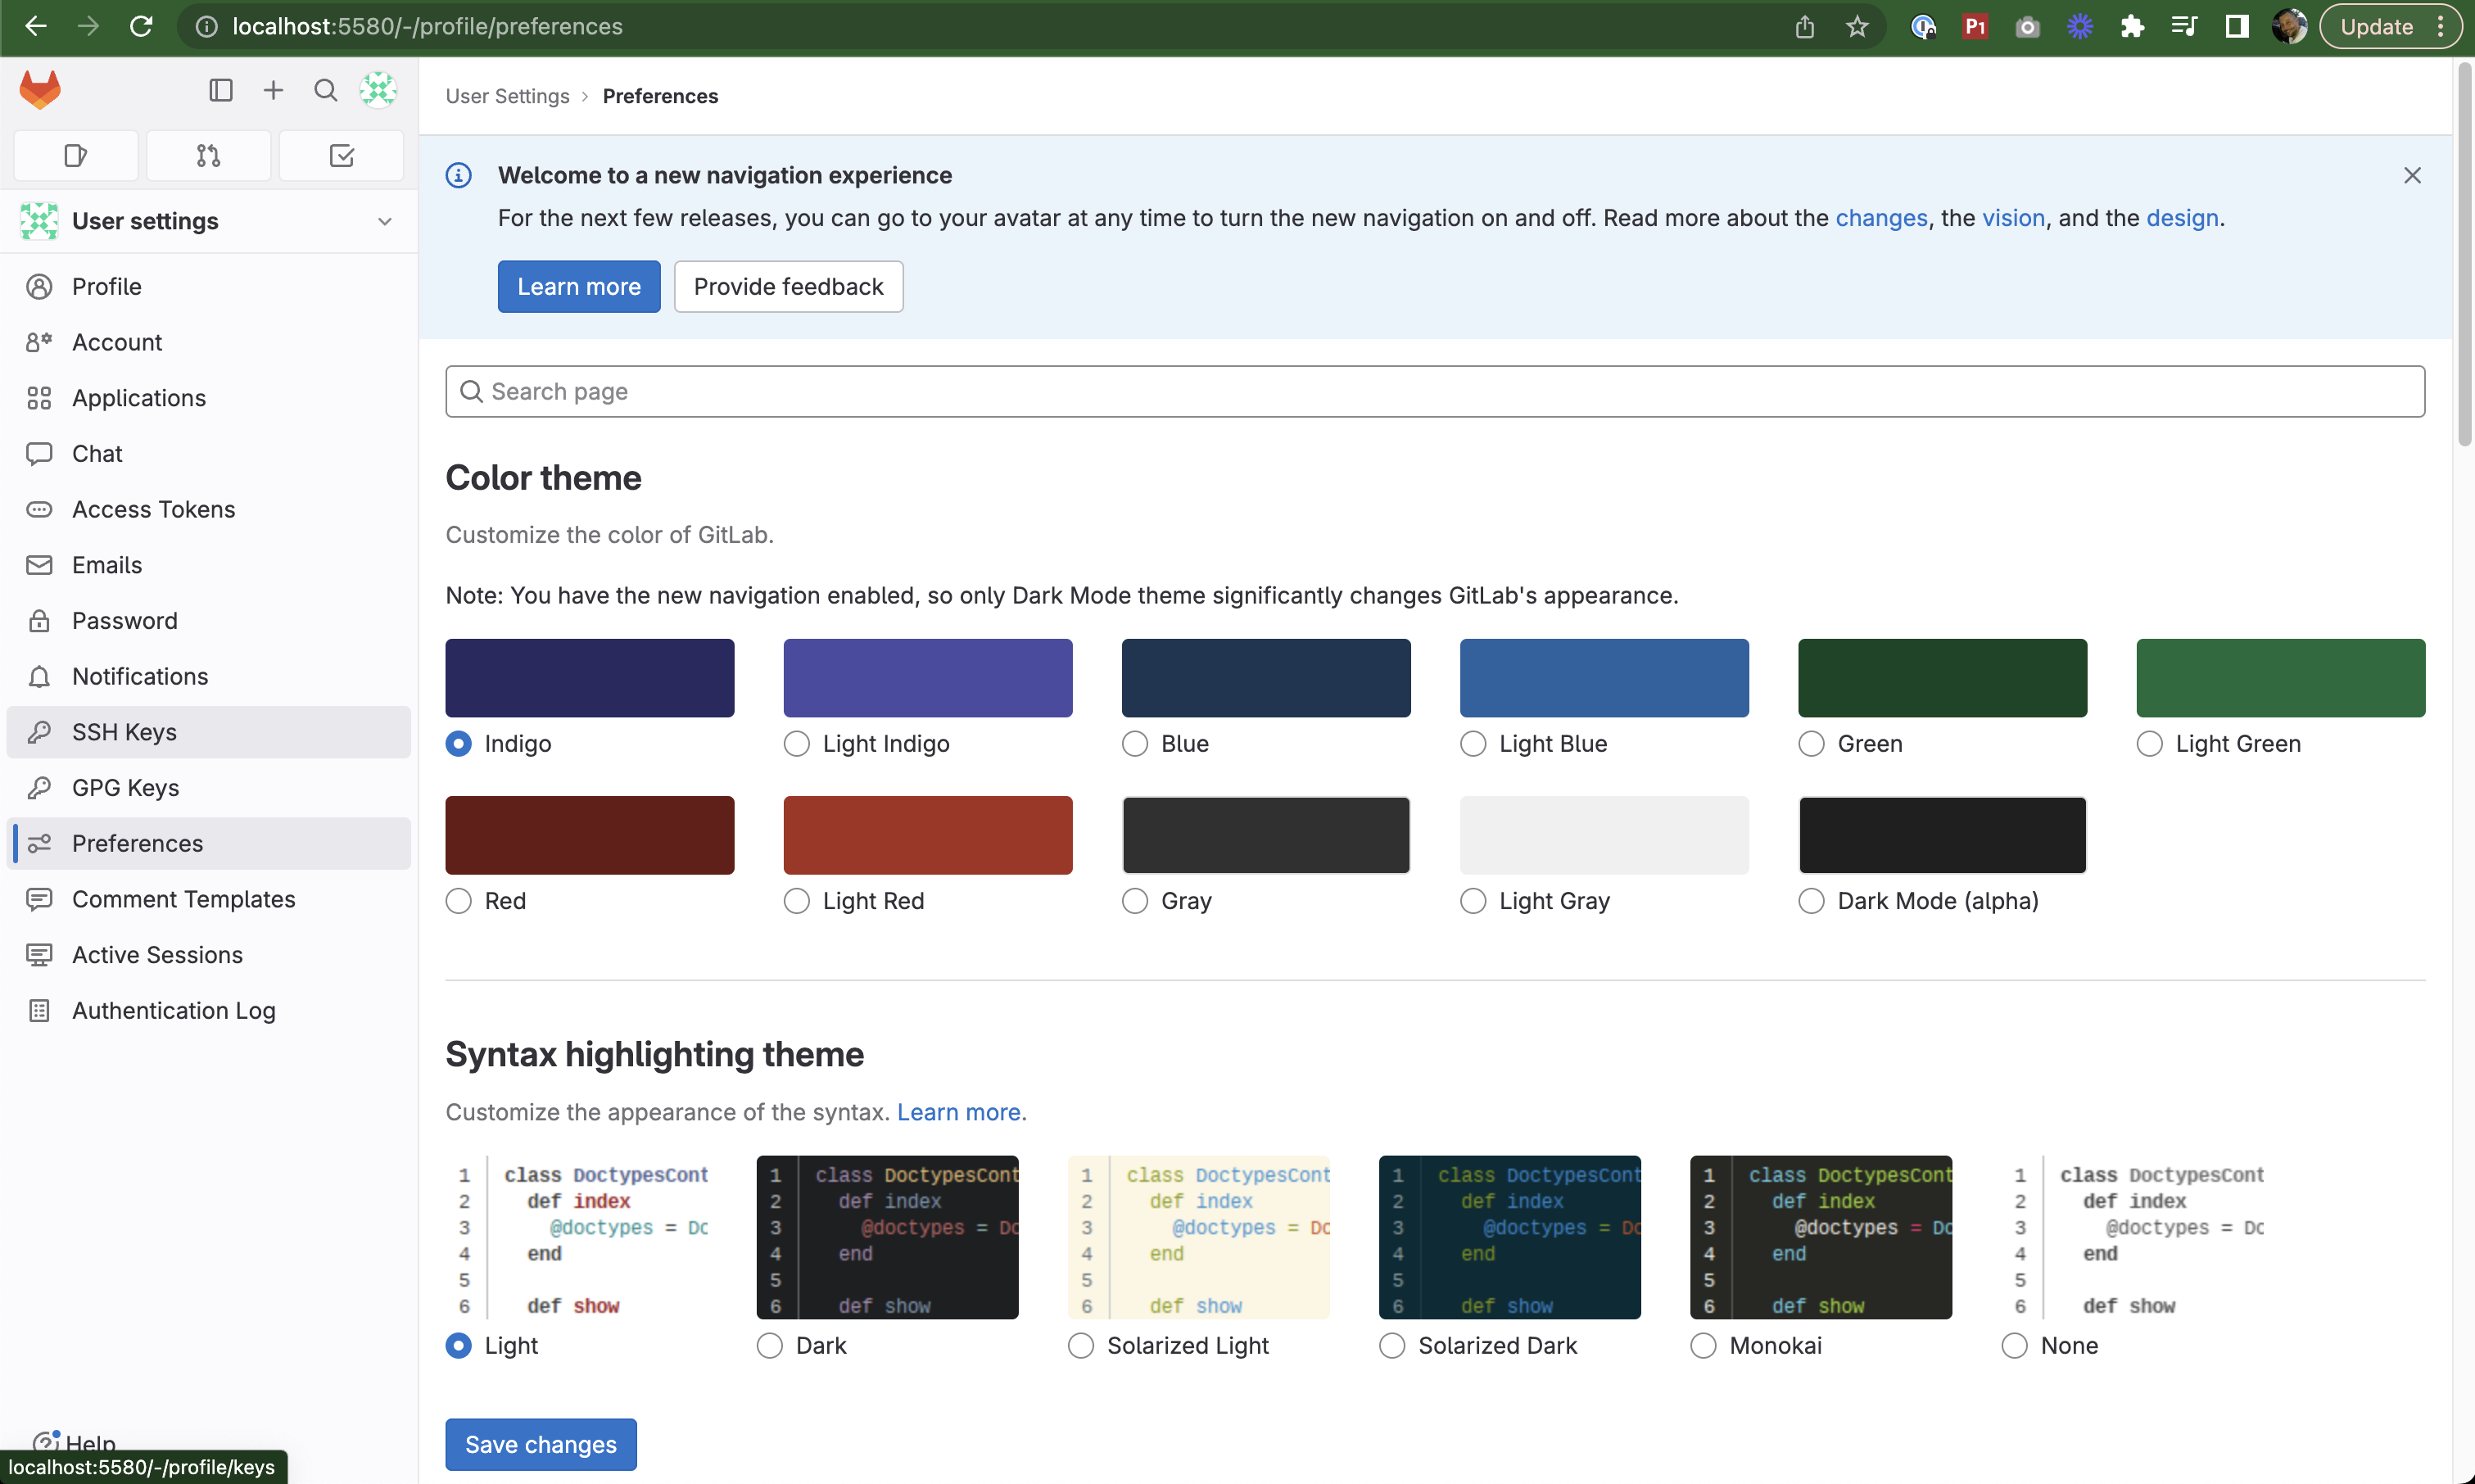
SSH Keys section in user preferences
On your local machine, retrieve your public SSH key:
cat ~/.ssh/id_rsa.pubCopy the key and paste it into the GitLab SSH key field
Important: Remove the expiry date
Click Add Key
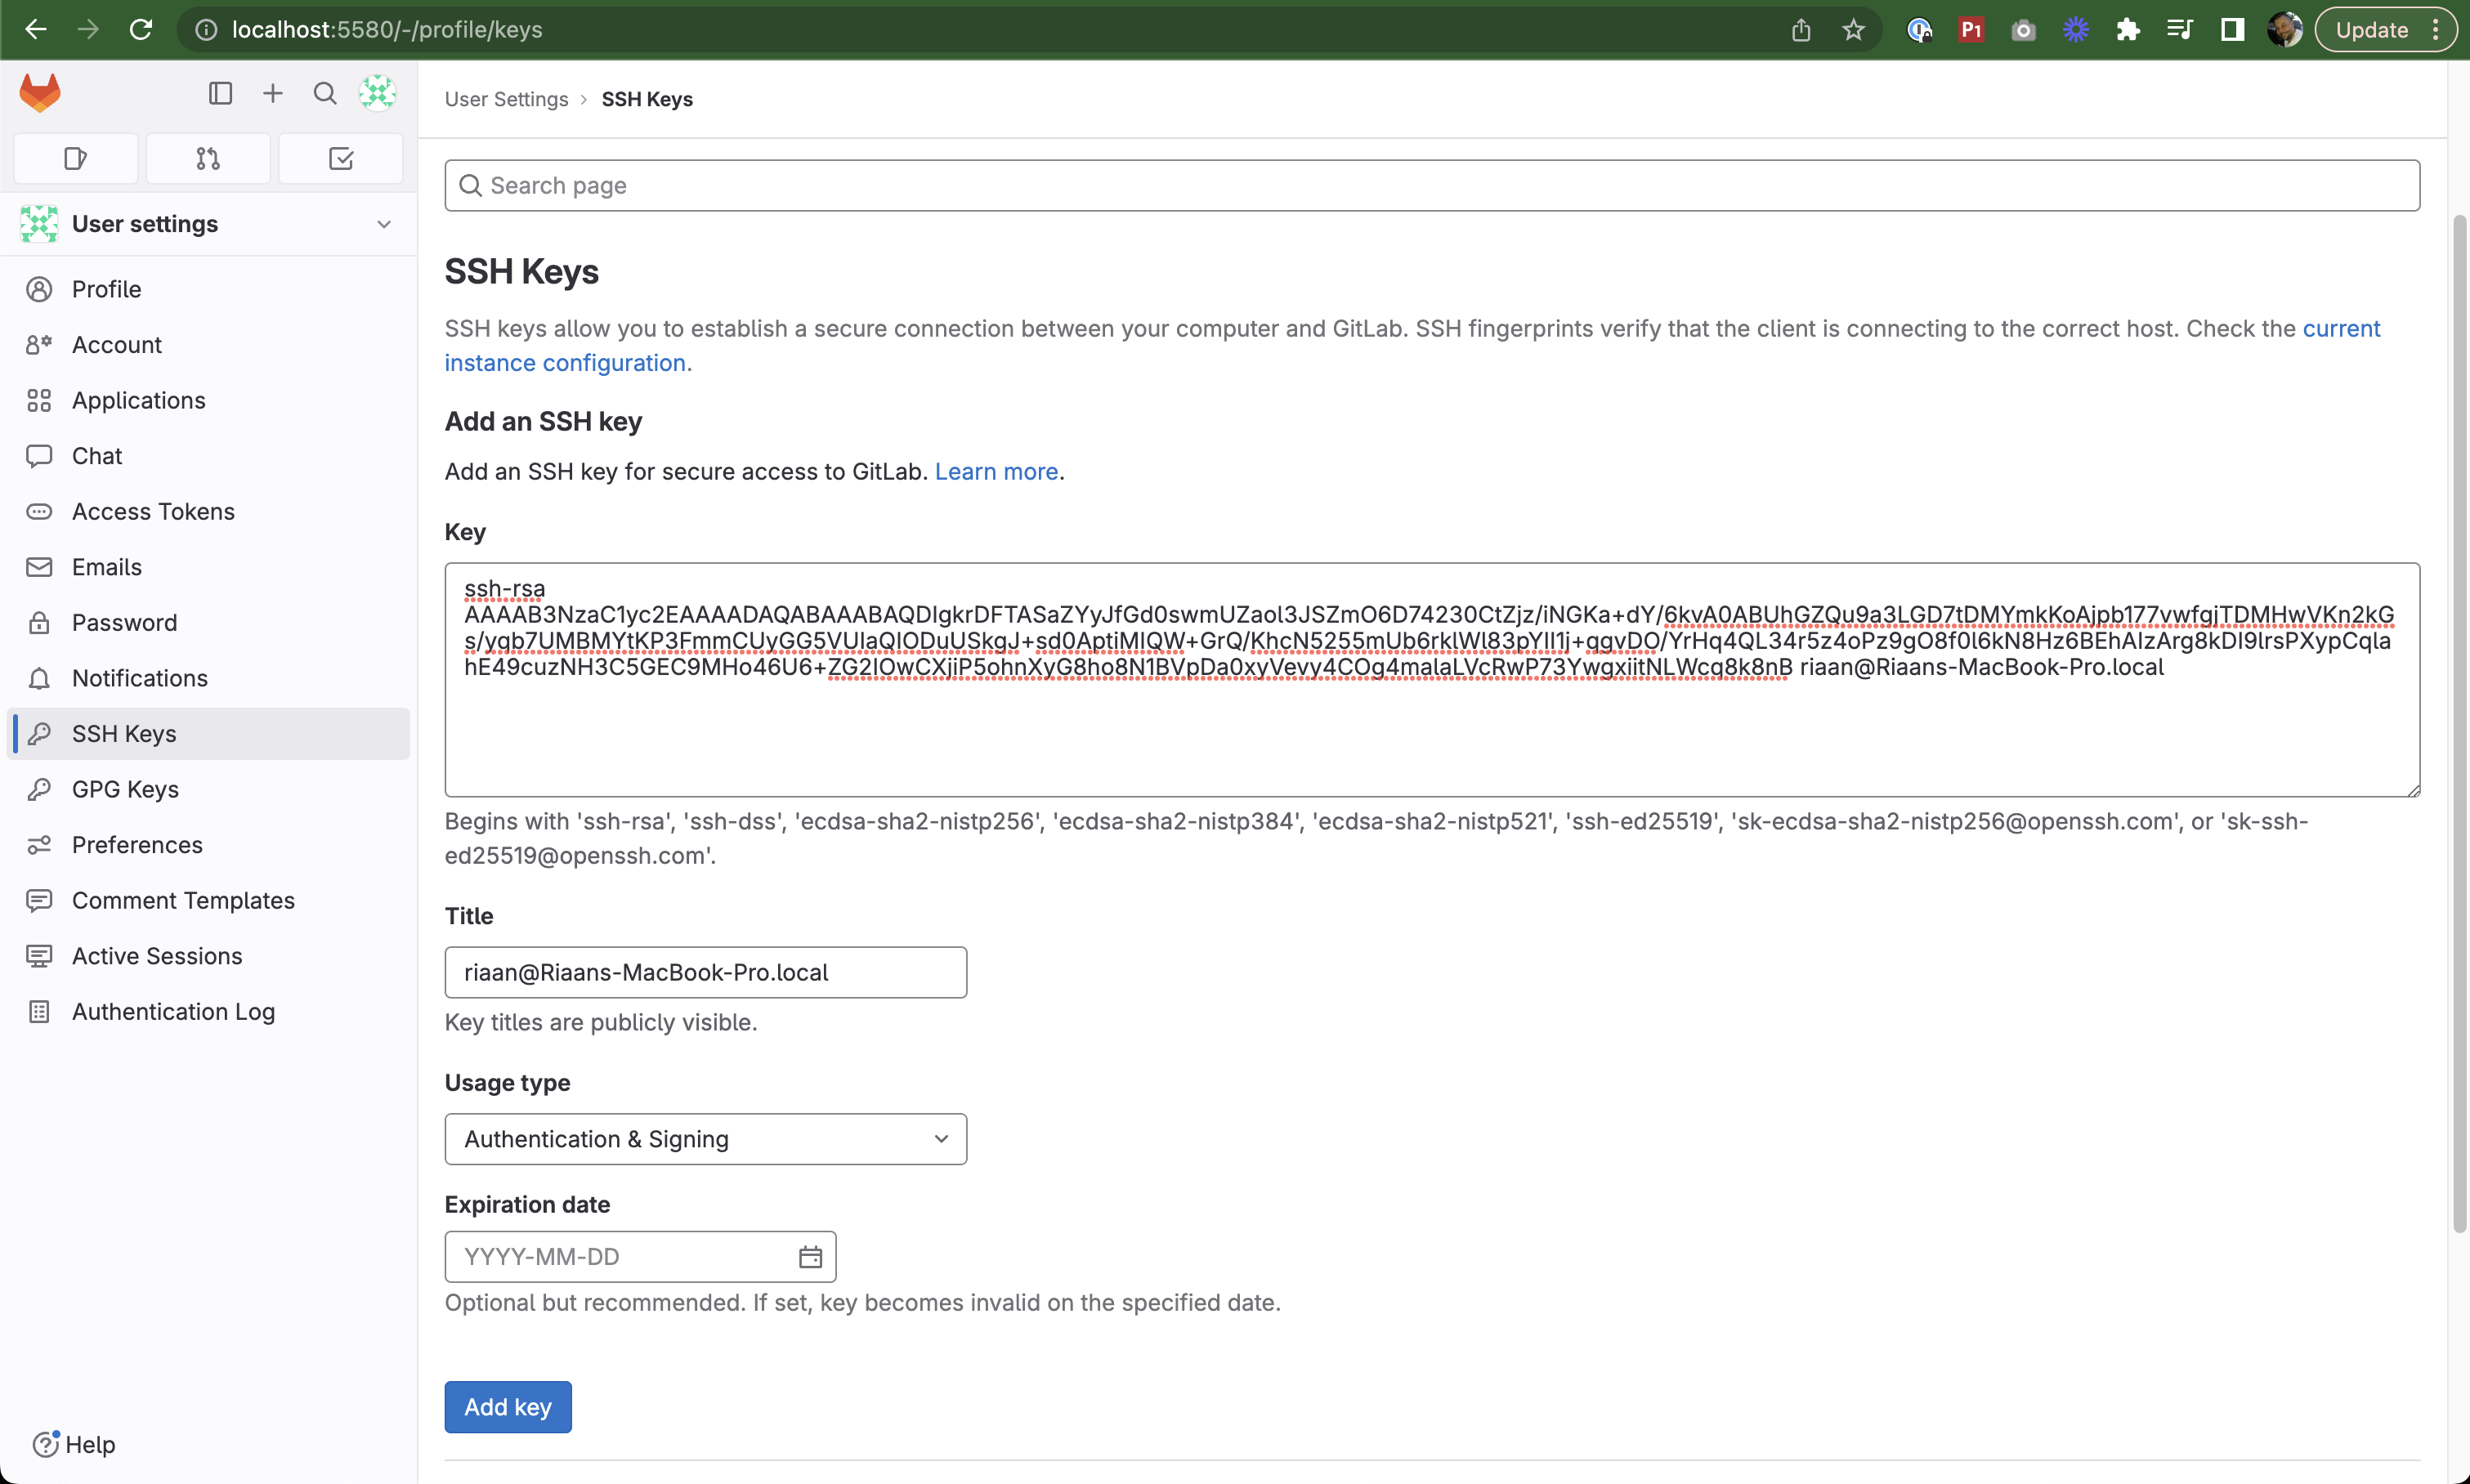
Adding an SSH key to your GitLab account
After adding the key:
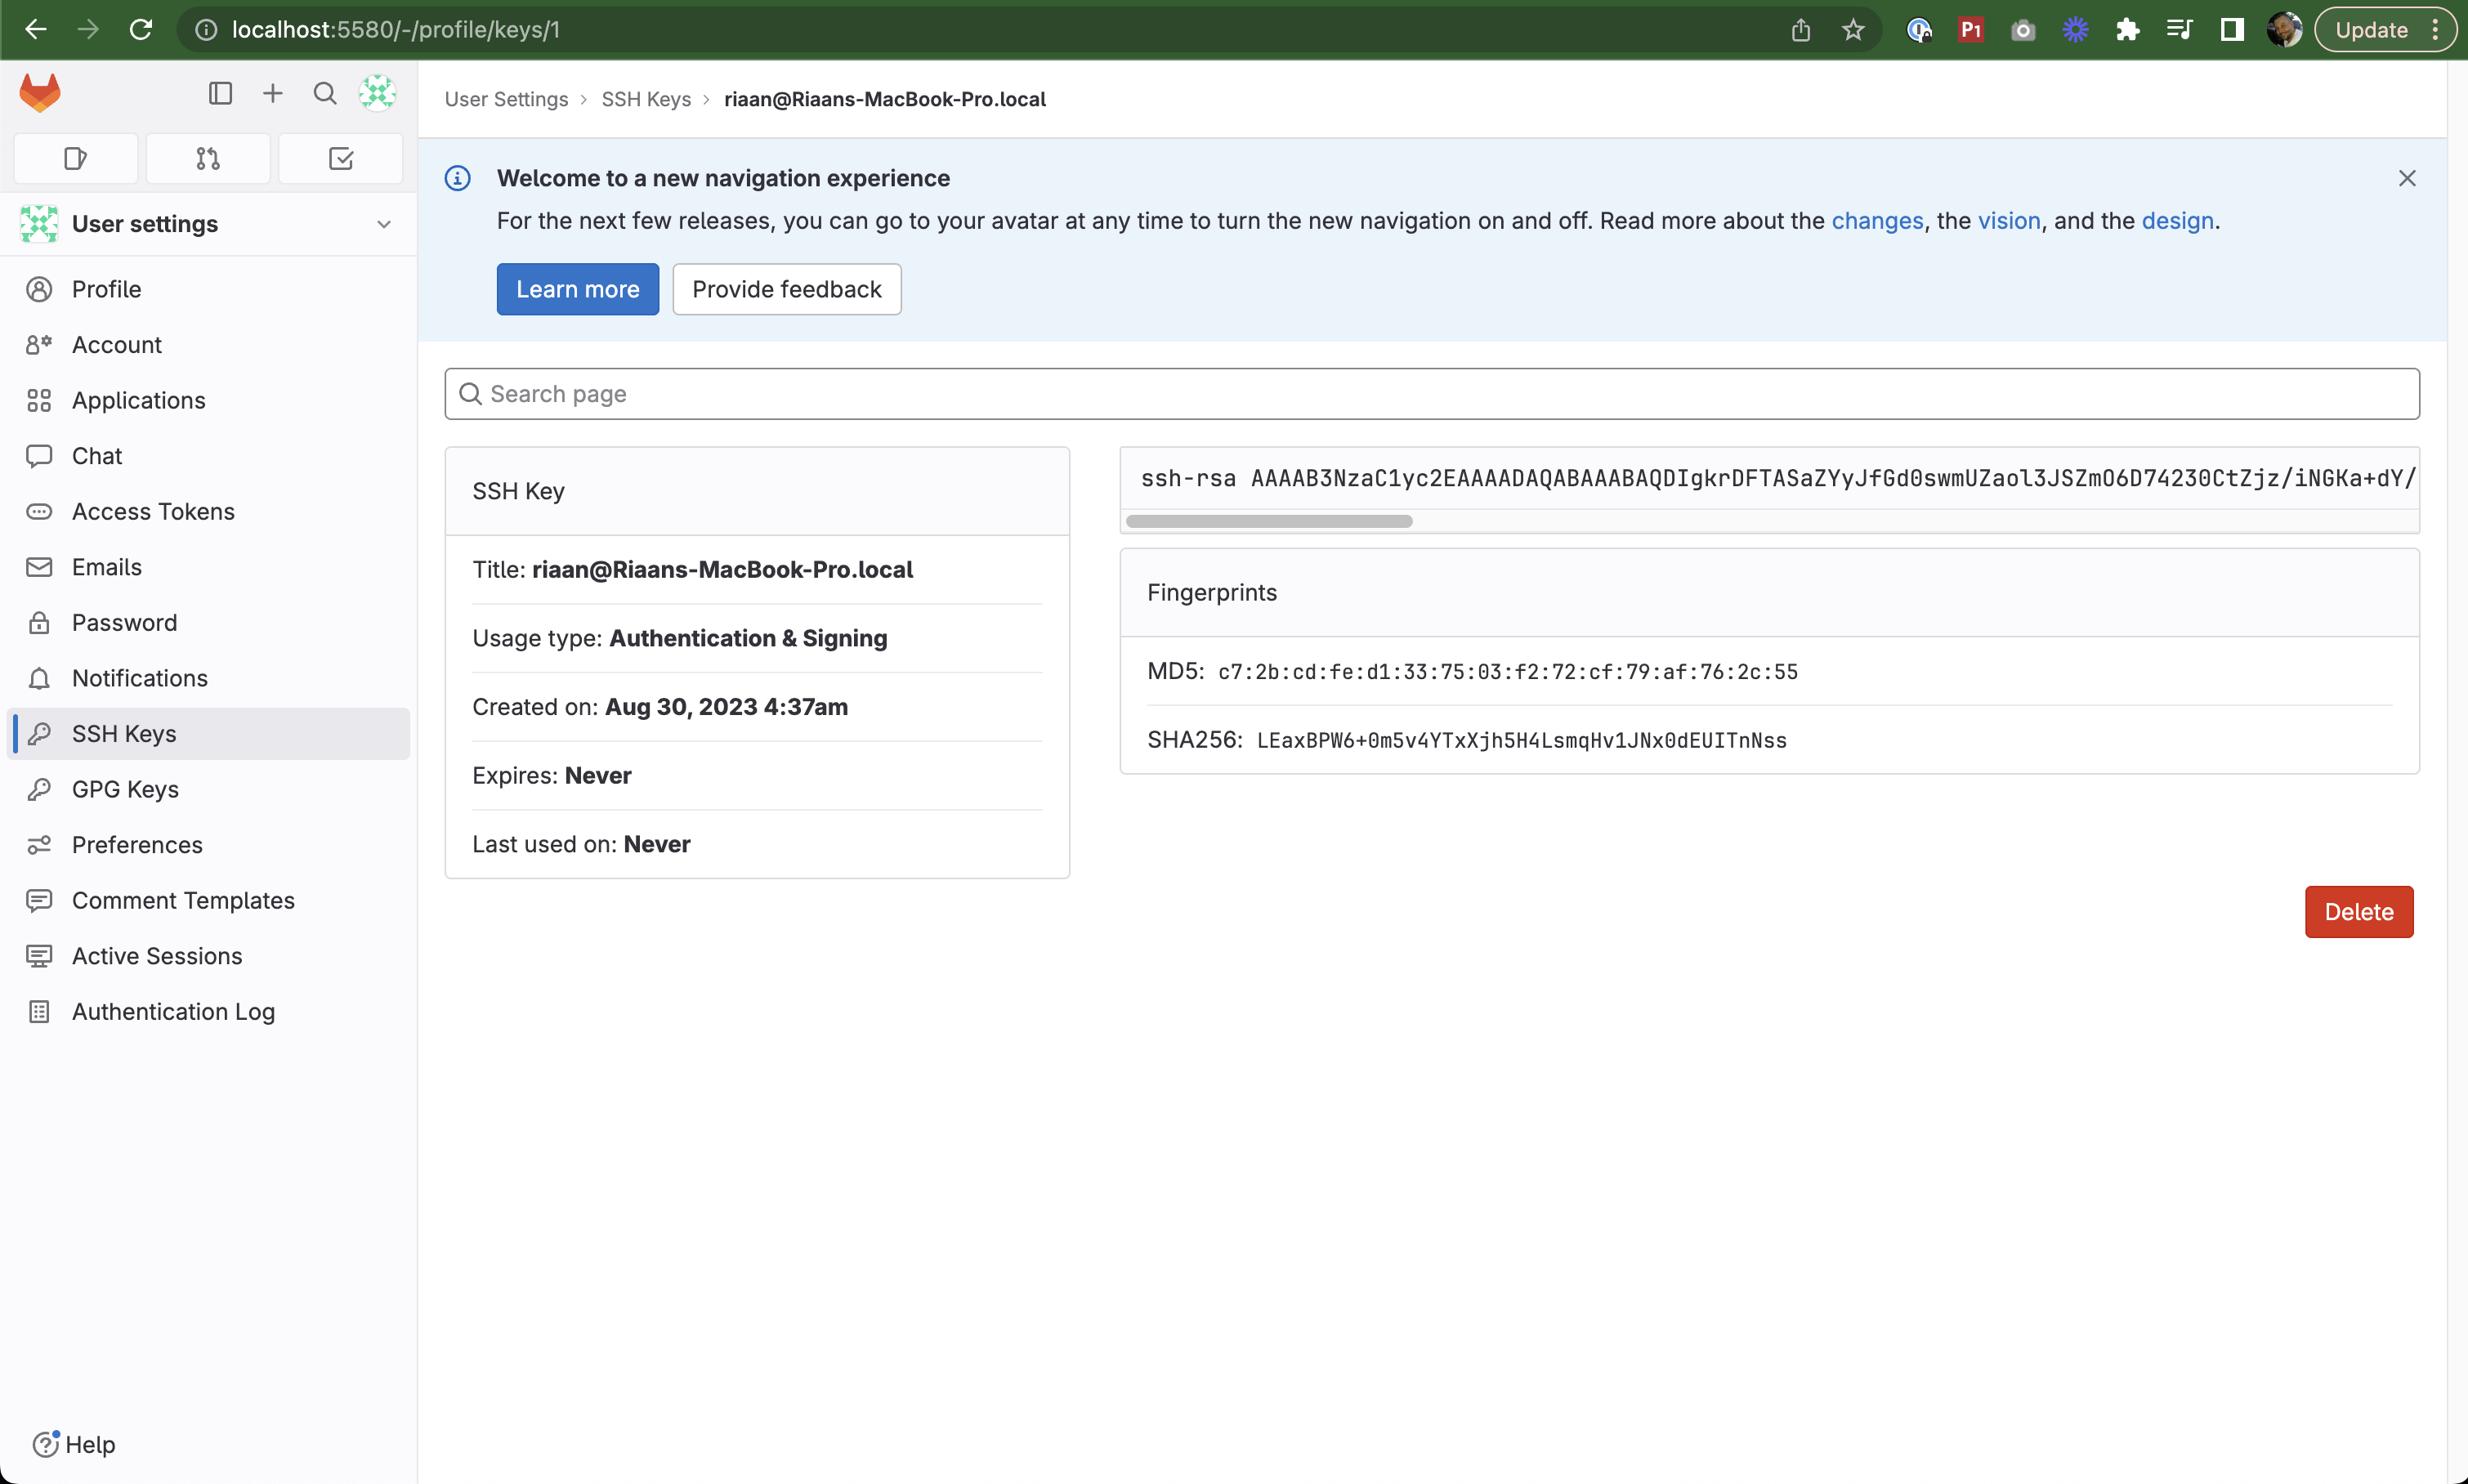
SSH key successfully added
Cloning Your Repository
- Navigate back to your test project
- Click the Clone button
- Copy the Clone with SSH URL
⚠️ Note: The HTTP link doesn't work correctly due to a bug with the port configuration. Use SSH instead.
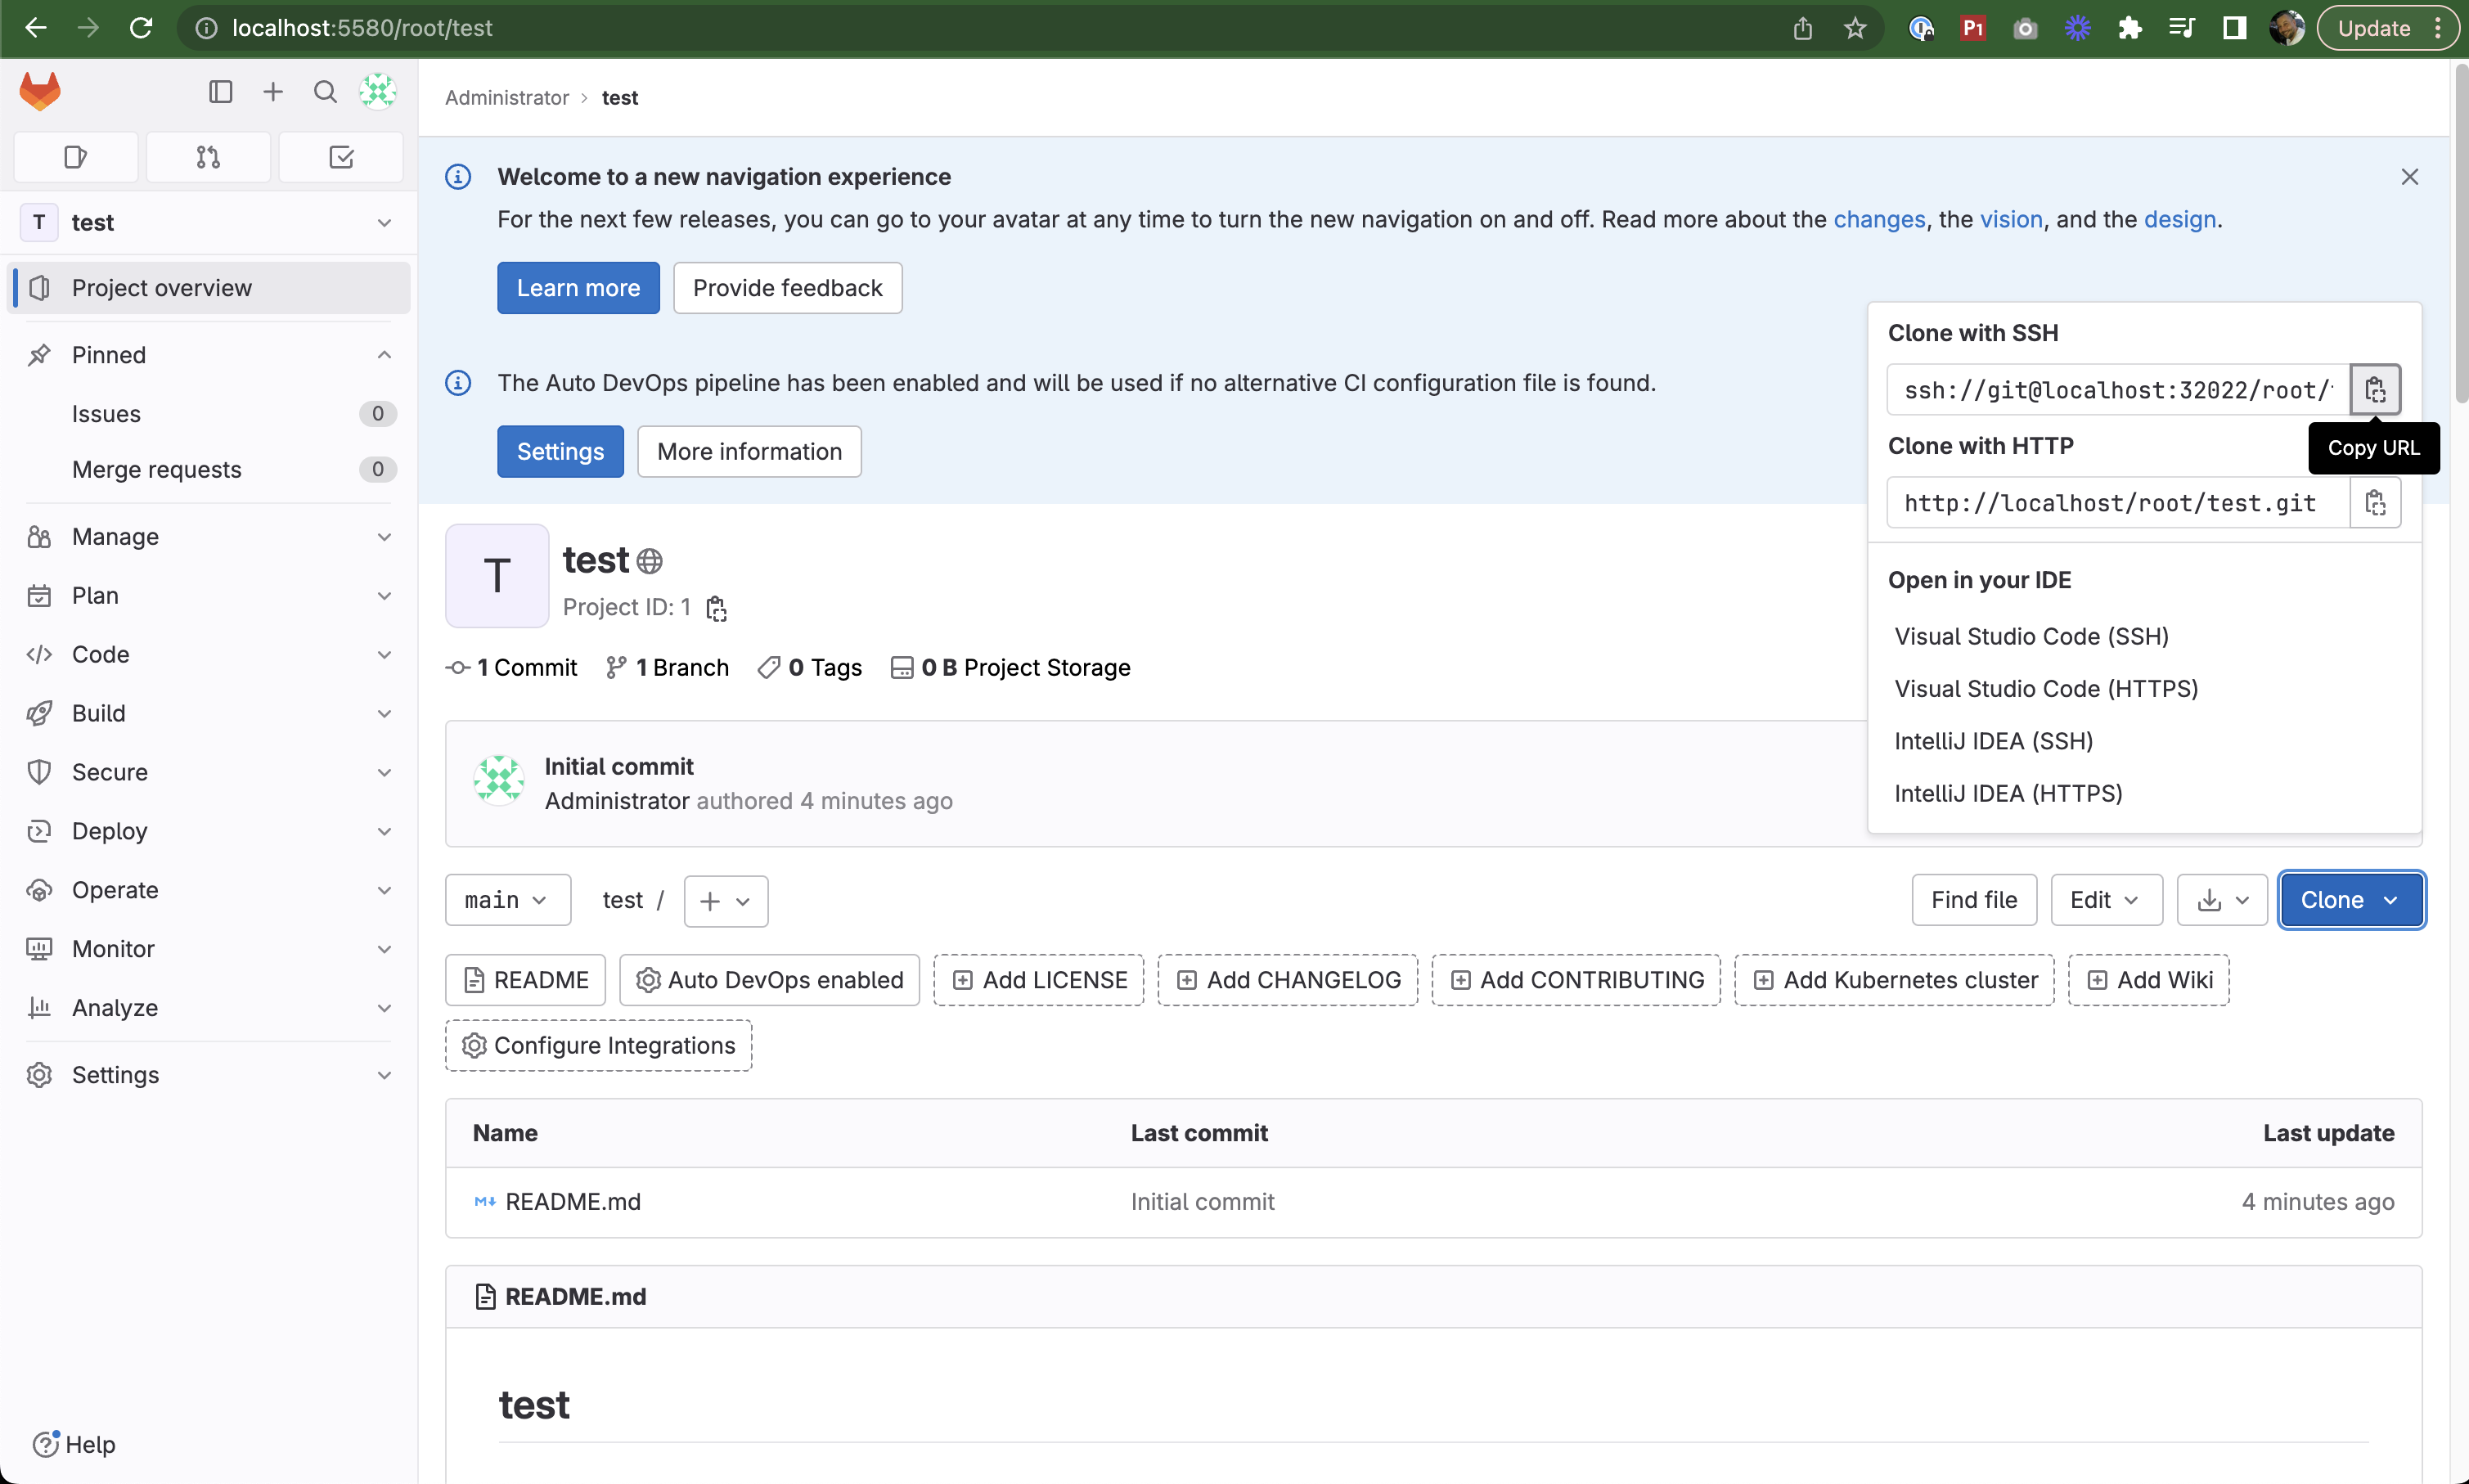
Copying the SSH clone URL
Clone the repository:
git clone ssh://git@localhost:32022/root/test.git
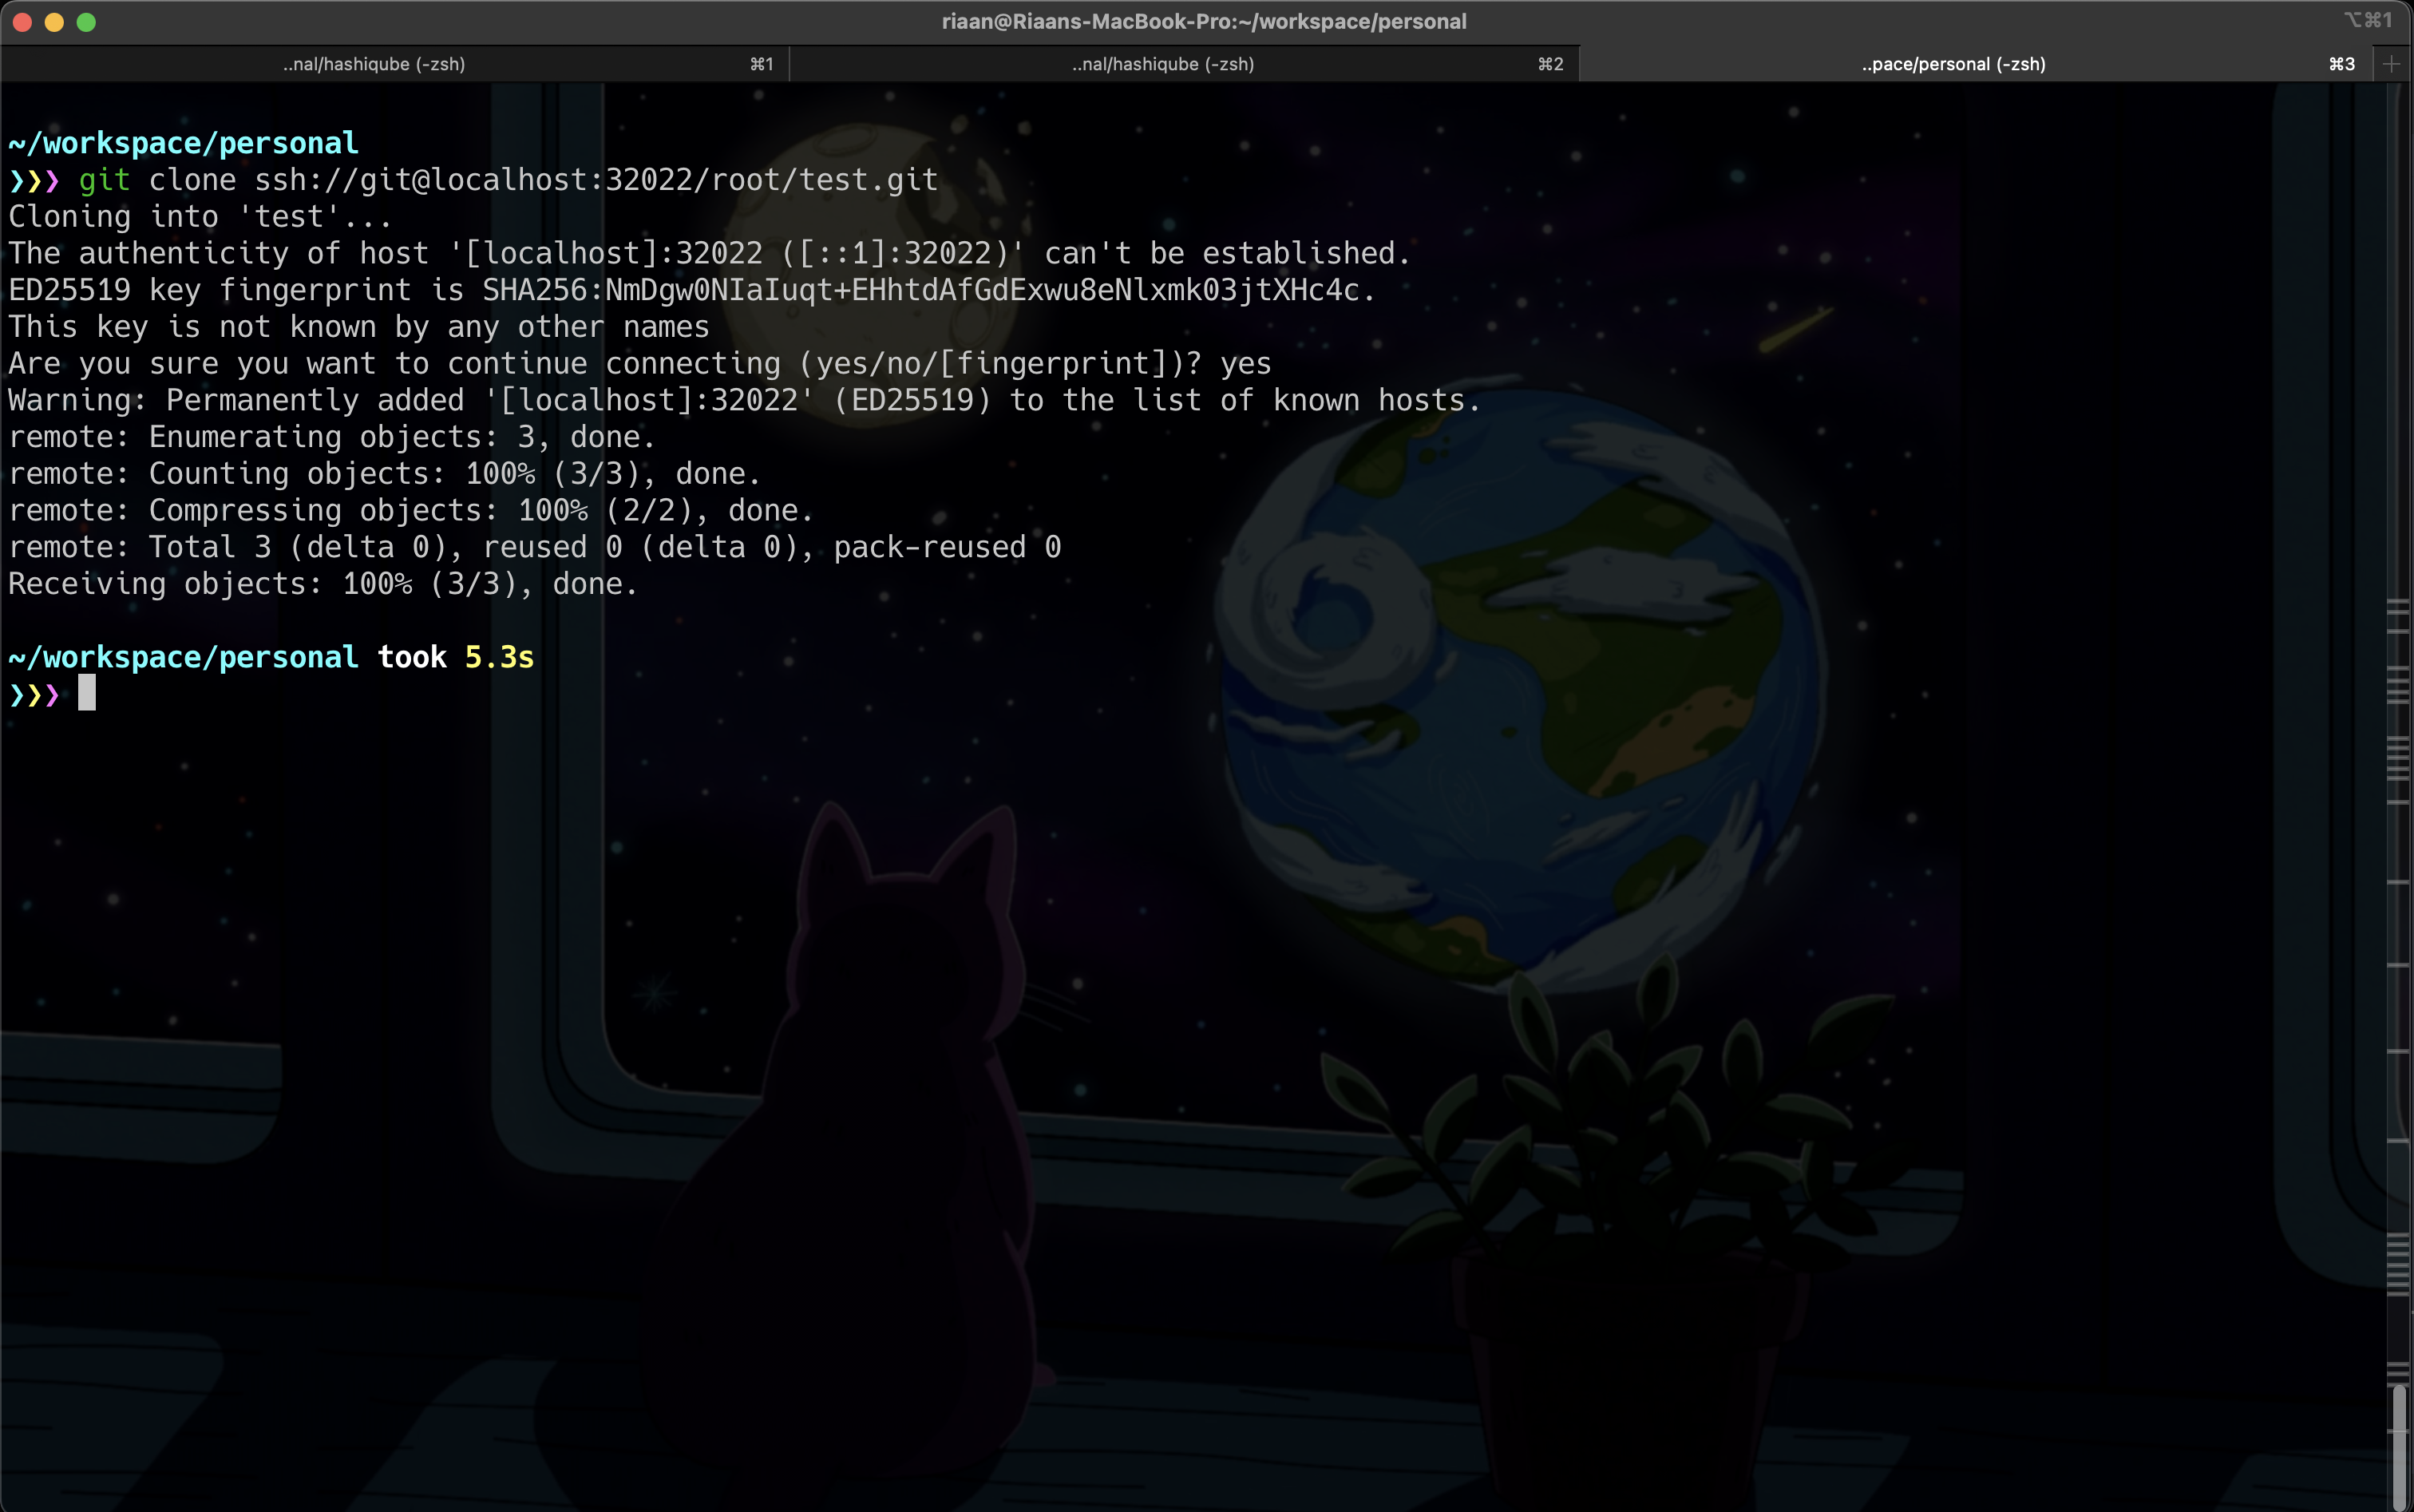
Successfully cloning the repository
Creating a GitLab CI Pipeline
In your local repository, create a
.gitlab-ci.ymlfile:cd test nano .gitlab-ci.ymlAdd the following pipeline configuration:
variables:
  REPOSITORY_URL: xxxxxxxxxxxxx.dkr.ecr.eu-west-1.amazonaws.com/container

stages:
  - test
  - build
  - dev
  - stg
  - prd

test:
  stage: test
  script:
    - echo 'Here you can run tests'

build:
  stage: build
  script:
    - echo 'After Test stage was successful, here you can run build your container'

dev:
  stage: dev
  script:
    - echo 'After Build stage was successful, here you can run your Development environment deployment'

stg:
  stage: stg
  script:
    - echo 'After Dev stage was successful, here you can run your Staging environment deployment'

prd:
  stage: prd
  script:
    - echo 'After Stg stage was successful, here you can run your Production environment deployment'
Commit and push the changes:
git add .gitlab-ci.yml
git commit -am "adding .gitlab-ci.yml pipeline file"
git push
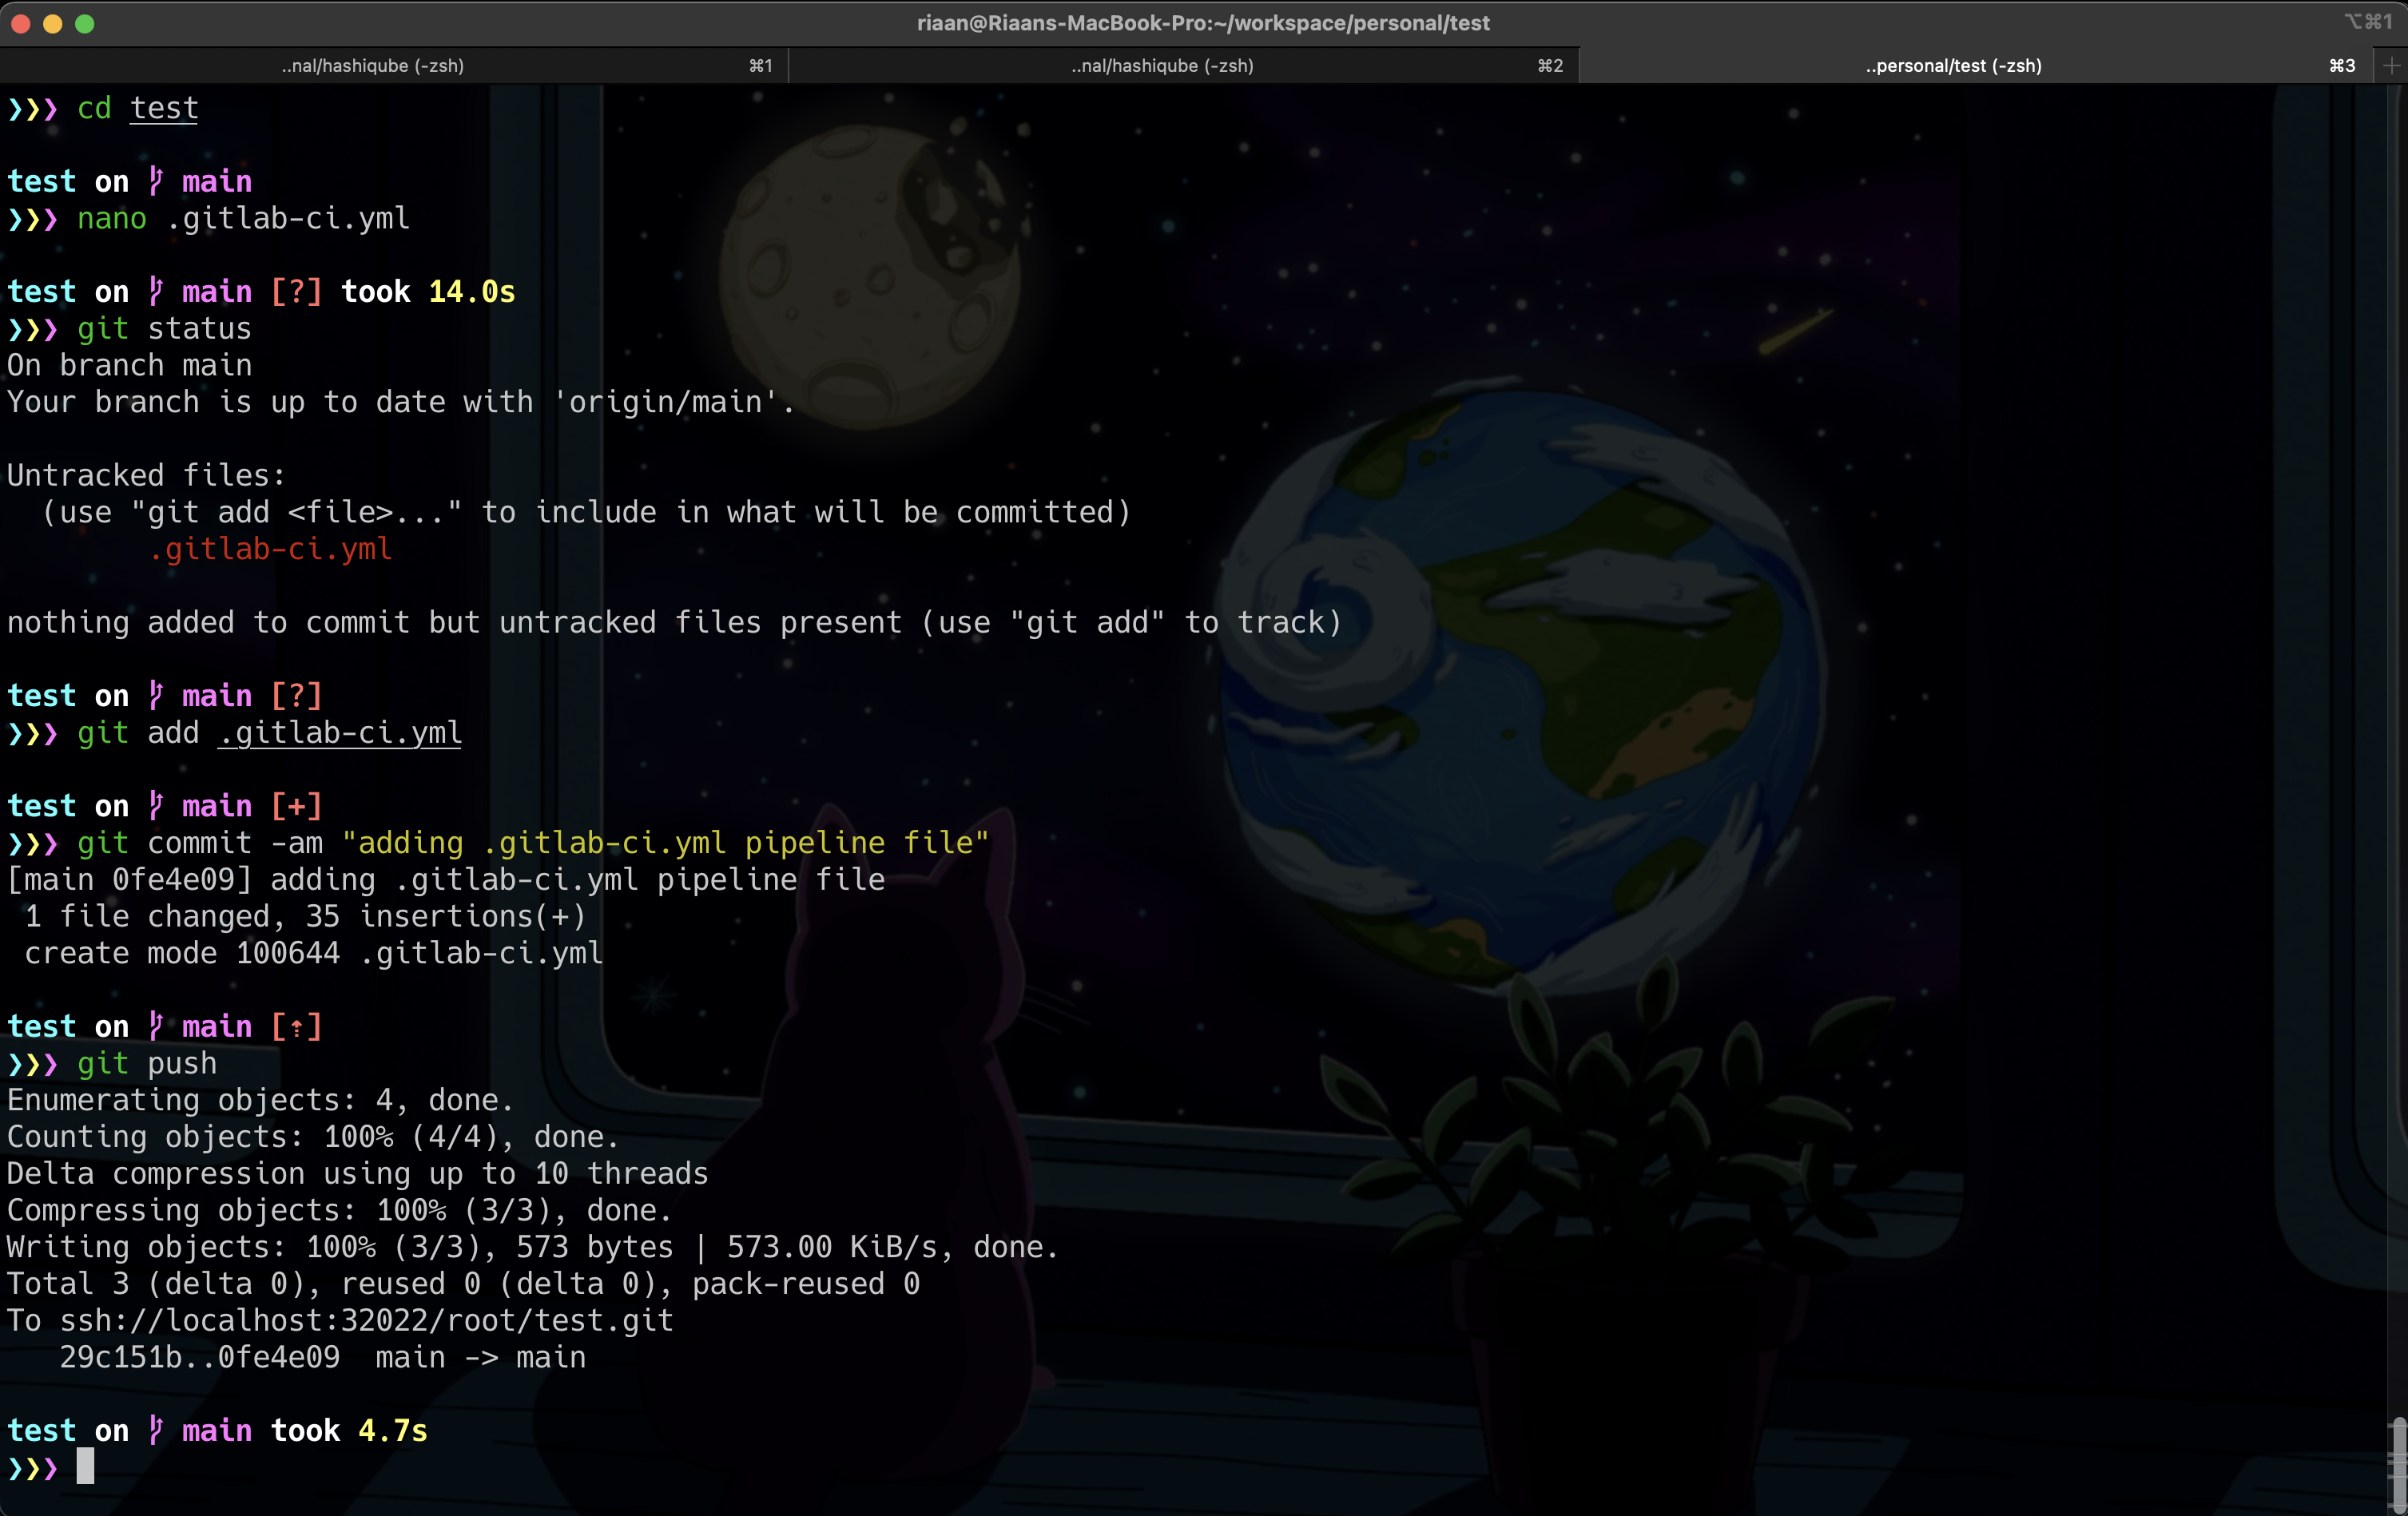
Adding a CI pipeline file to the repository
After pushing, you'll see the file in your repository:
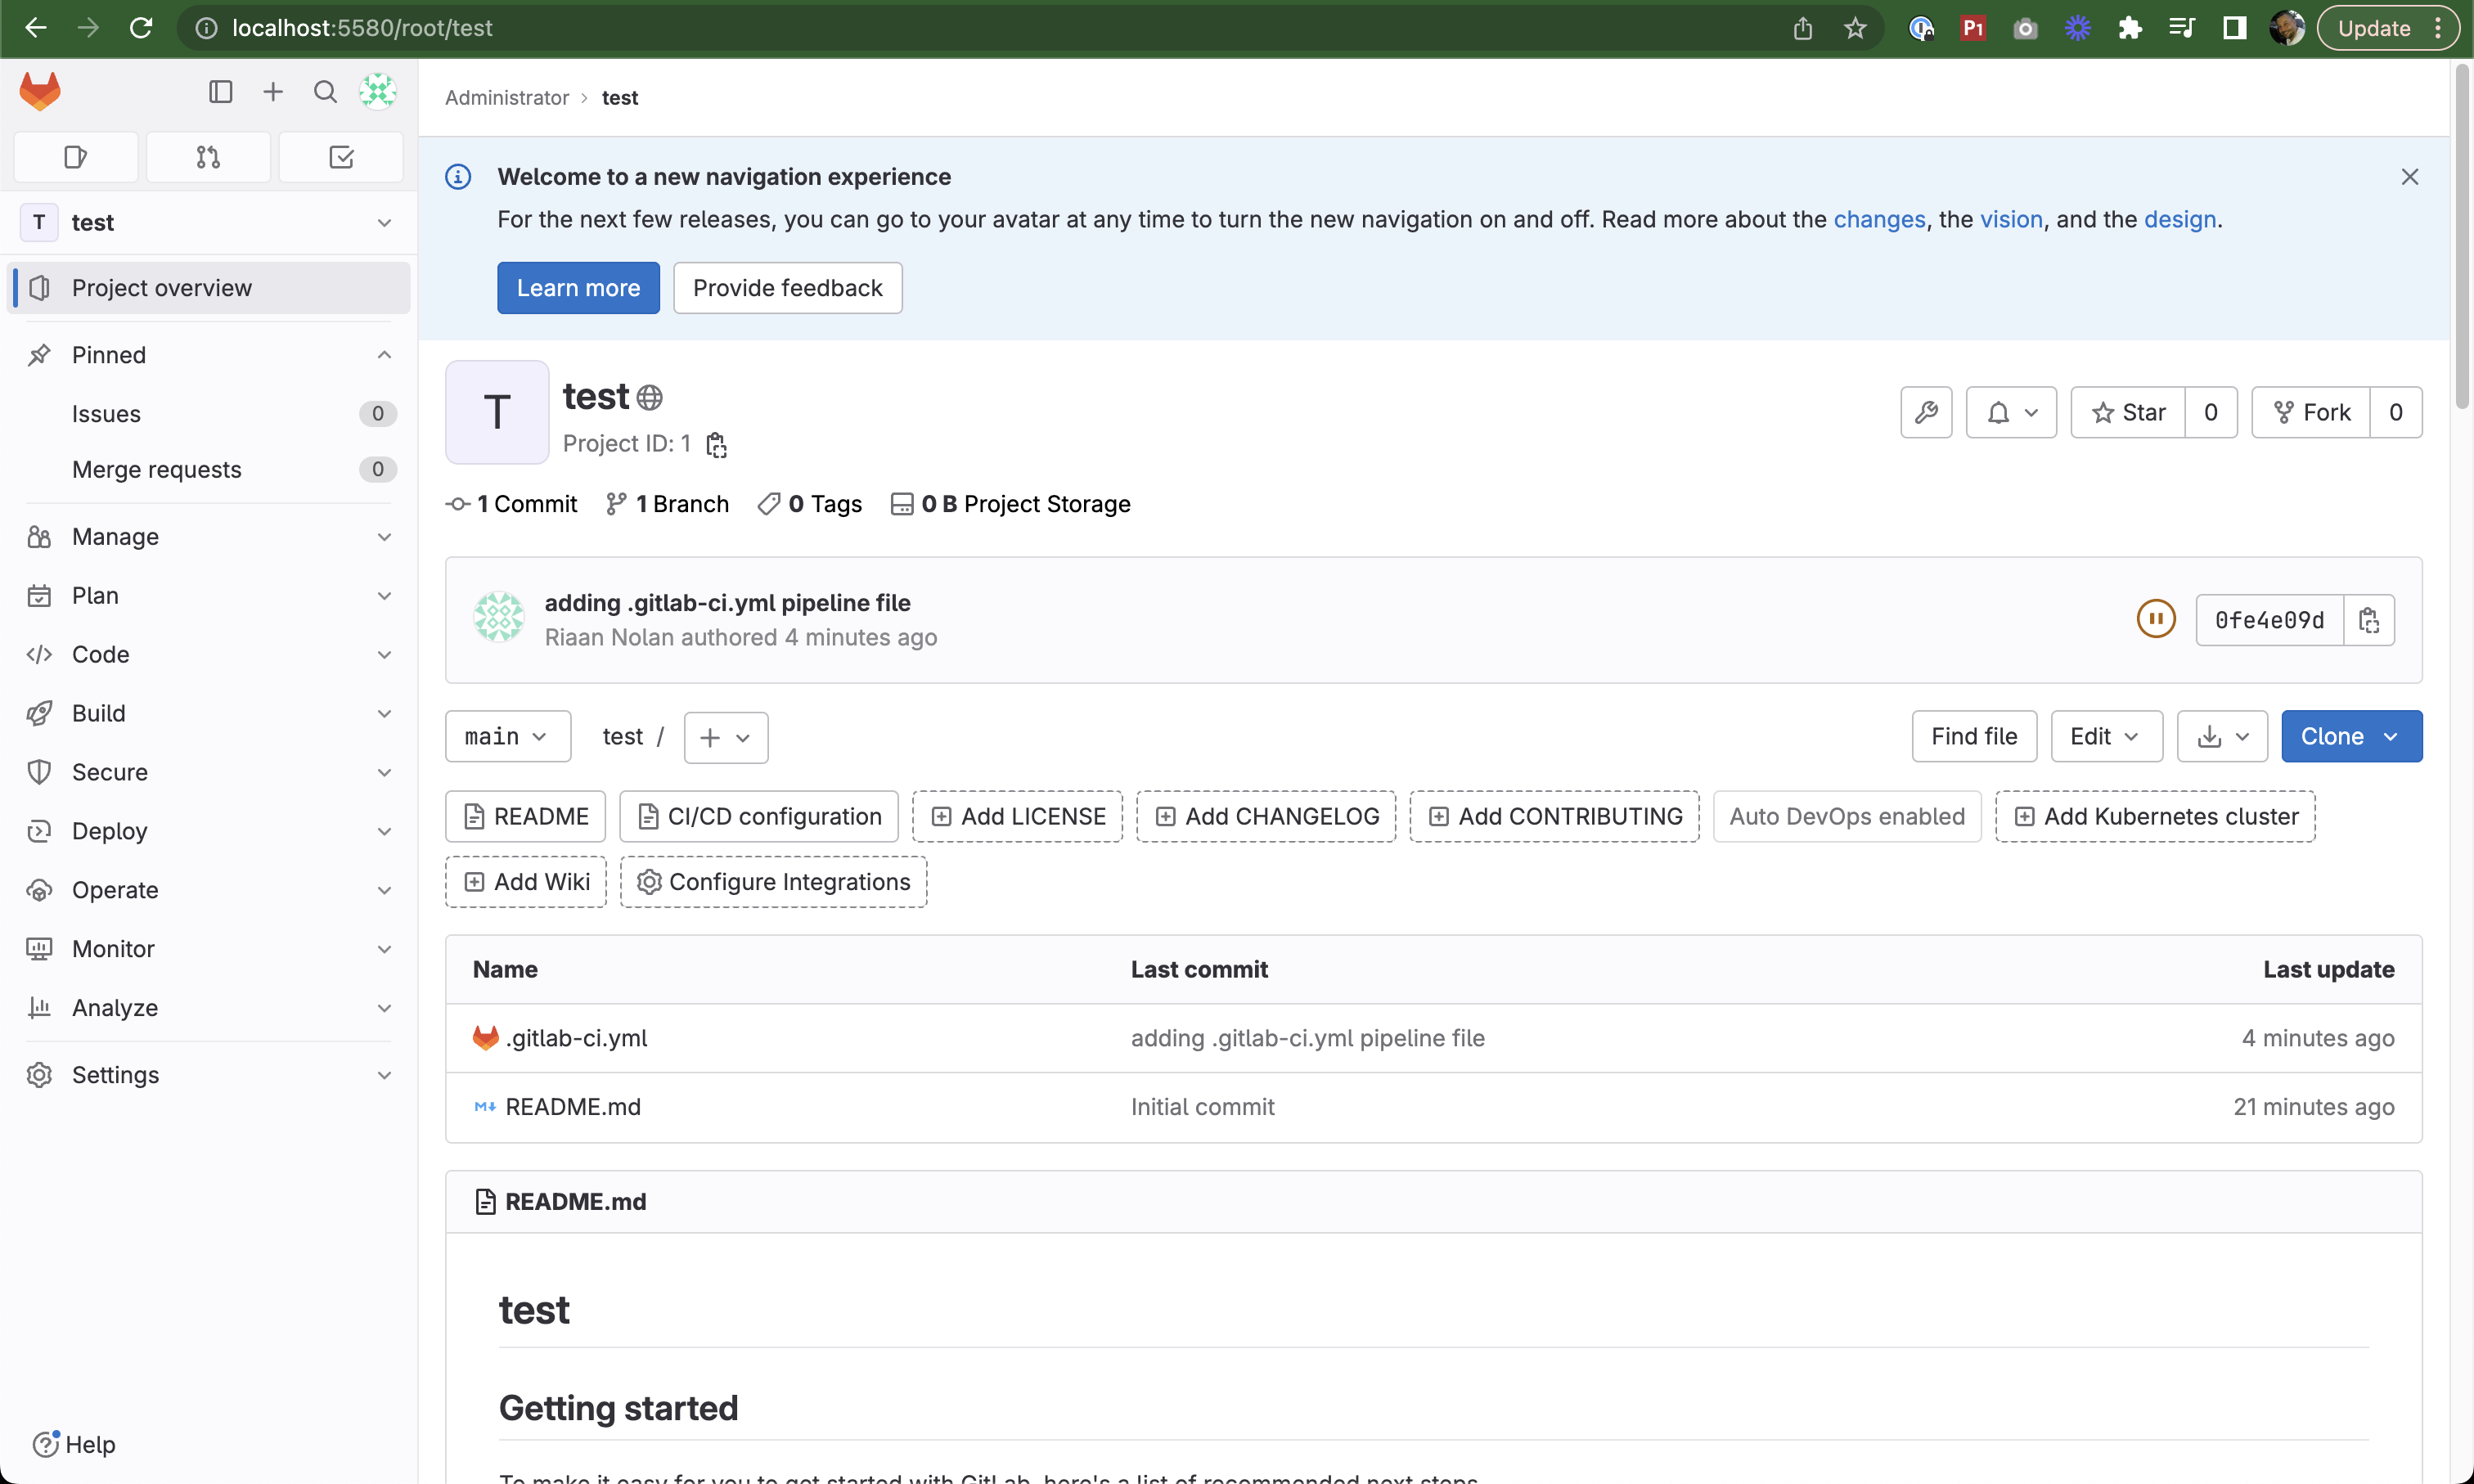
Pipeline file added to the repository
Setting Up a GitLab Runner
- In your project, navigate to Settings → CI/CD
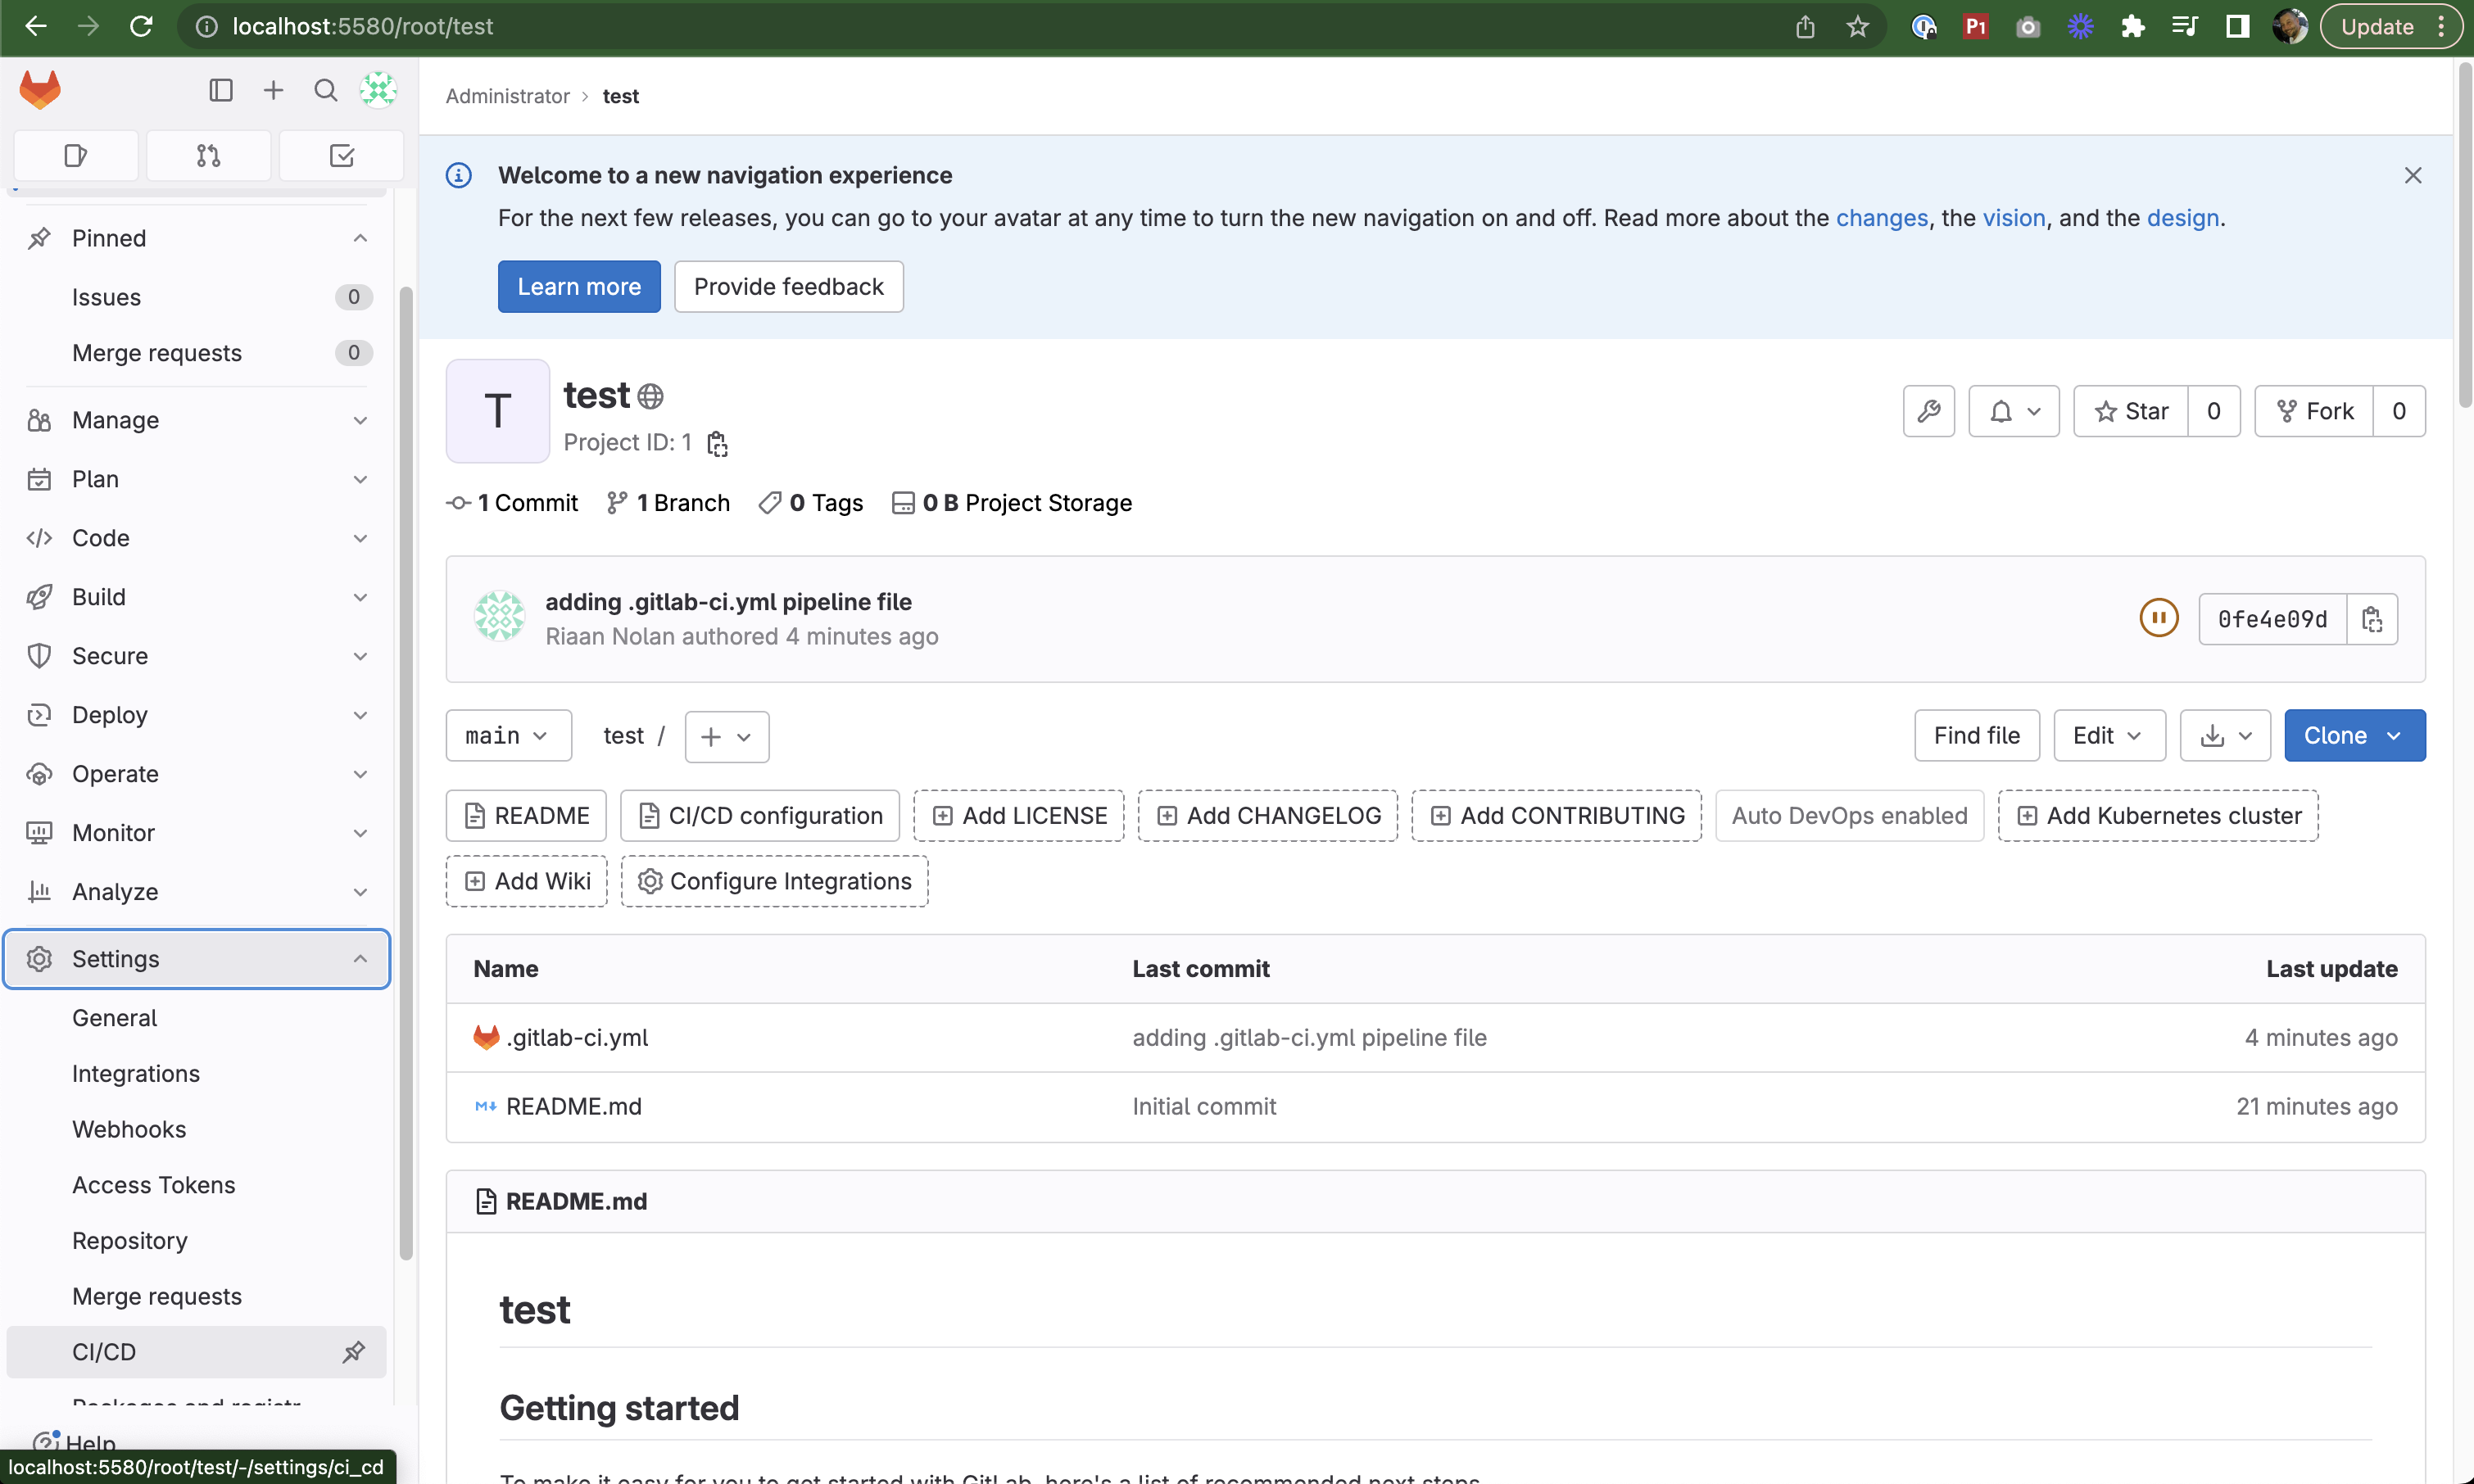
Navigating to CI/CD settings
- Expand the Runners section
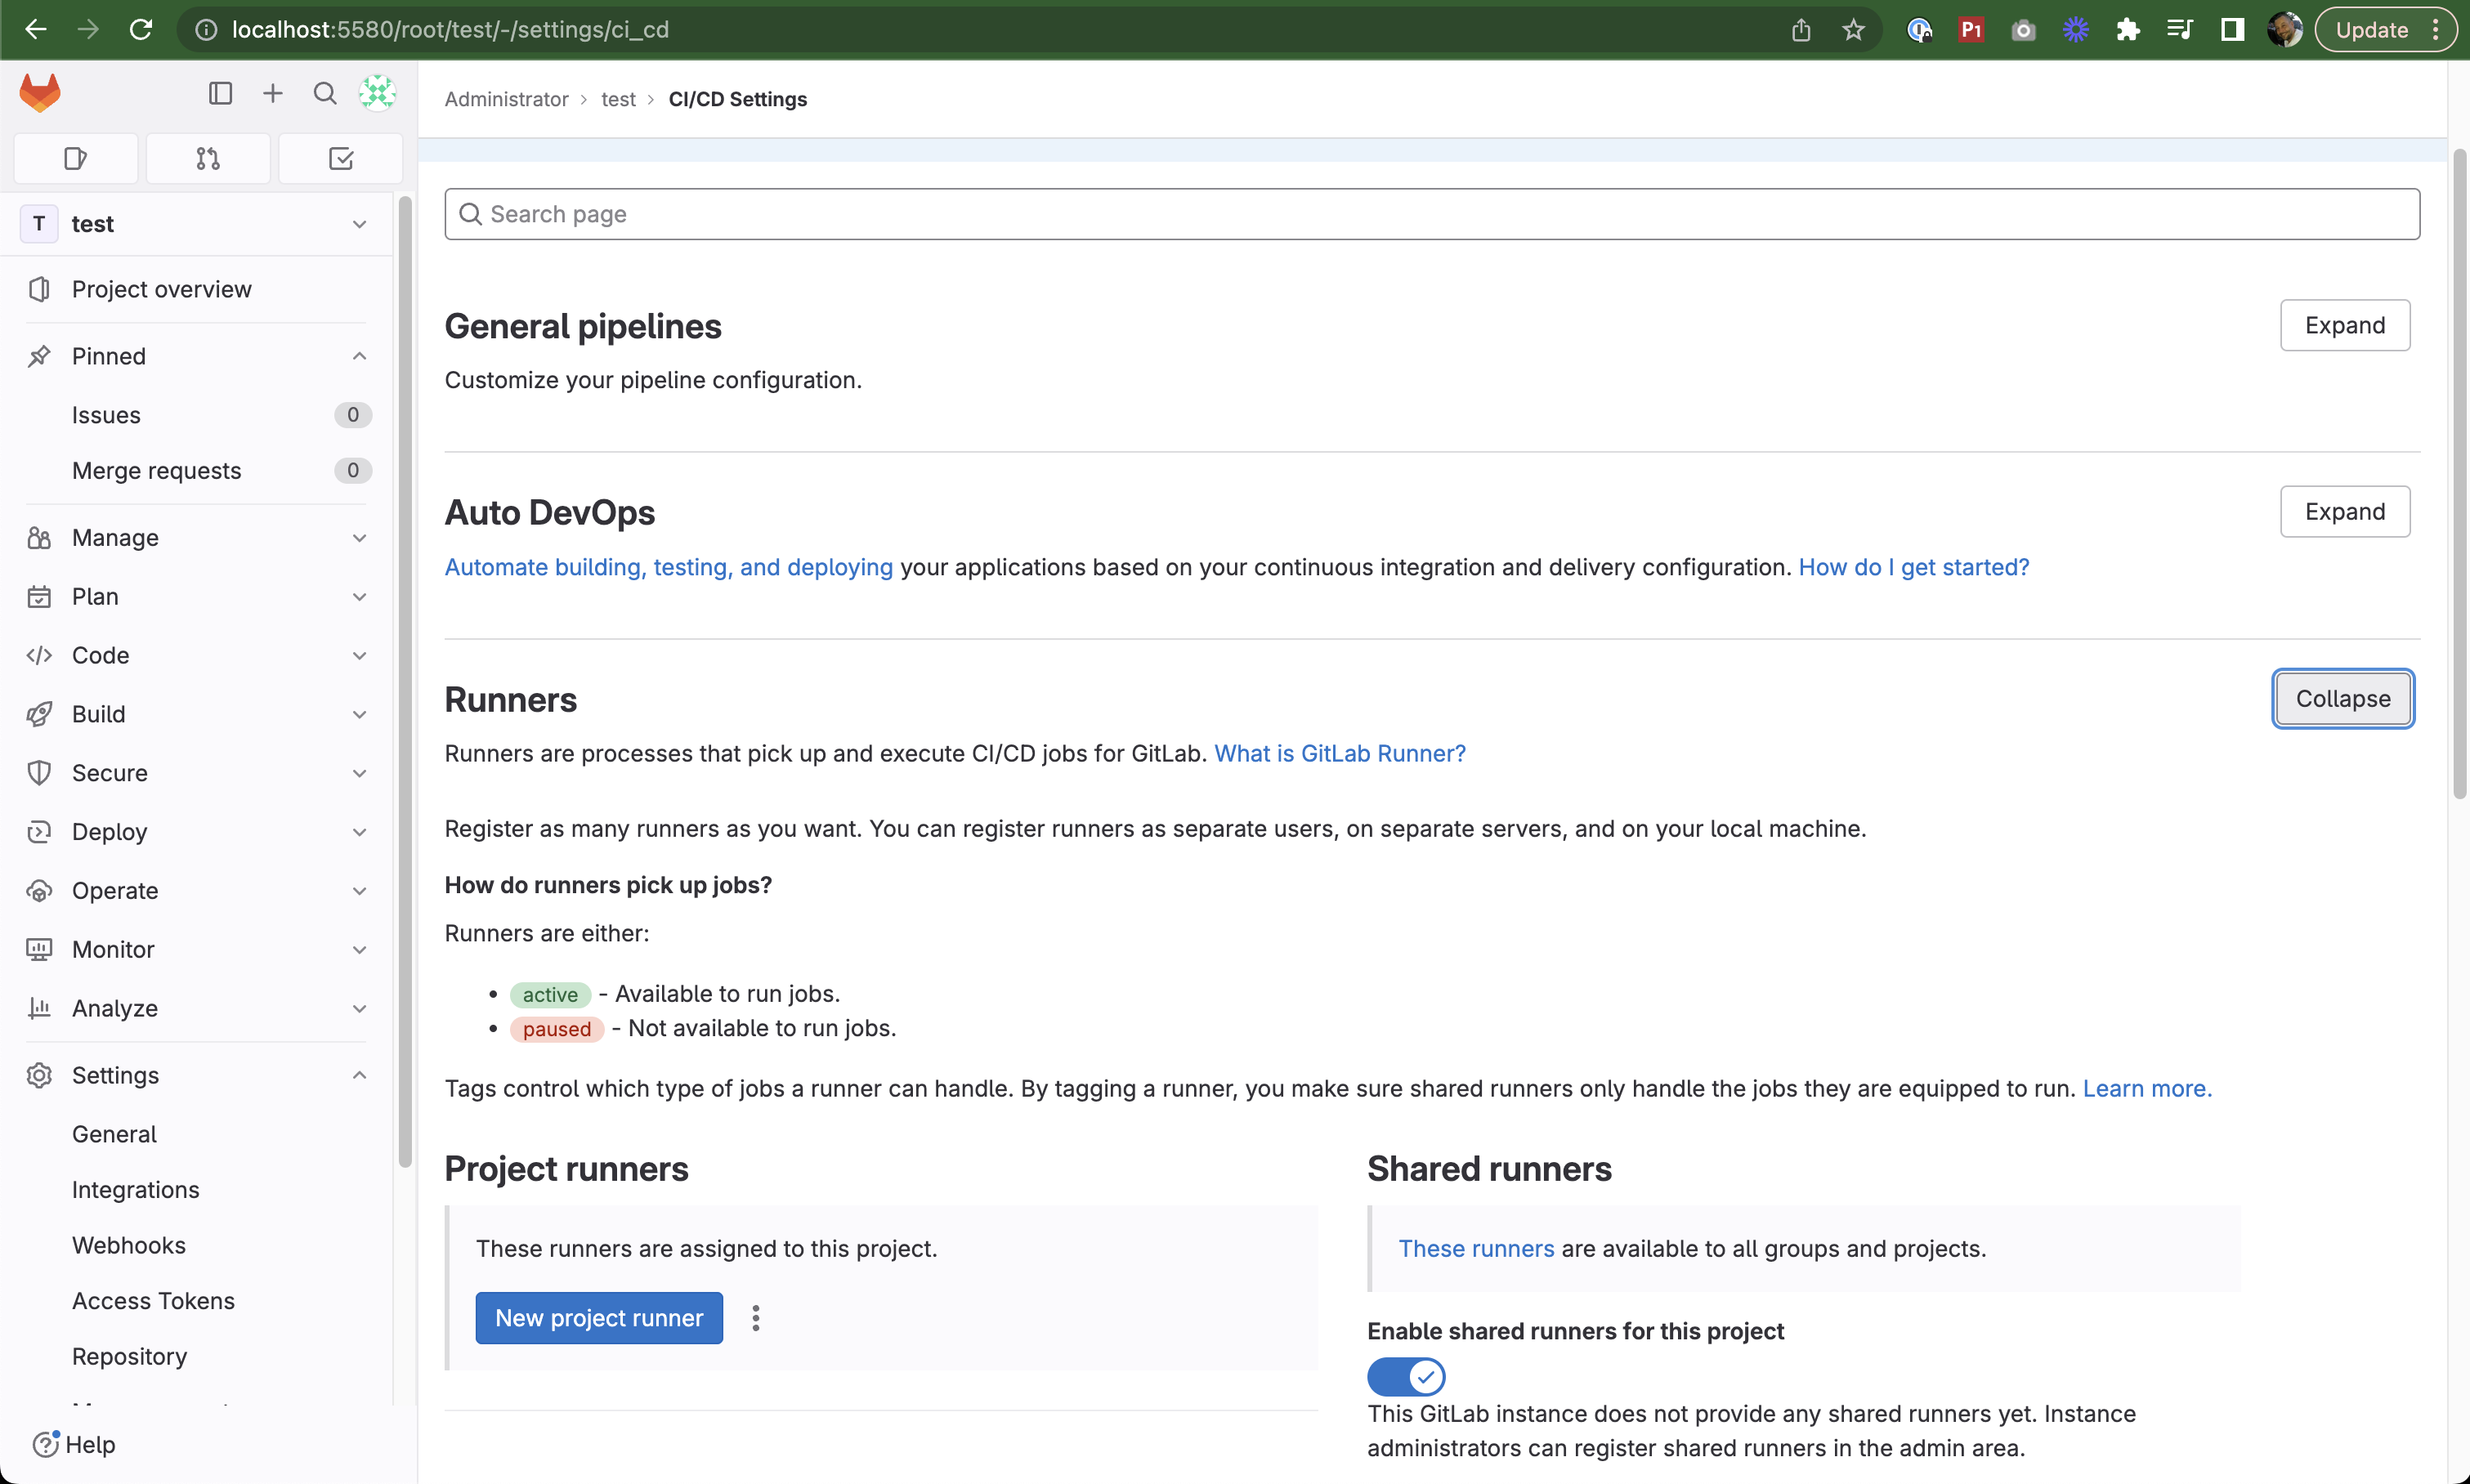
Expanding the Runners section
- Click New Project Runner
- In the configuration form, check Run Untagged Jobs
- Click Create Runner
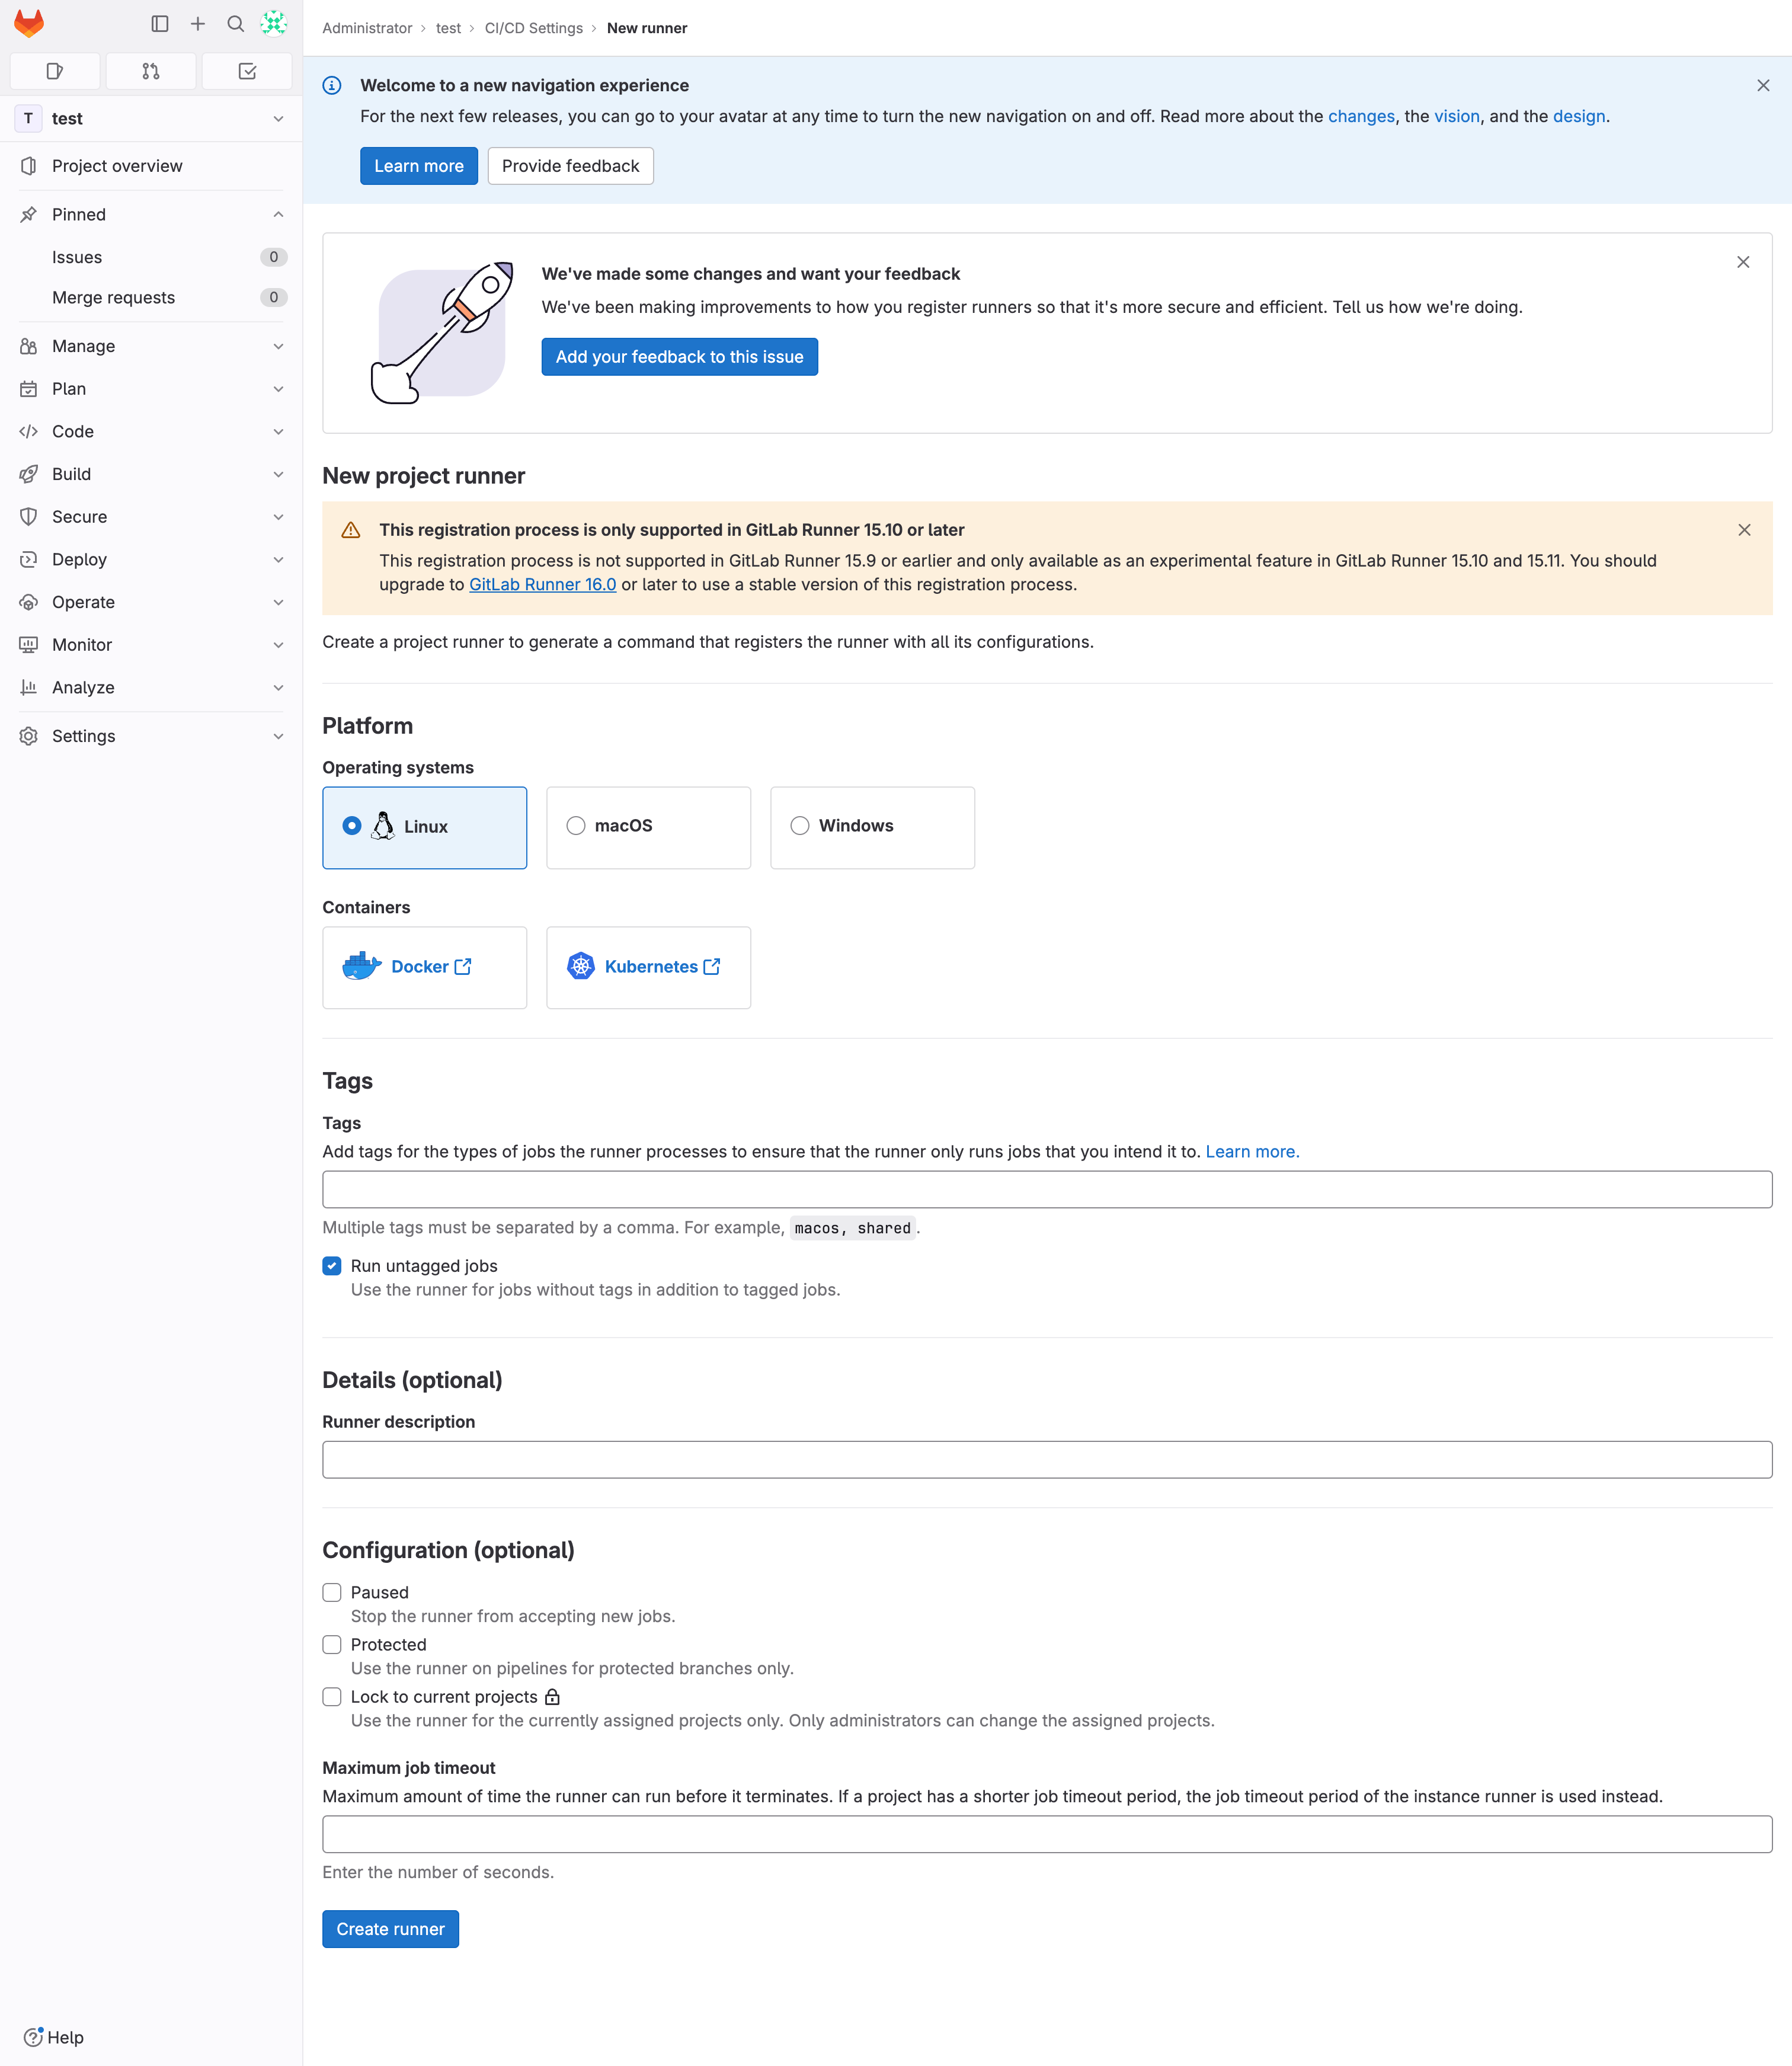
Creating a new project runner
⚠️ Note: Due to a known bug, you might be redirected to a blank page. If this happens, manually add
:5580to the URL:Instead of: http://localhost/root/test/-/runners/1/register?platform=linux
Use: http://localhost:5580/root/test/-/runners/1/register?platform=linux
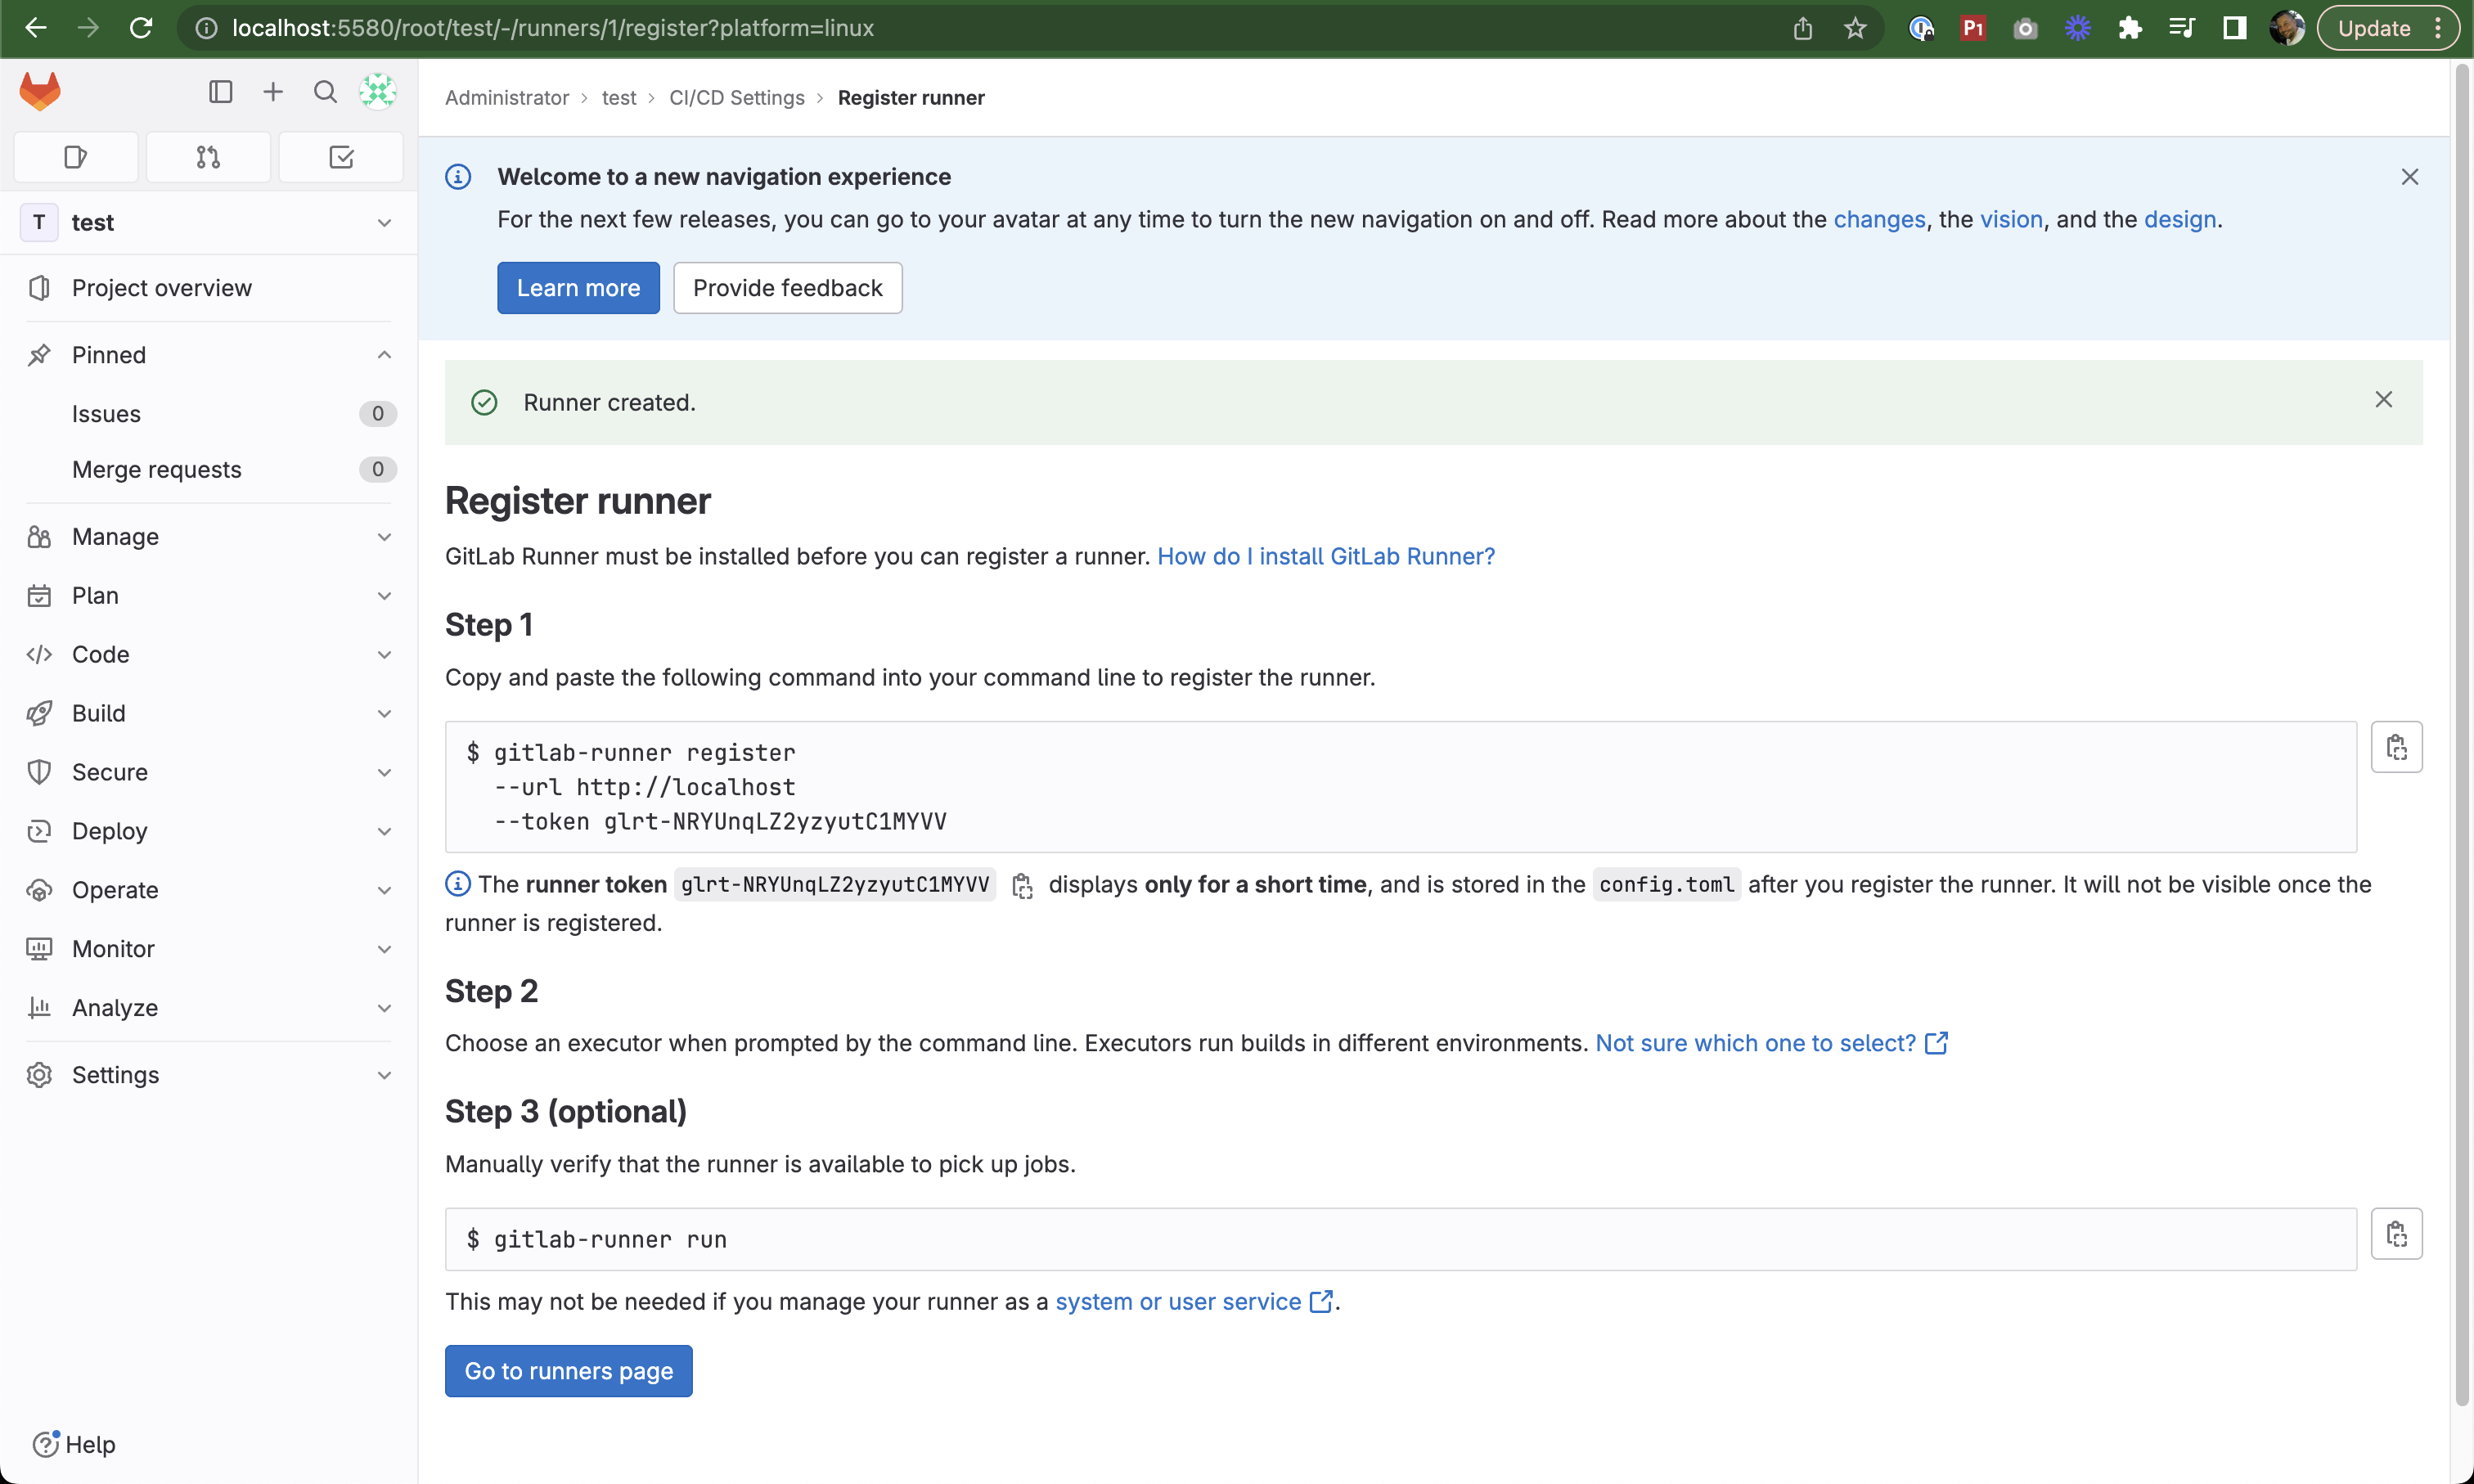
Runner registration page
Registering the Runner
Copy the registration command, but remember to add the port
:5580:Incorrect:
gitlab-runner register --url http://localhost --token glrt-NRYUnqLZ2yzyutC1MYVVCorrect:
gitlab-runner register --url http://localhost:5580 --token glrt-NRYUnqLZ2yzyutC1MYVVSSH into your HashiQube instance:
vagrant ssh
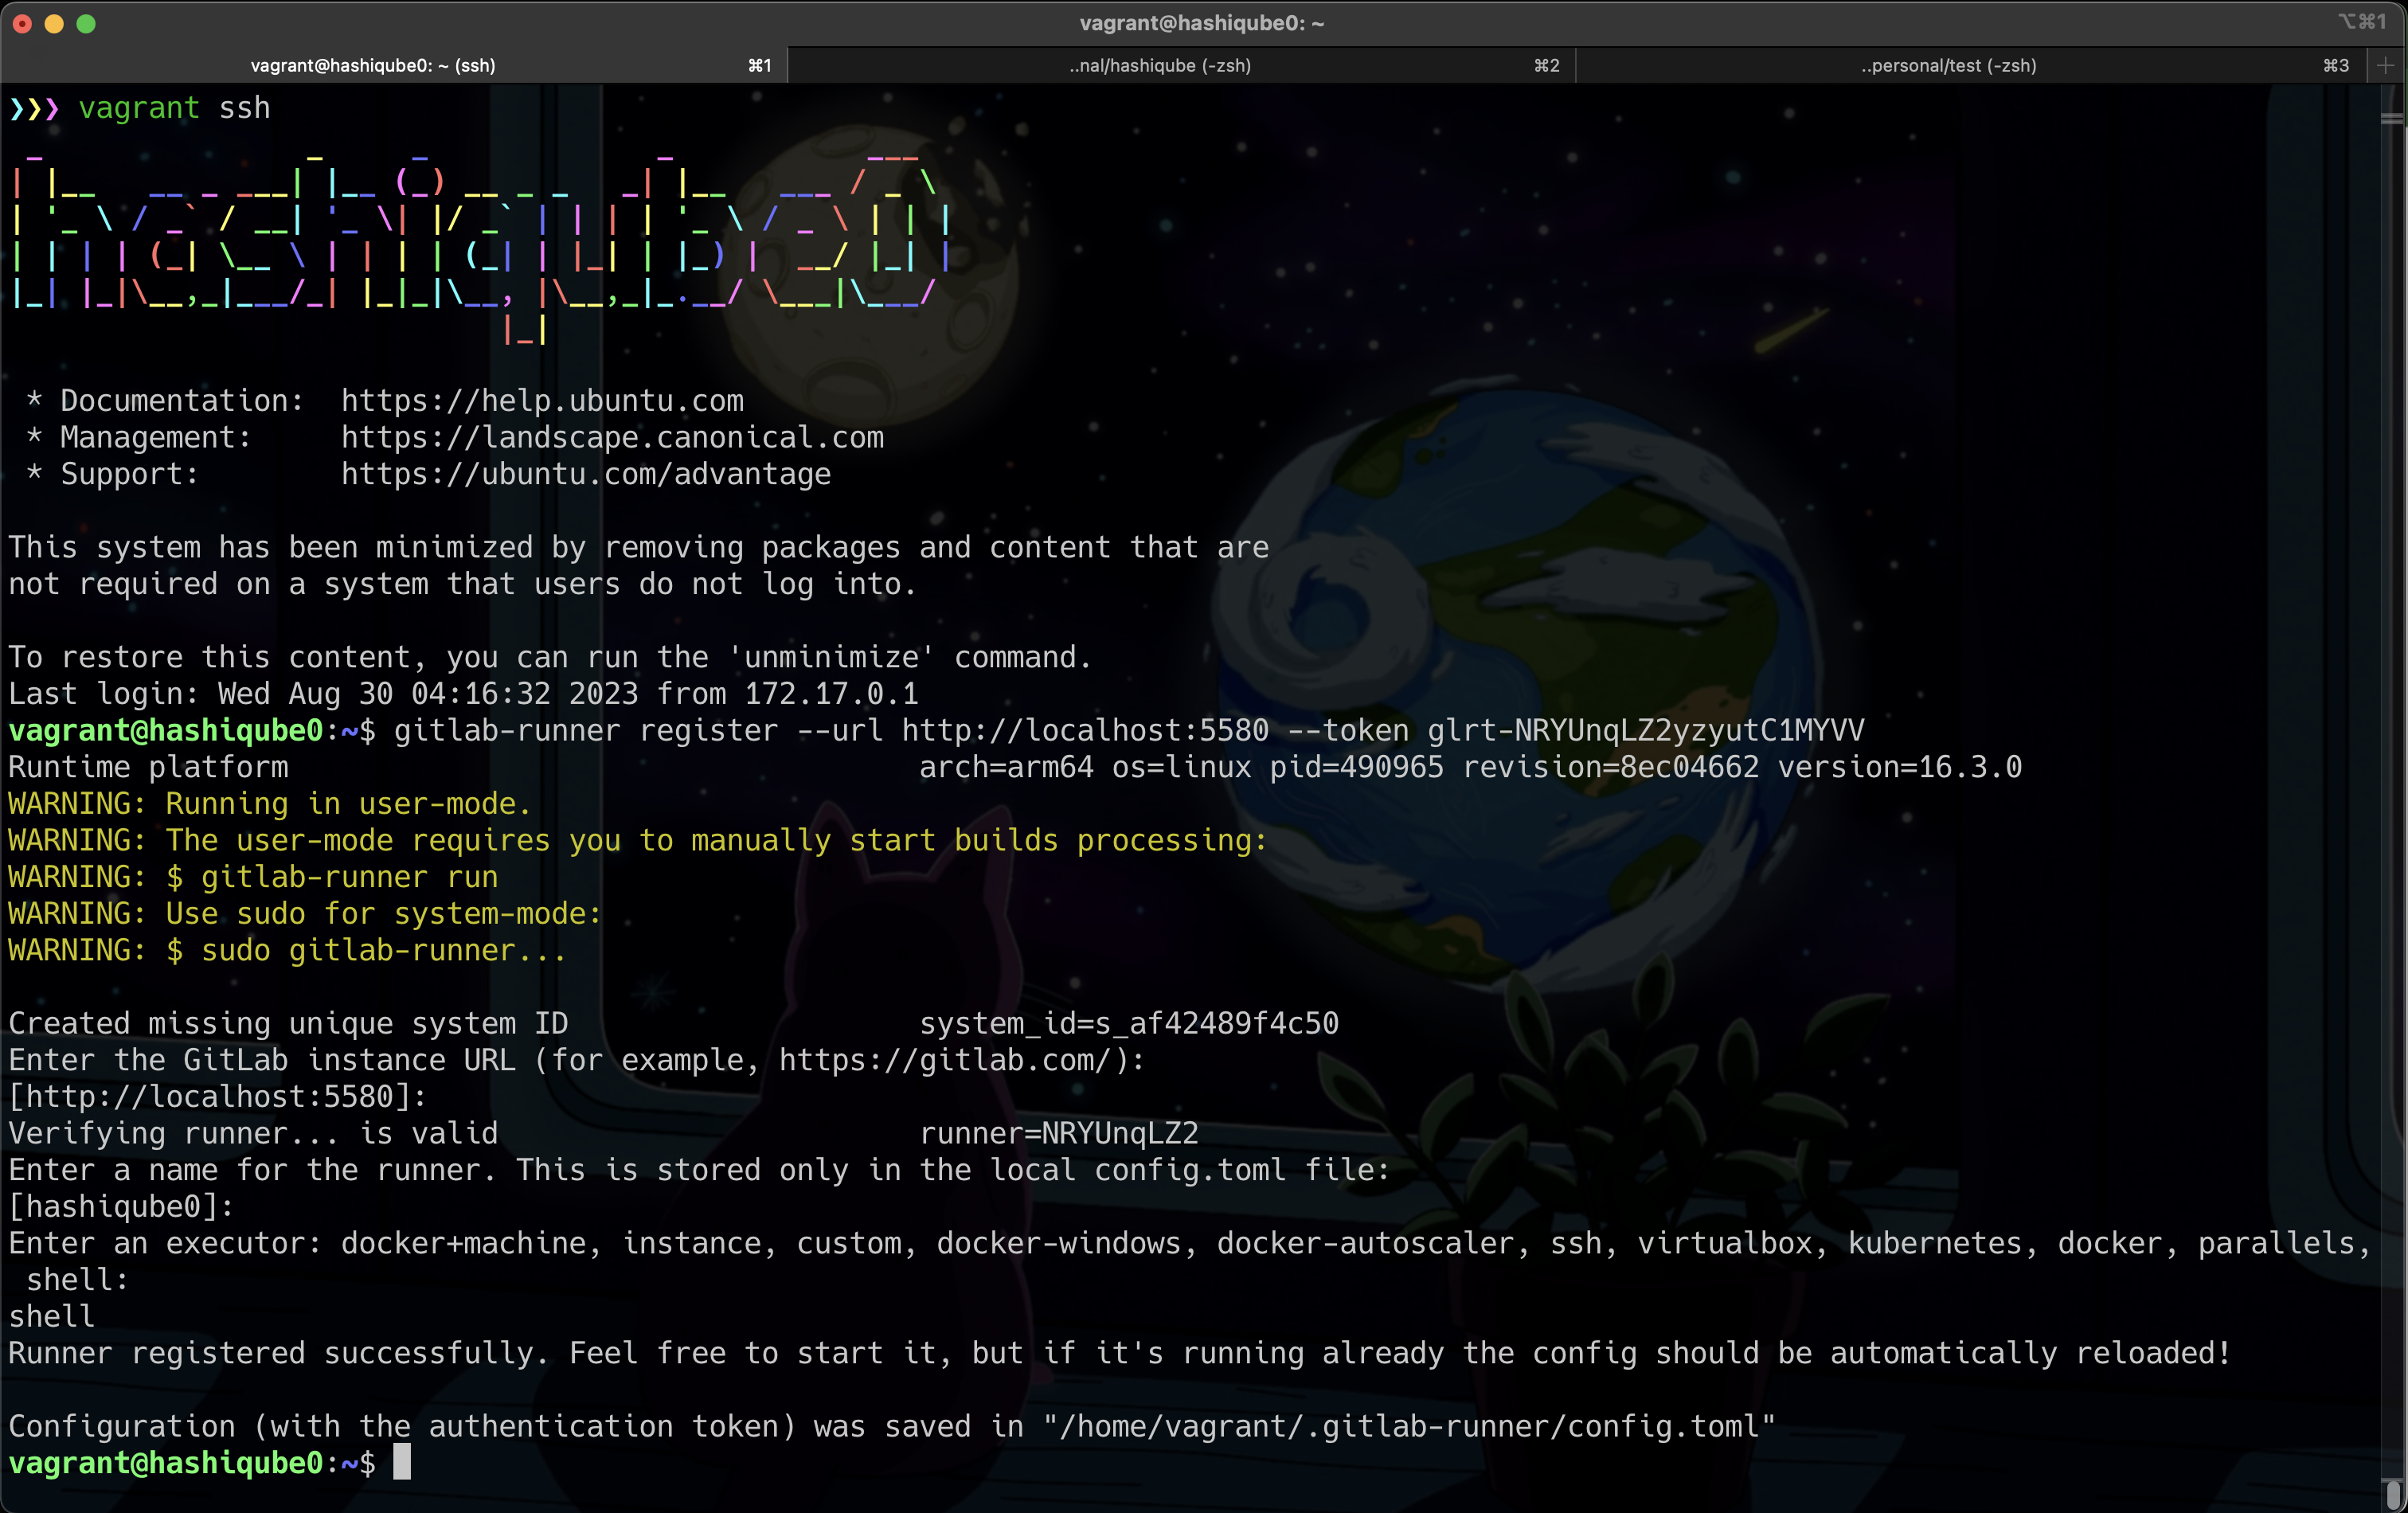
SSHing into HashiQube to register the runner
Register the runner with the corrected command
Start the runner:
gitlab-runner run
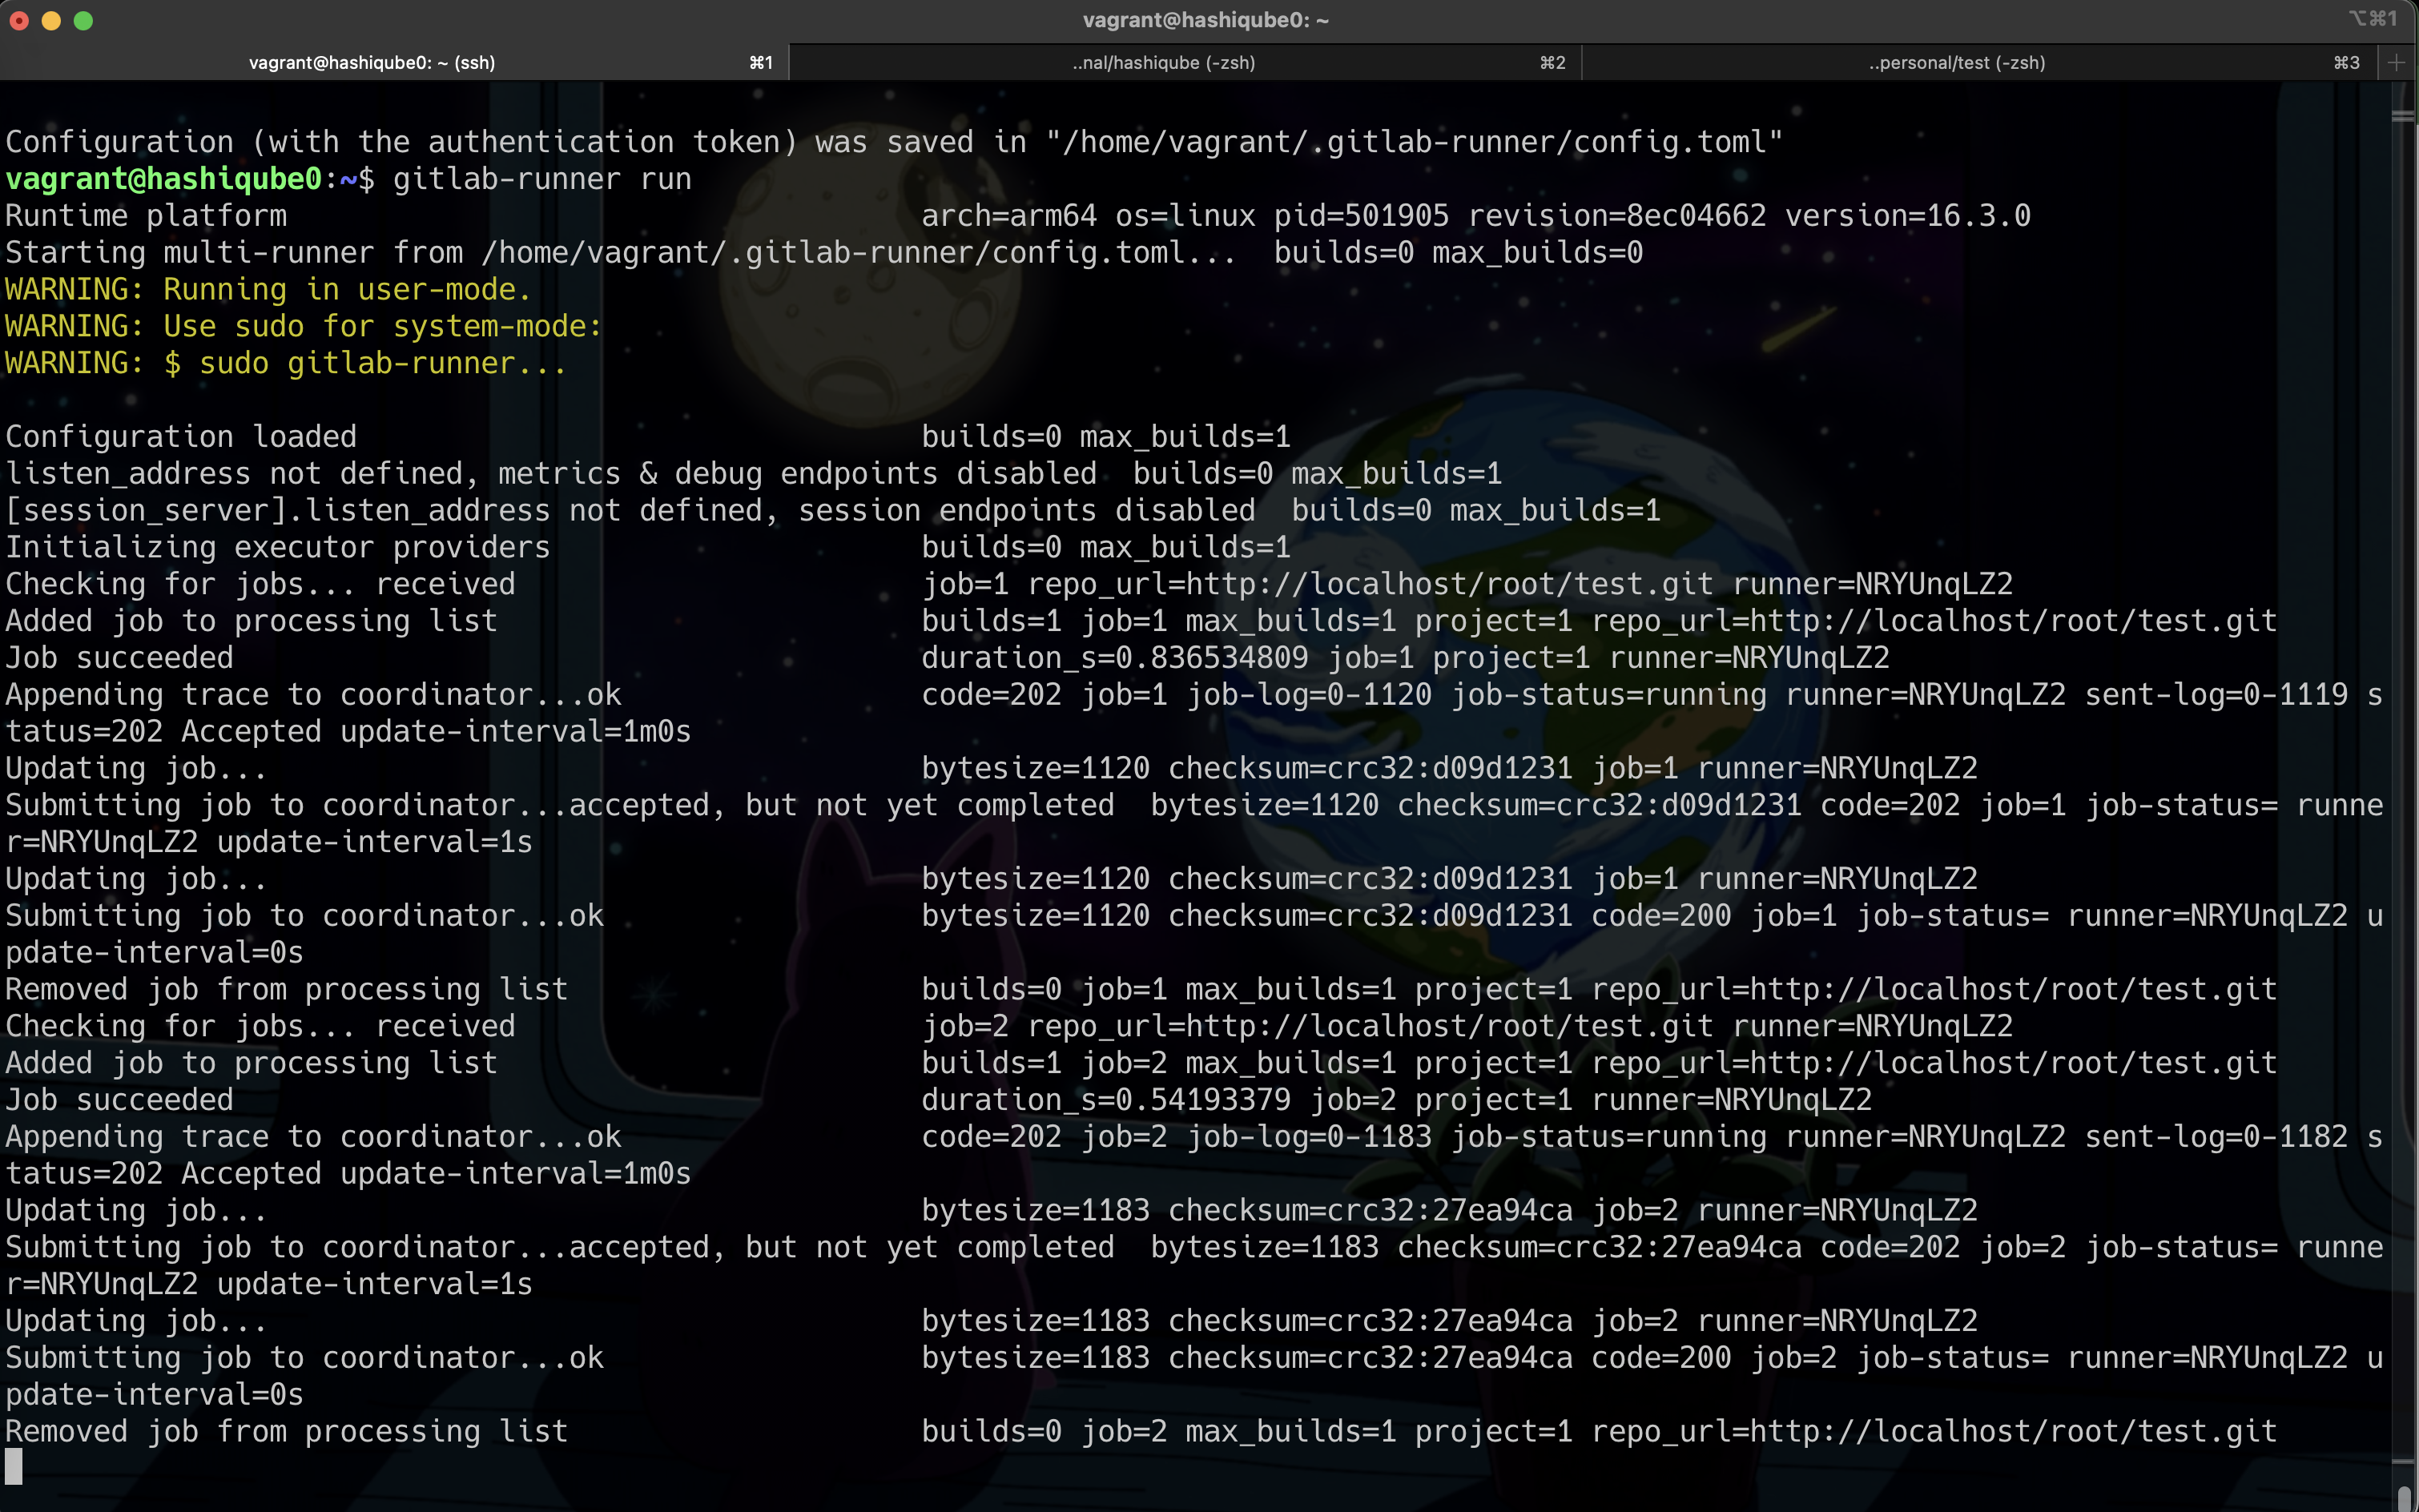
Starting the GitLab runner
- Return to GitLab to see the confirmation:

Runner successfully registered
- Click Go to the Runners page to see your registered runner:
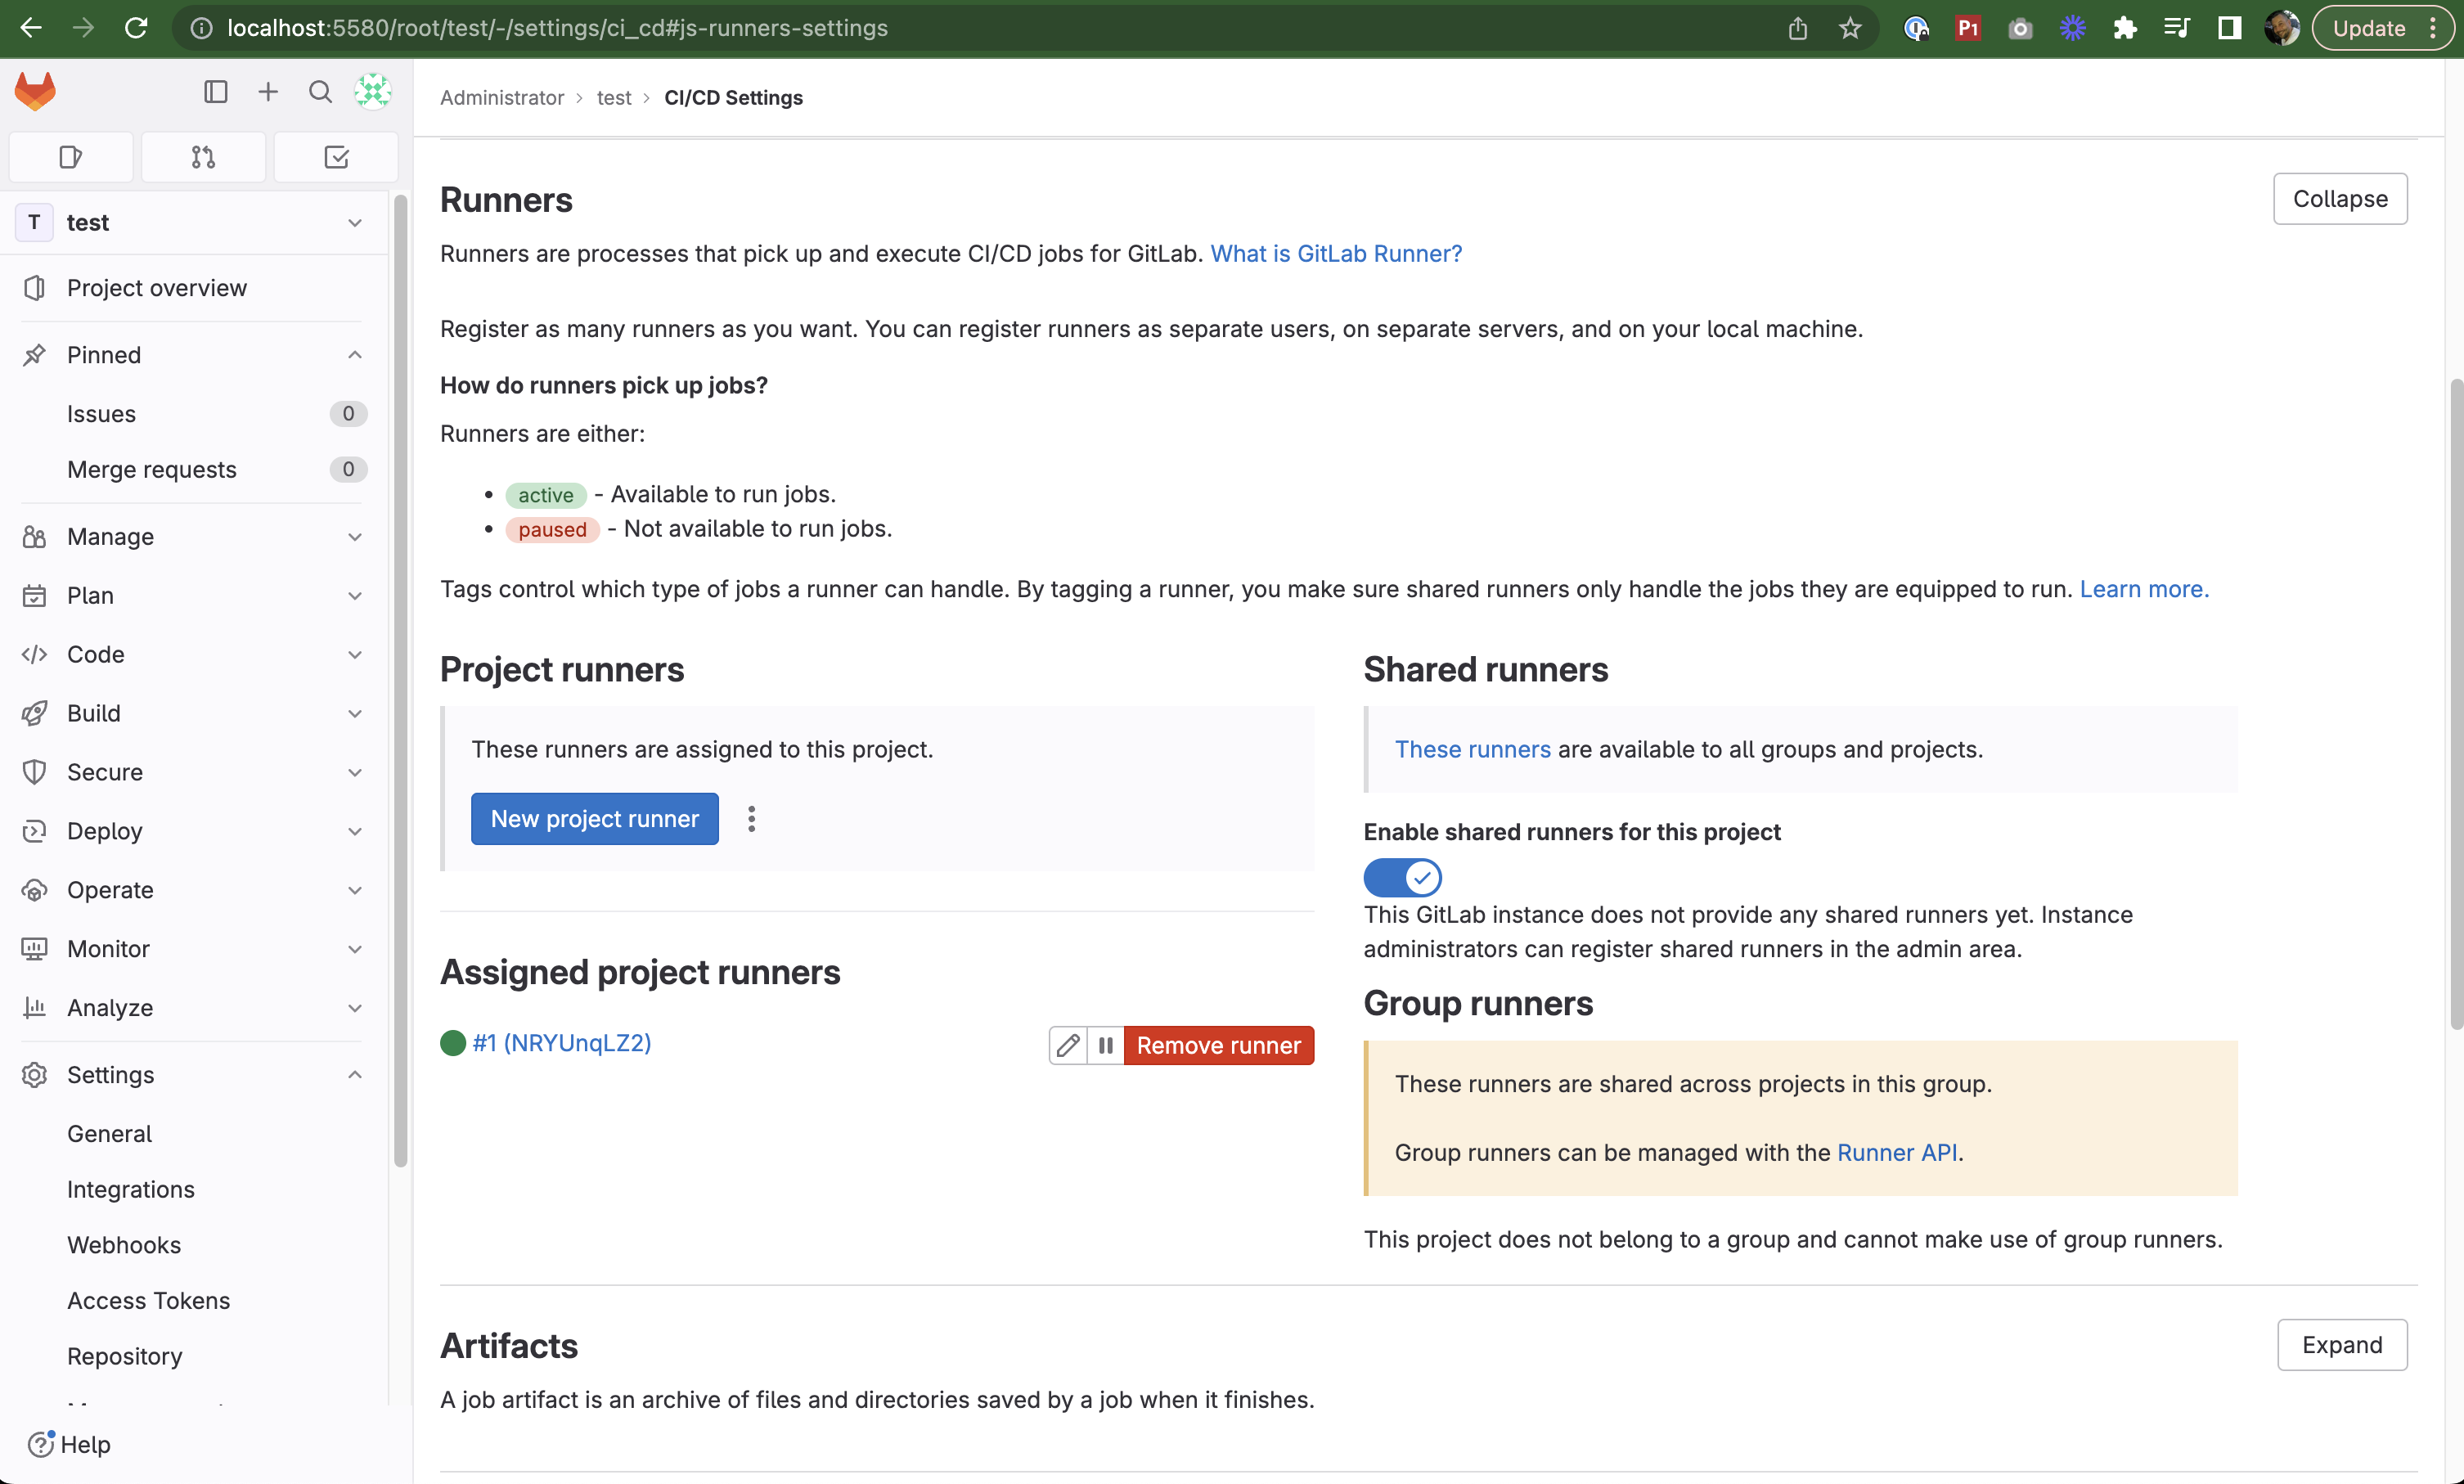
Runners page showing the registered runner
Running Your Pipeline
- Navigate to Build → Pipelines in the left sidebar
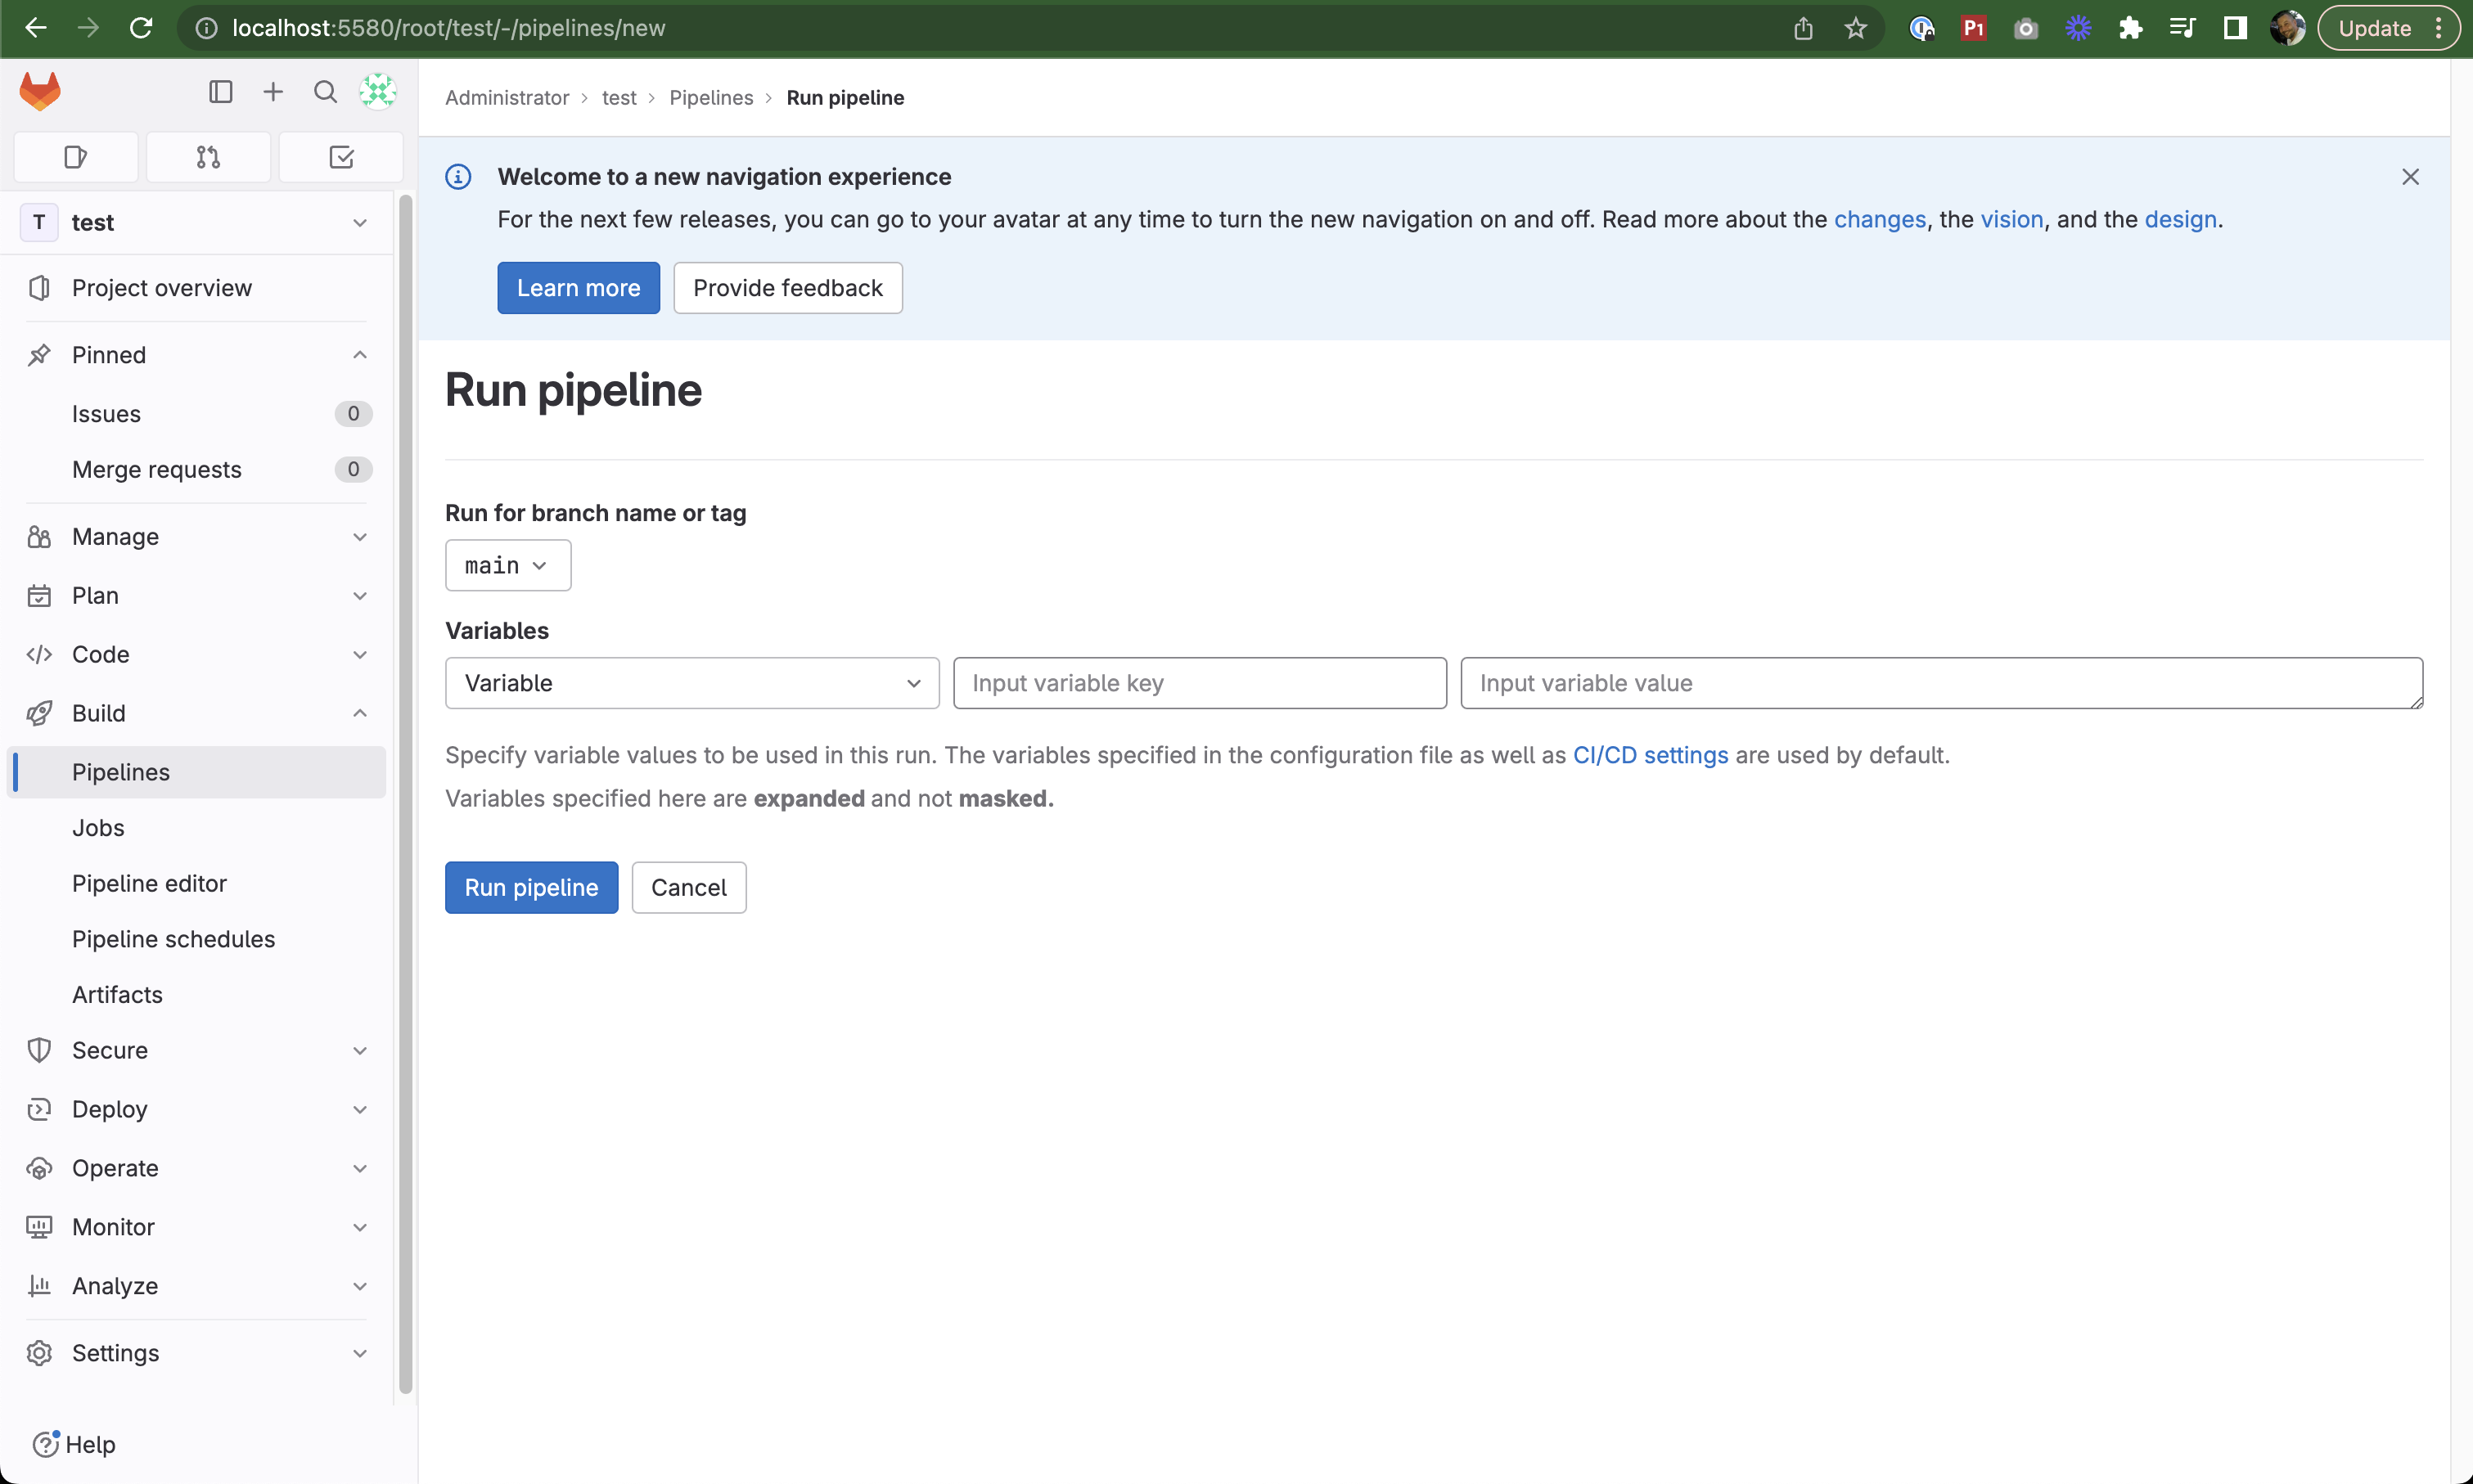
Pipelines section
- You'll see your pipeline is running:
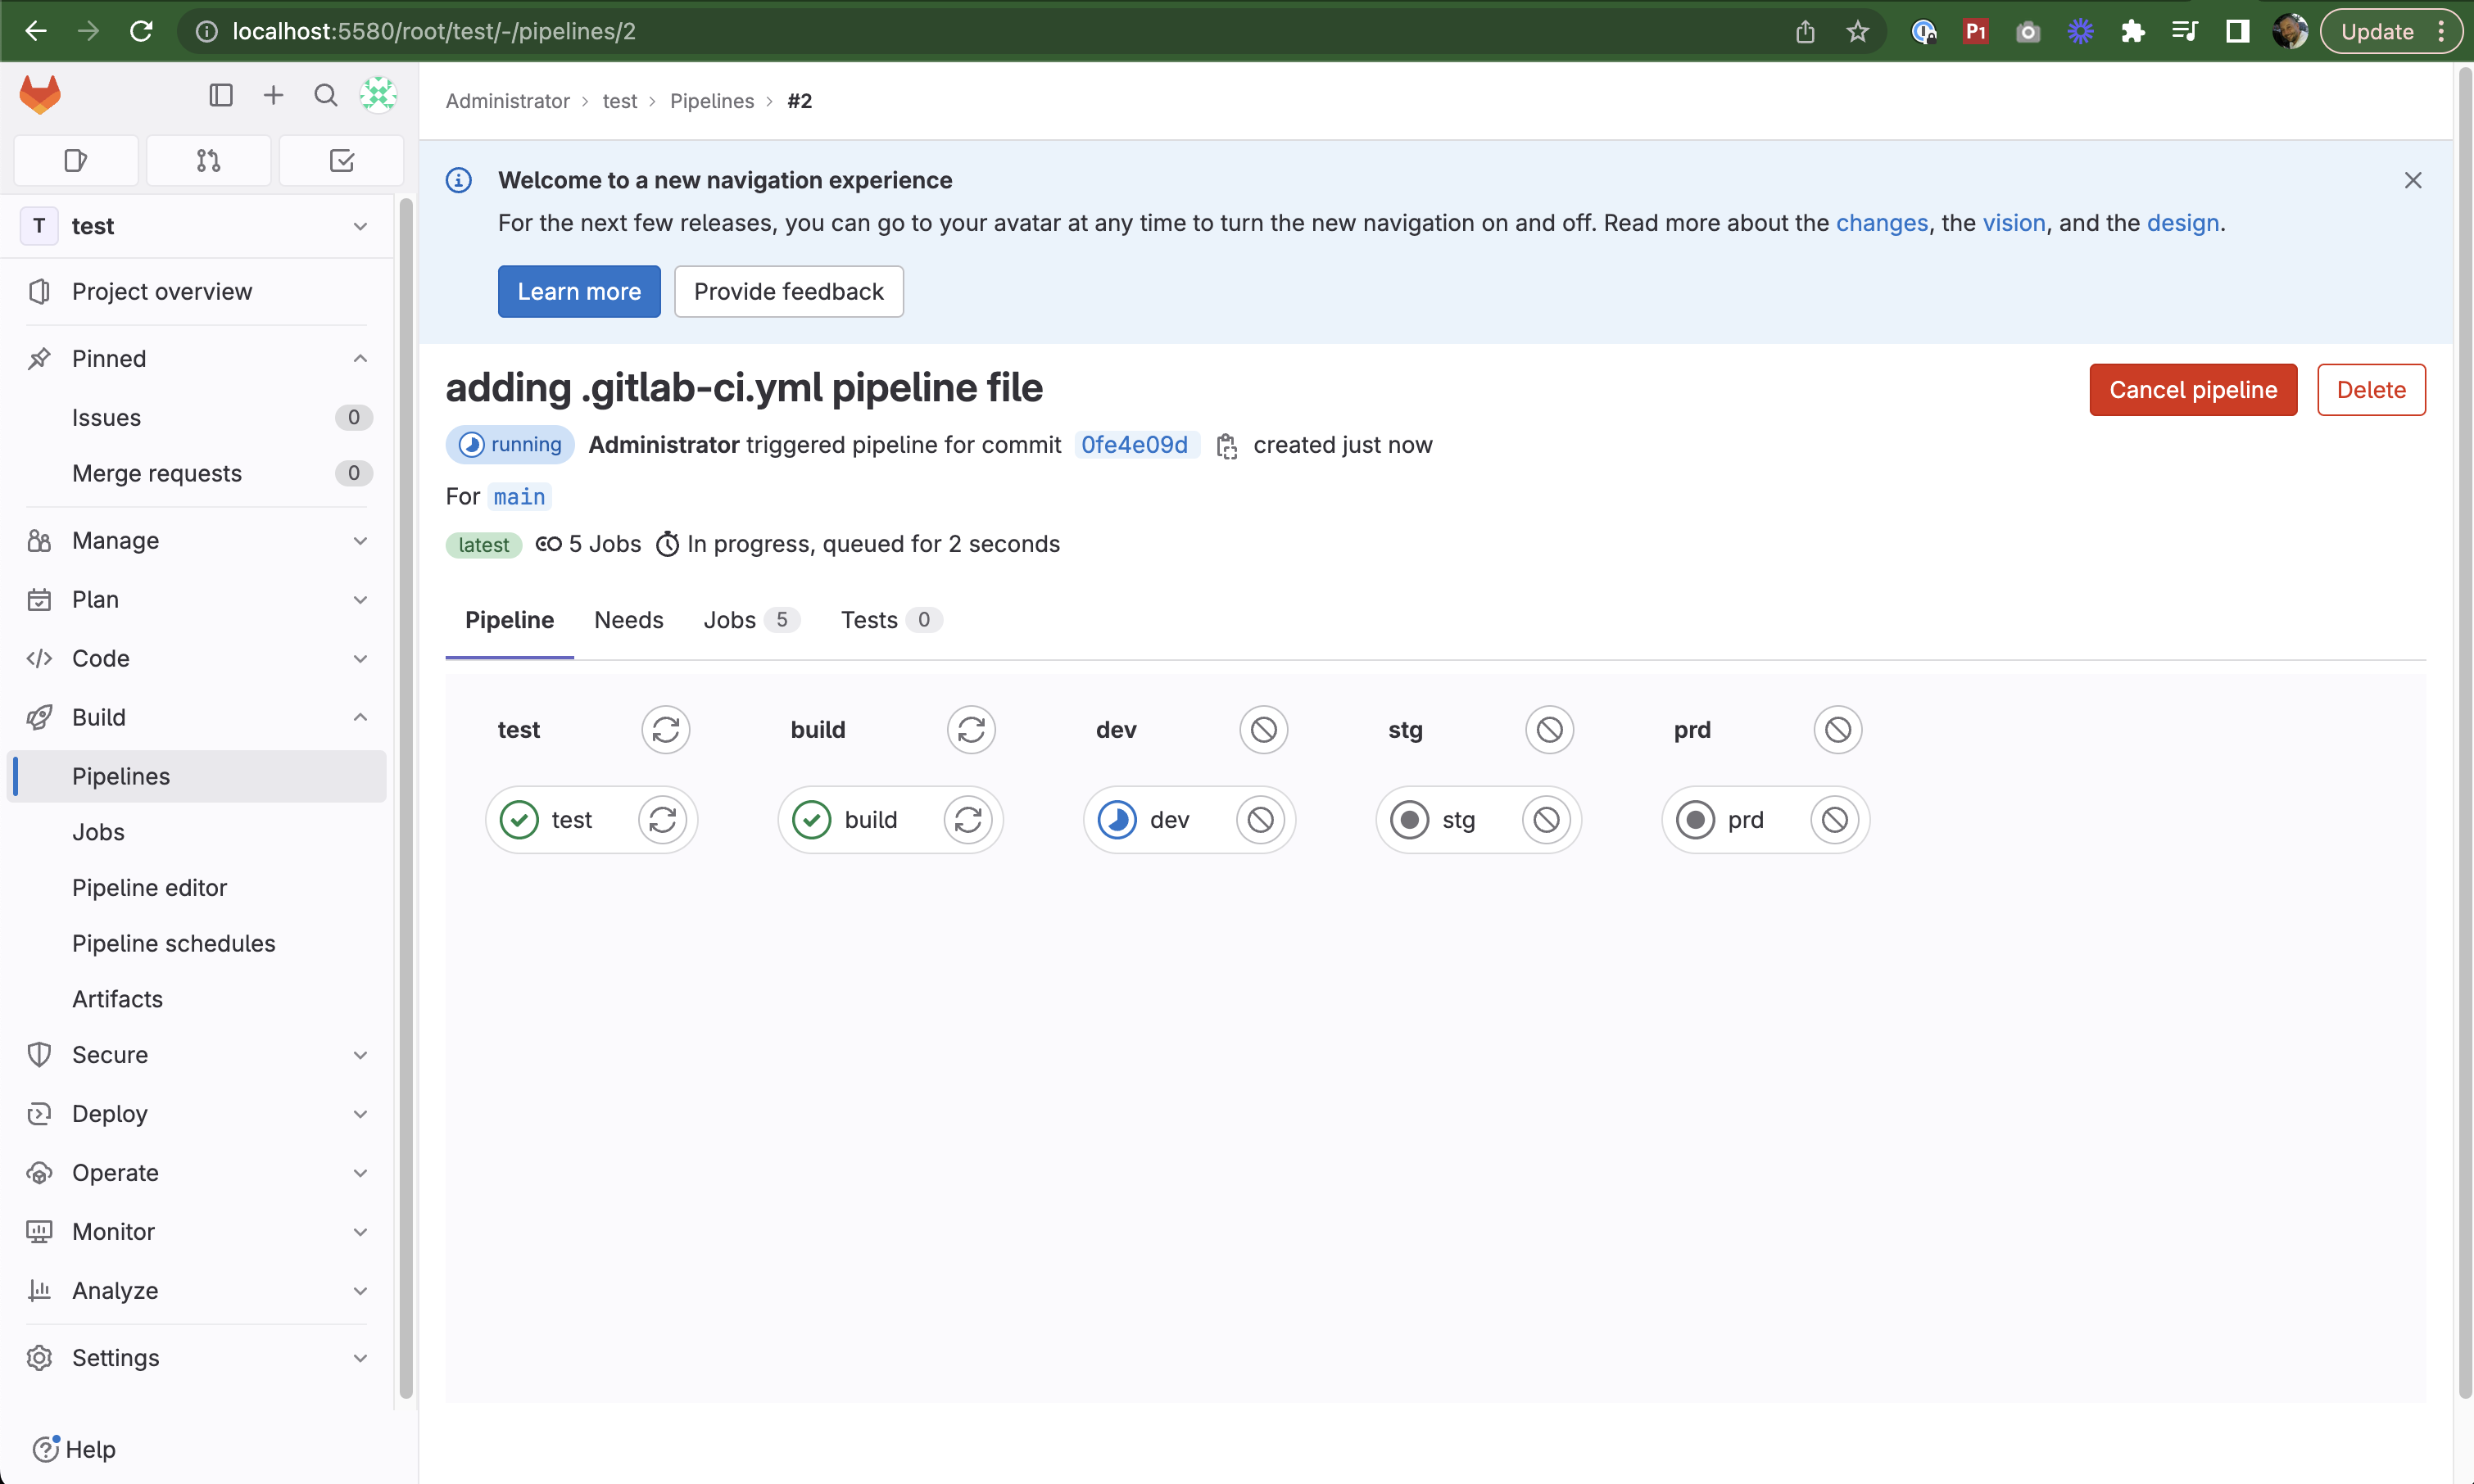
Pipeline running in progress
- To see job details, navigate to Jobs in the left sidebar and click on a job:
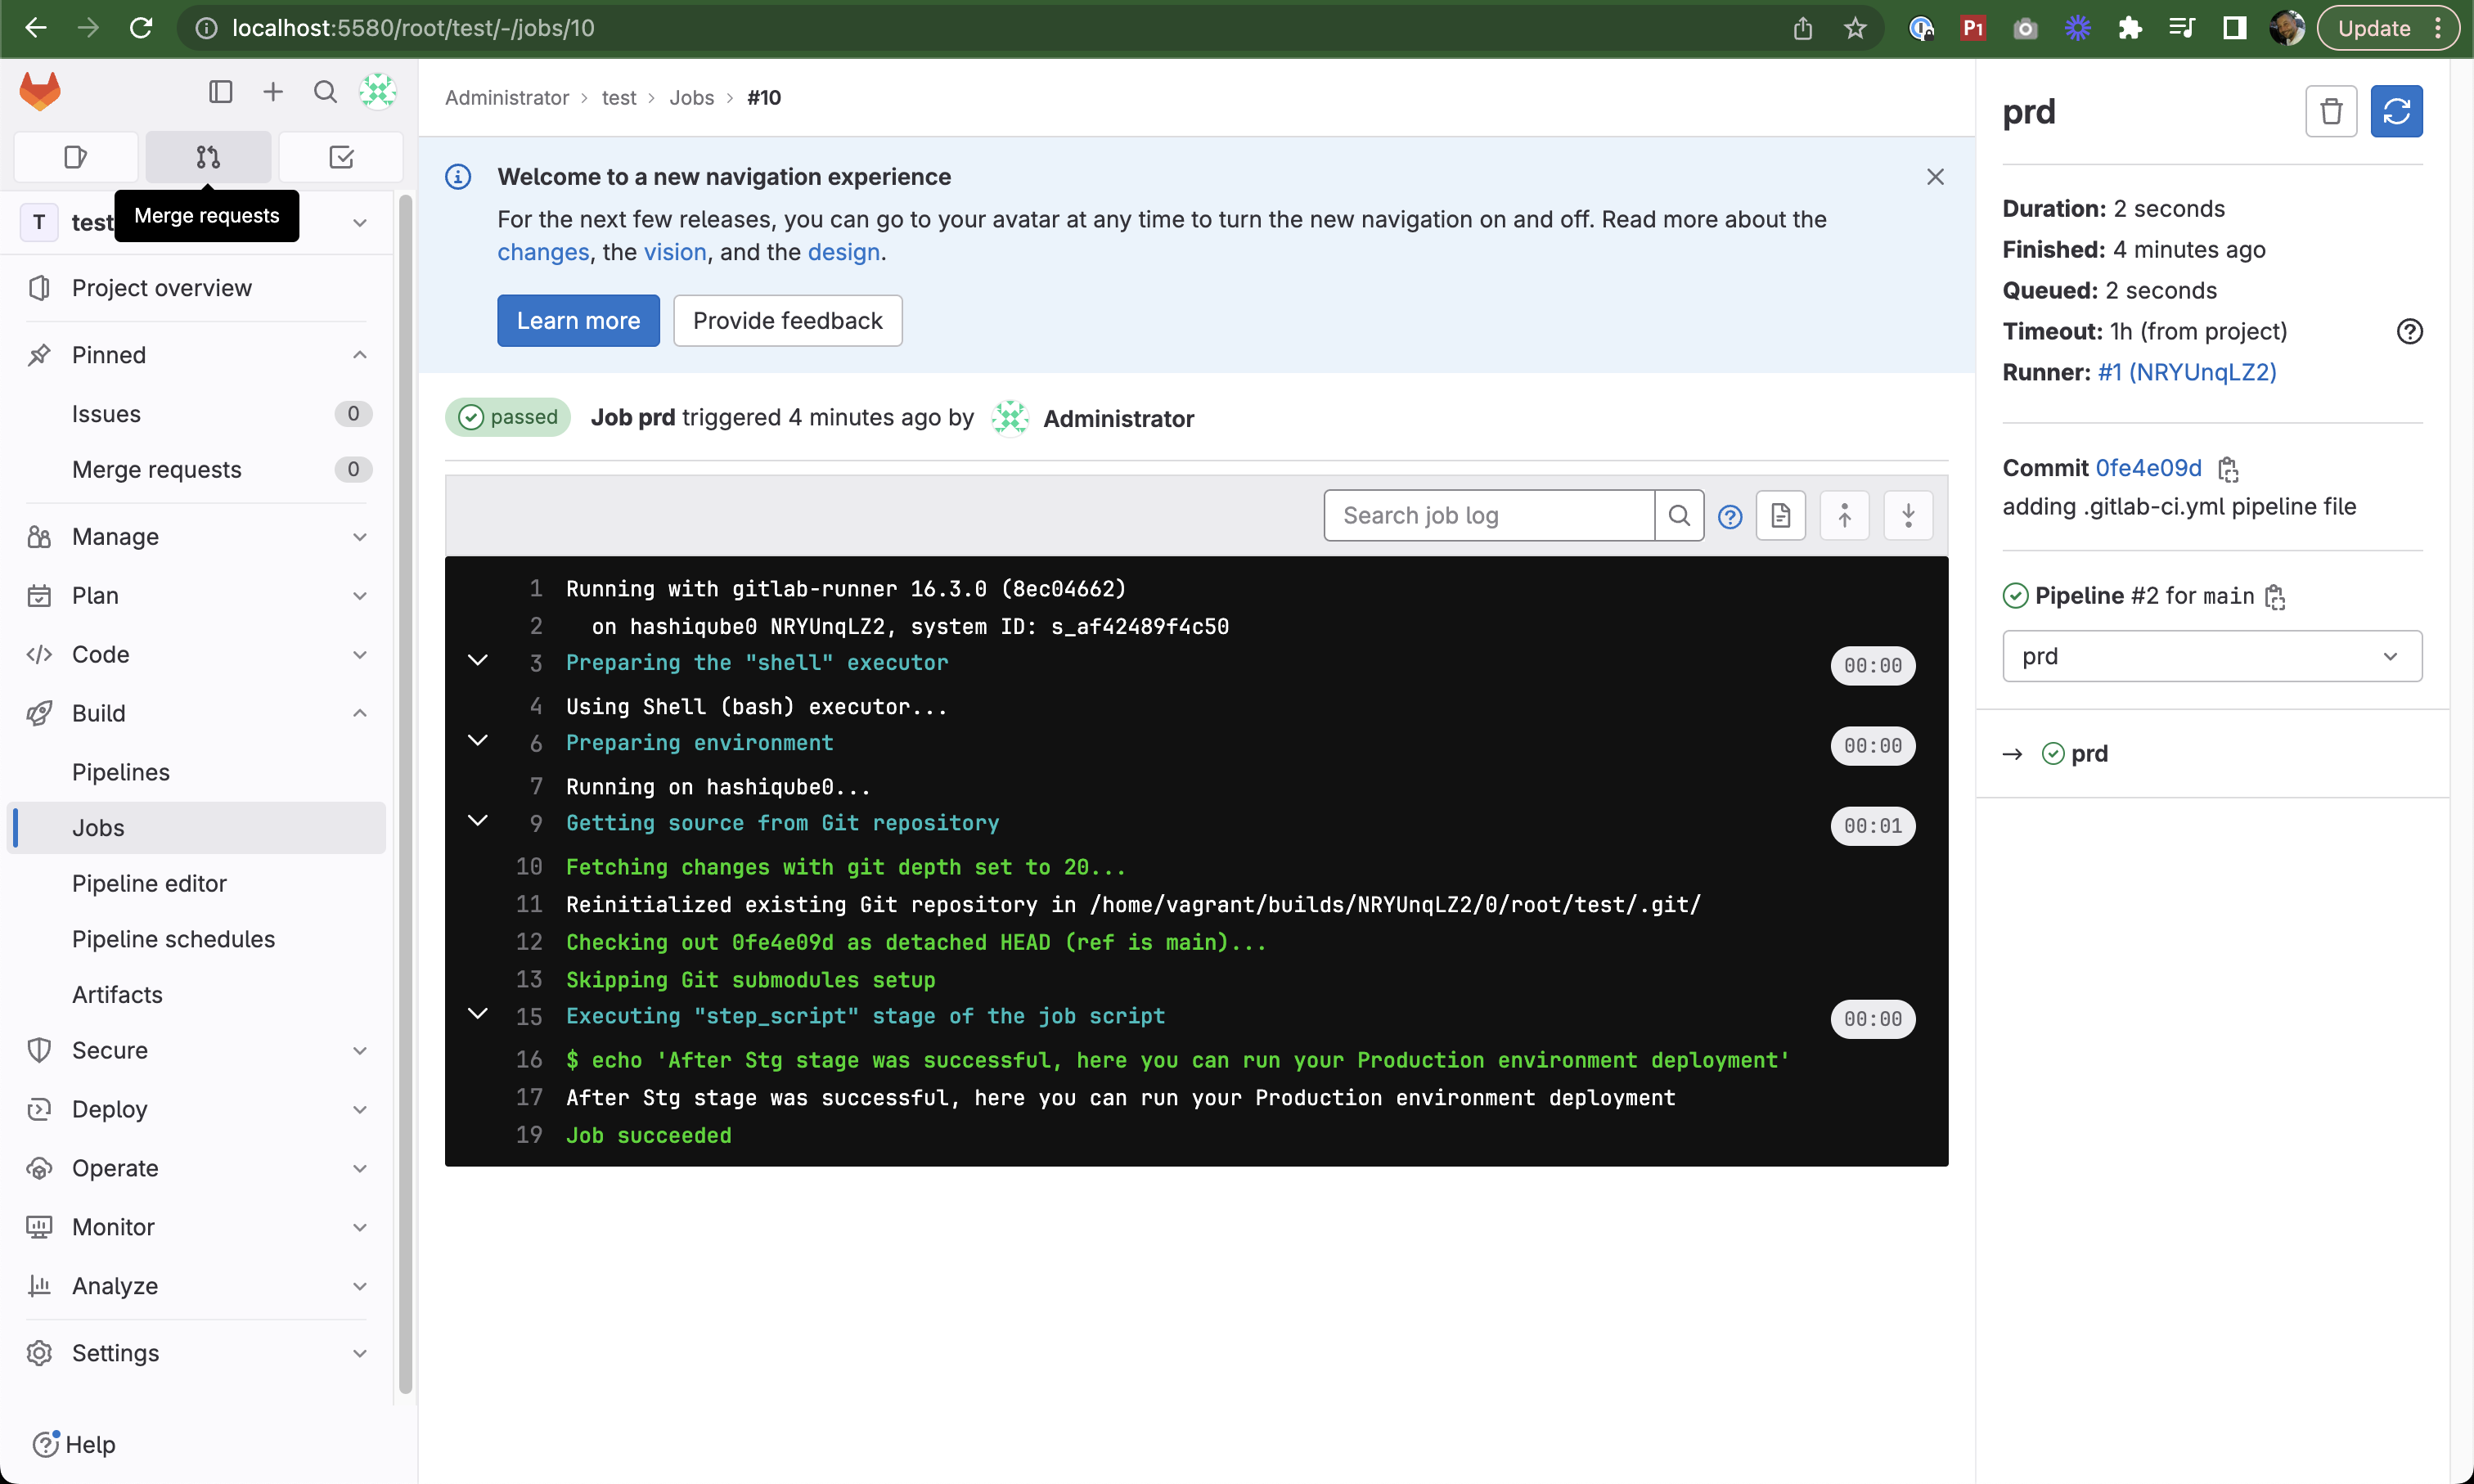
Job details showing execution results
📚 Additional Resources
- GitLab Documentation
- GitLab Runner Documentation
- GitLab with Docker
- GitLab CI/CD Pipeline Configuration
🔧 GitLab Provisioner Script
The GitLab environment is set up using this script:


