.
Jenkins

Open source automation server for building, testing, and deploying your applications
🚀 About
In this HashiQube DevOps lab, you'll get hands-on experience with Jenkins, an open source automation server that helps automate software development processes including building, testing, and deployment, facilitating continuous integration and continuous delivery.
This lab demonstrates a practical example of a Jenkins pipeline that:
- Retrieves secrets from HashiCorp Vault in HashiQube
- Retrieves secrets from HCP Vault Secrets (HashiCorp Cloud Platform)
- Uses CLI integration with Terraform Cloud to run a plan on a workspace
📋 Provision
vagrant up --provision-with basetools,docker,docsify,vault,jenkinsdocker compose exec hashiqube /bin/bash
bash hashiqube/basetools.sh
bash docker/docker.sh
bash docsify/docsify.sh
bash vault/vault.sh
bash jenkins/jenkins.sh🔑 Initial Login
Once Jenkins is provisioned, you'll receive an initial admin token in the output:
Login with 4ed0dc30230c4310a58a22207414c3aaUse this token to log in to Jenkins:
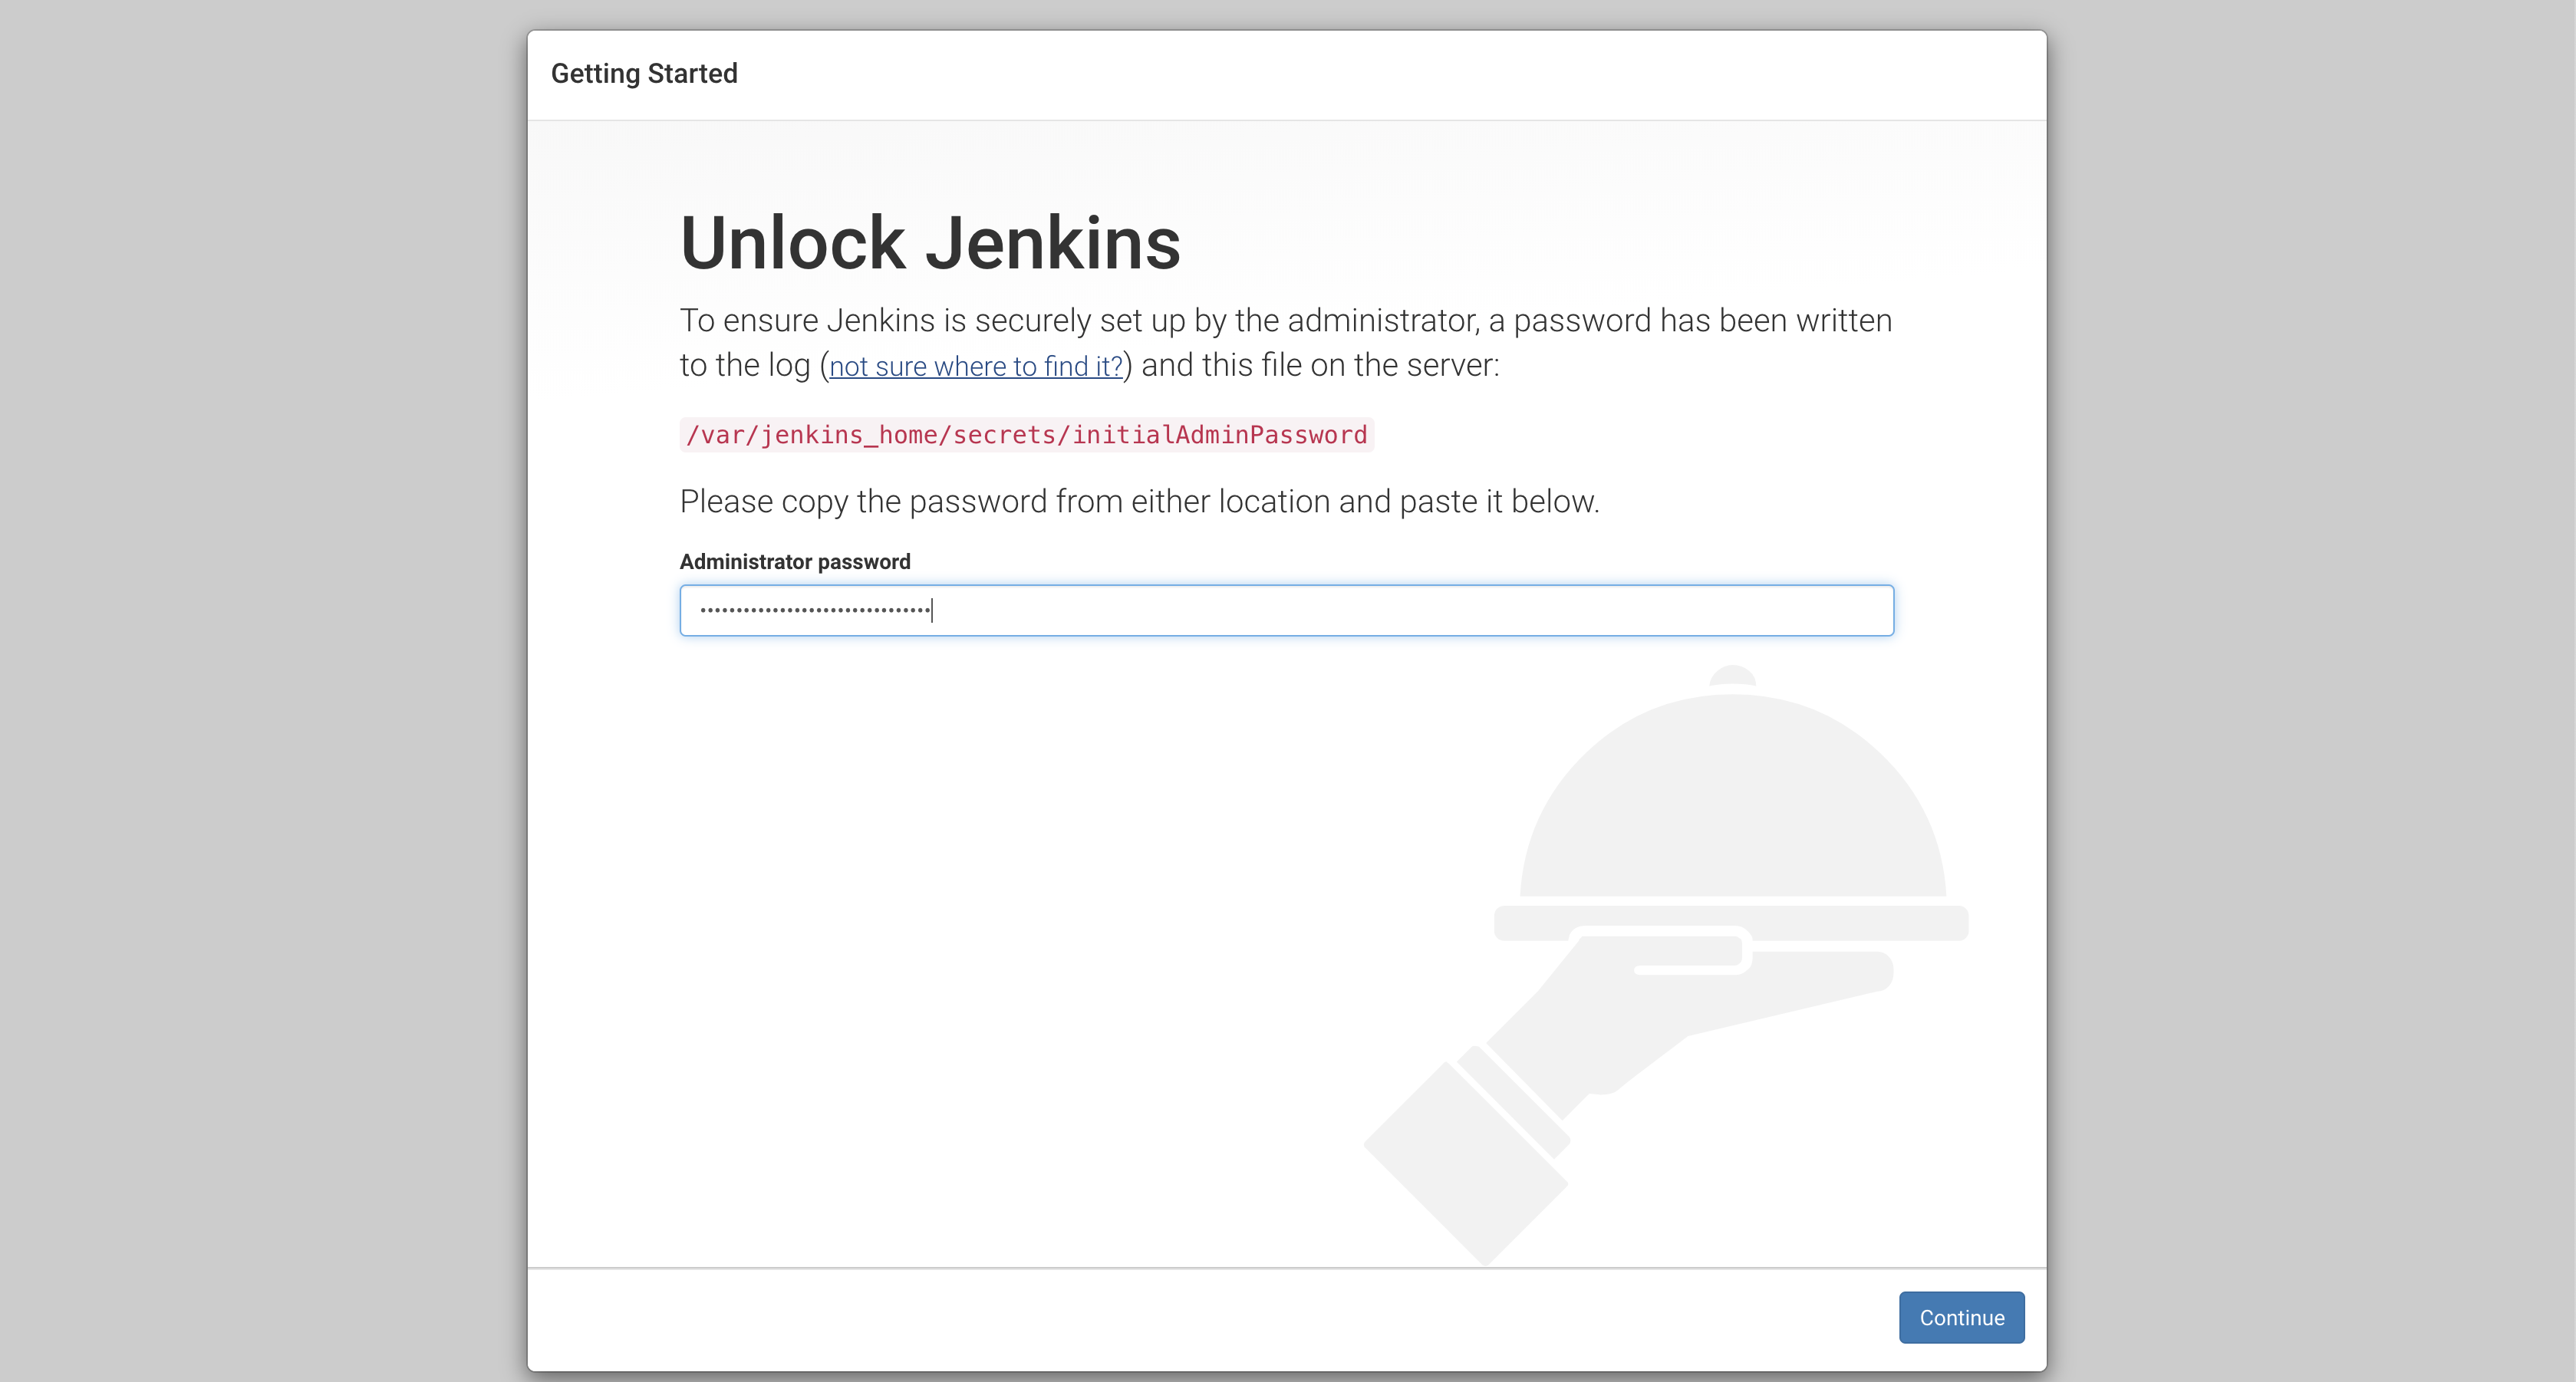
Initial login screen requiring the admin token
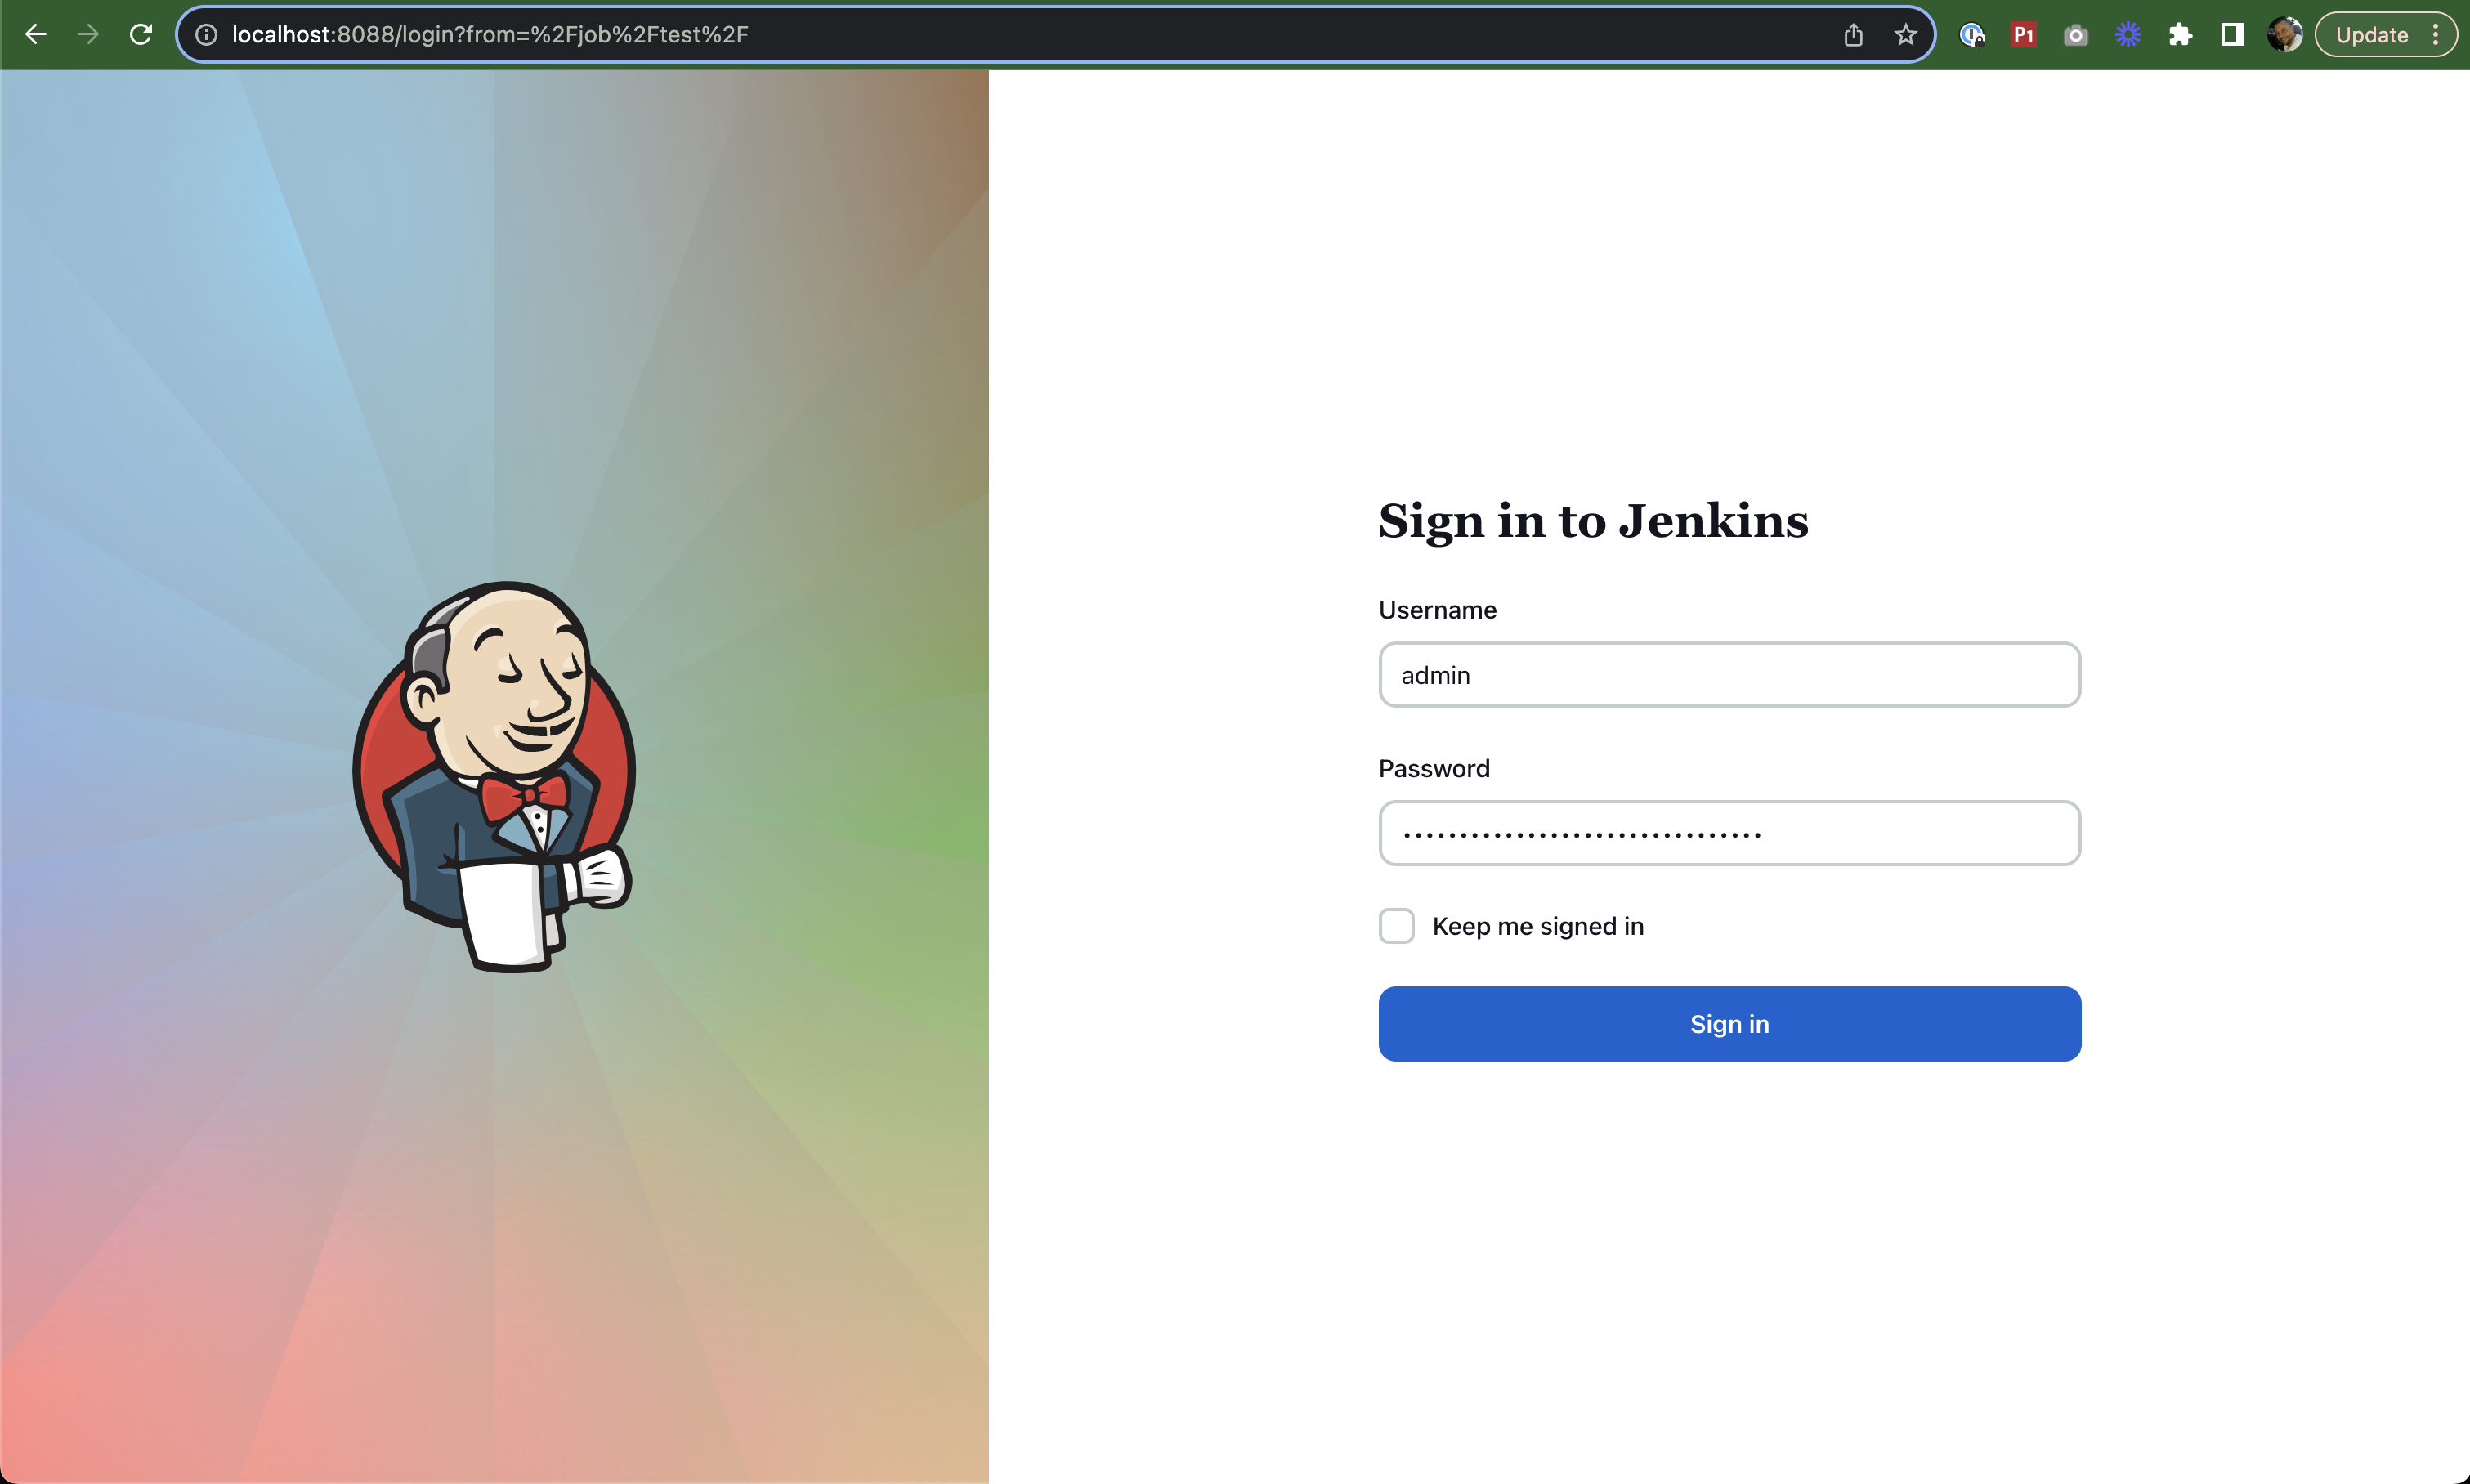
Jenkins dashboard after successful login
🔌 Installing Plugins
Step 1: Install Suggested Plugins
When prompted, select "Install suggested plugins" to get started with the basic set of plugins:
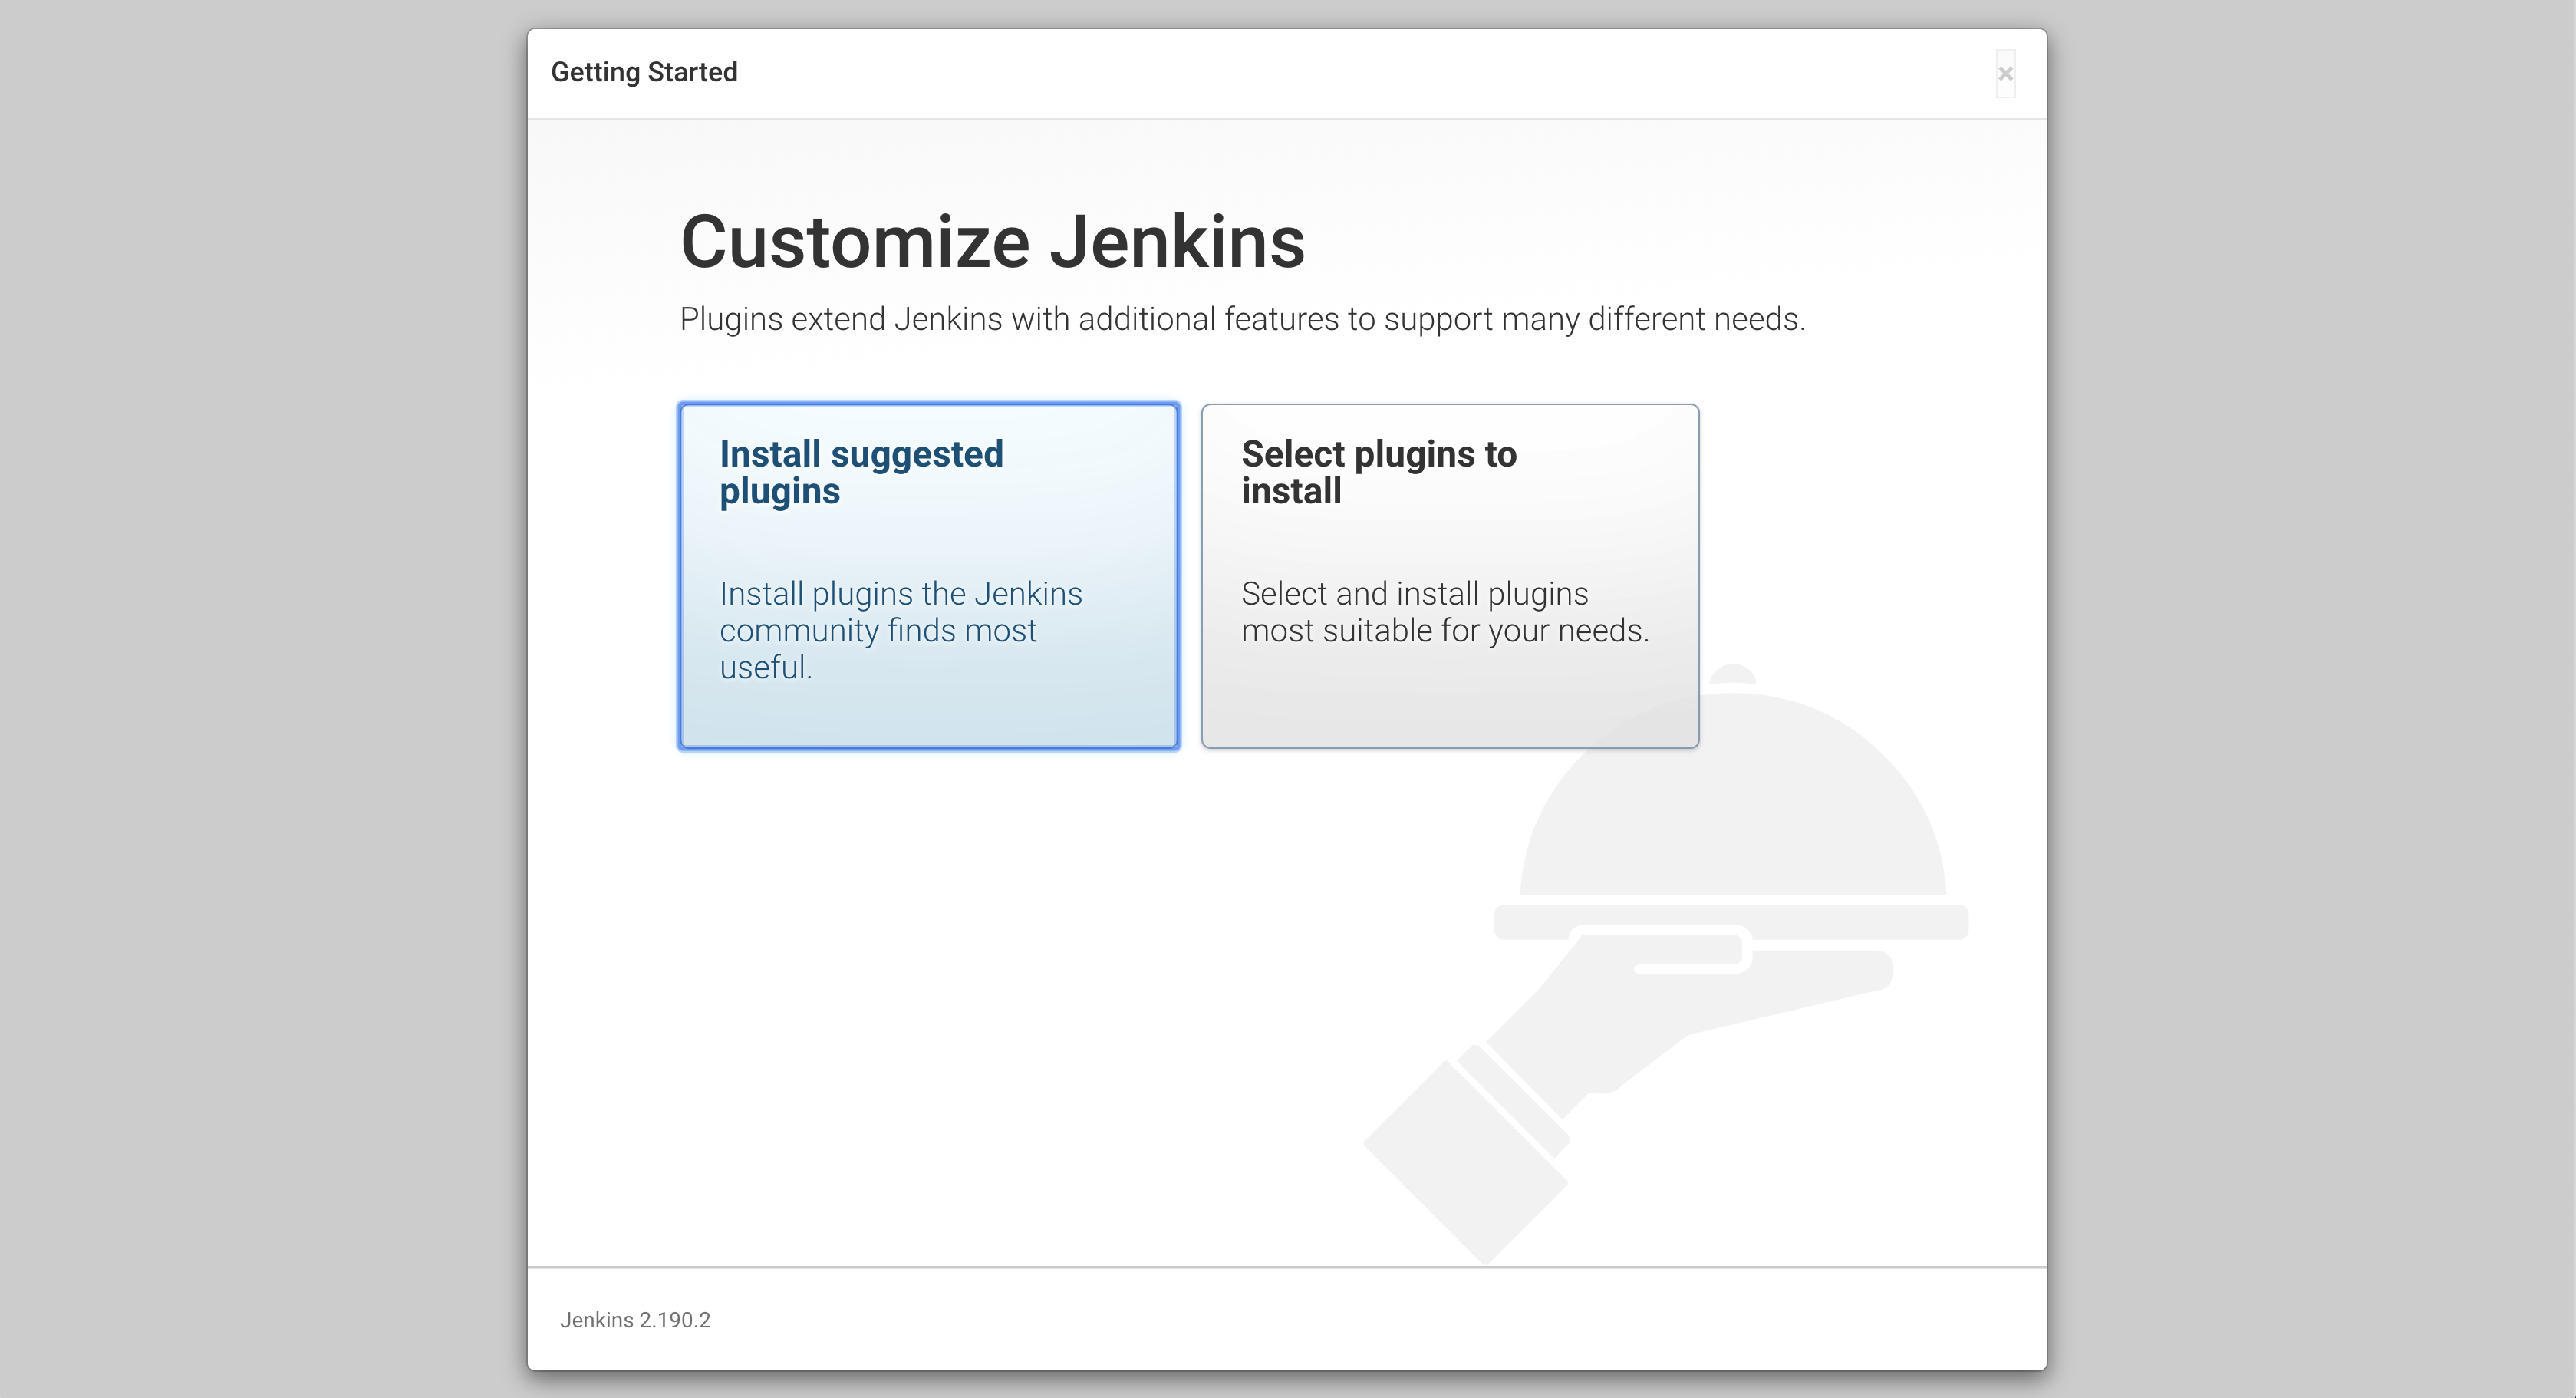
Installing the suggested plugins
The installation process will begin:
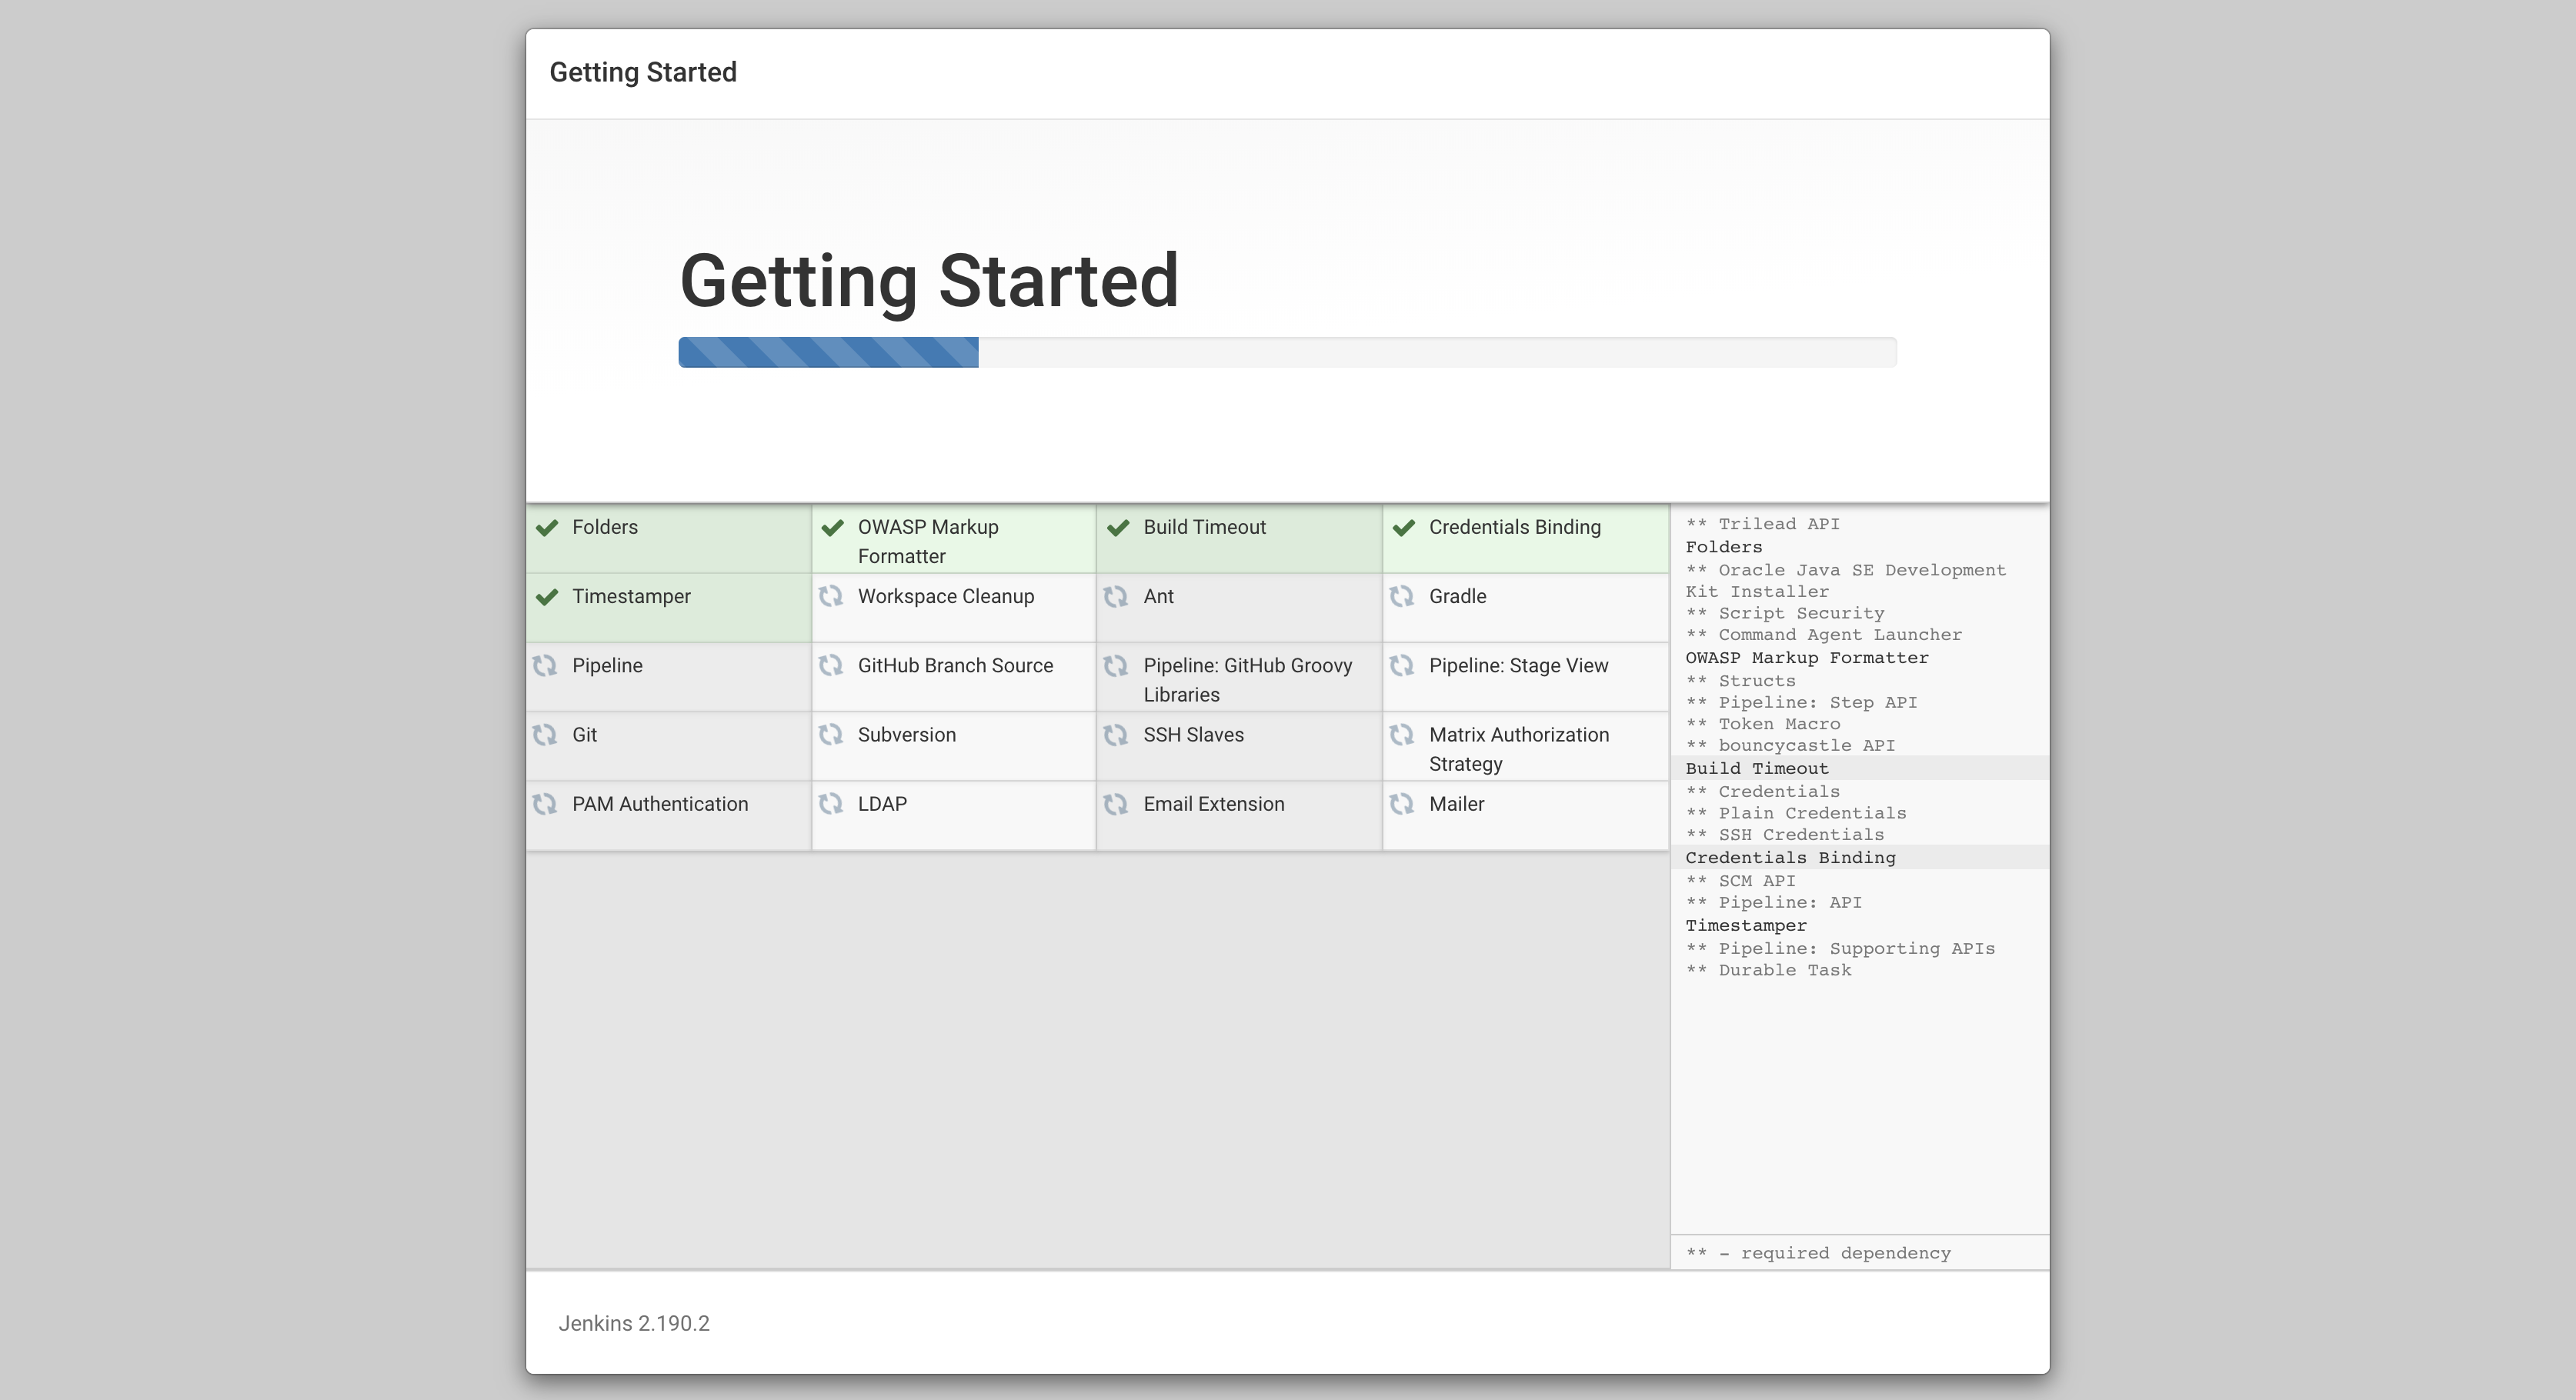
Plugin installation in progress
Step 2: Create Admin User
Create your first admin user with your preferred credentials:
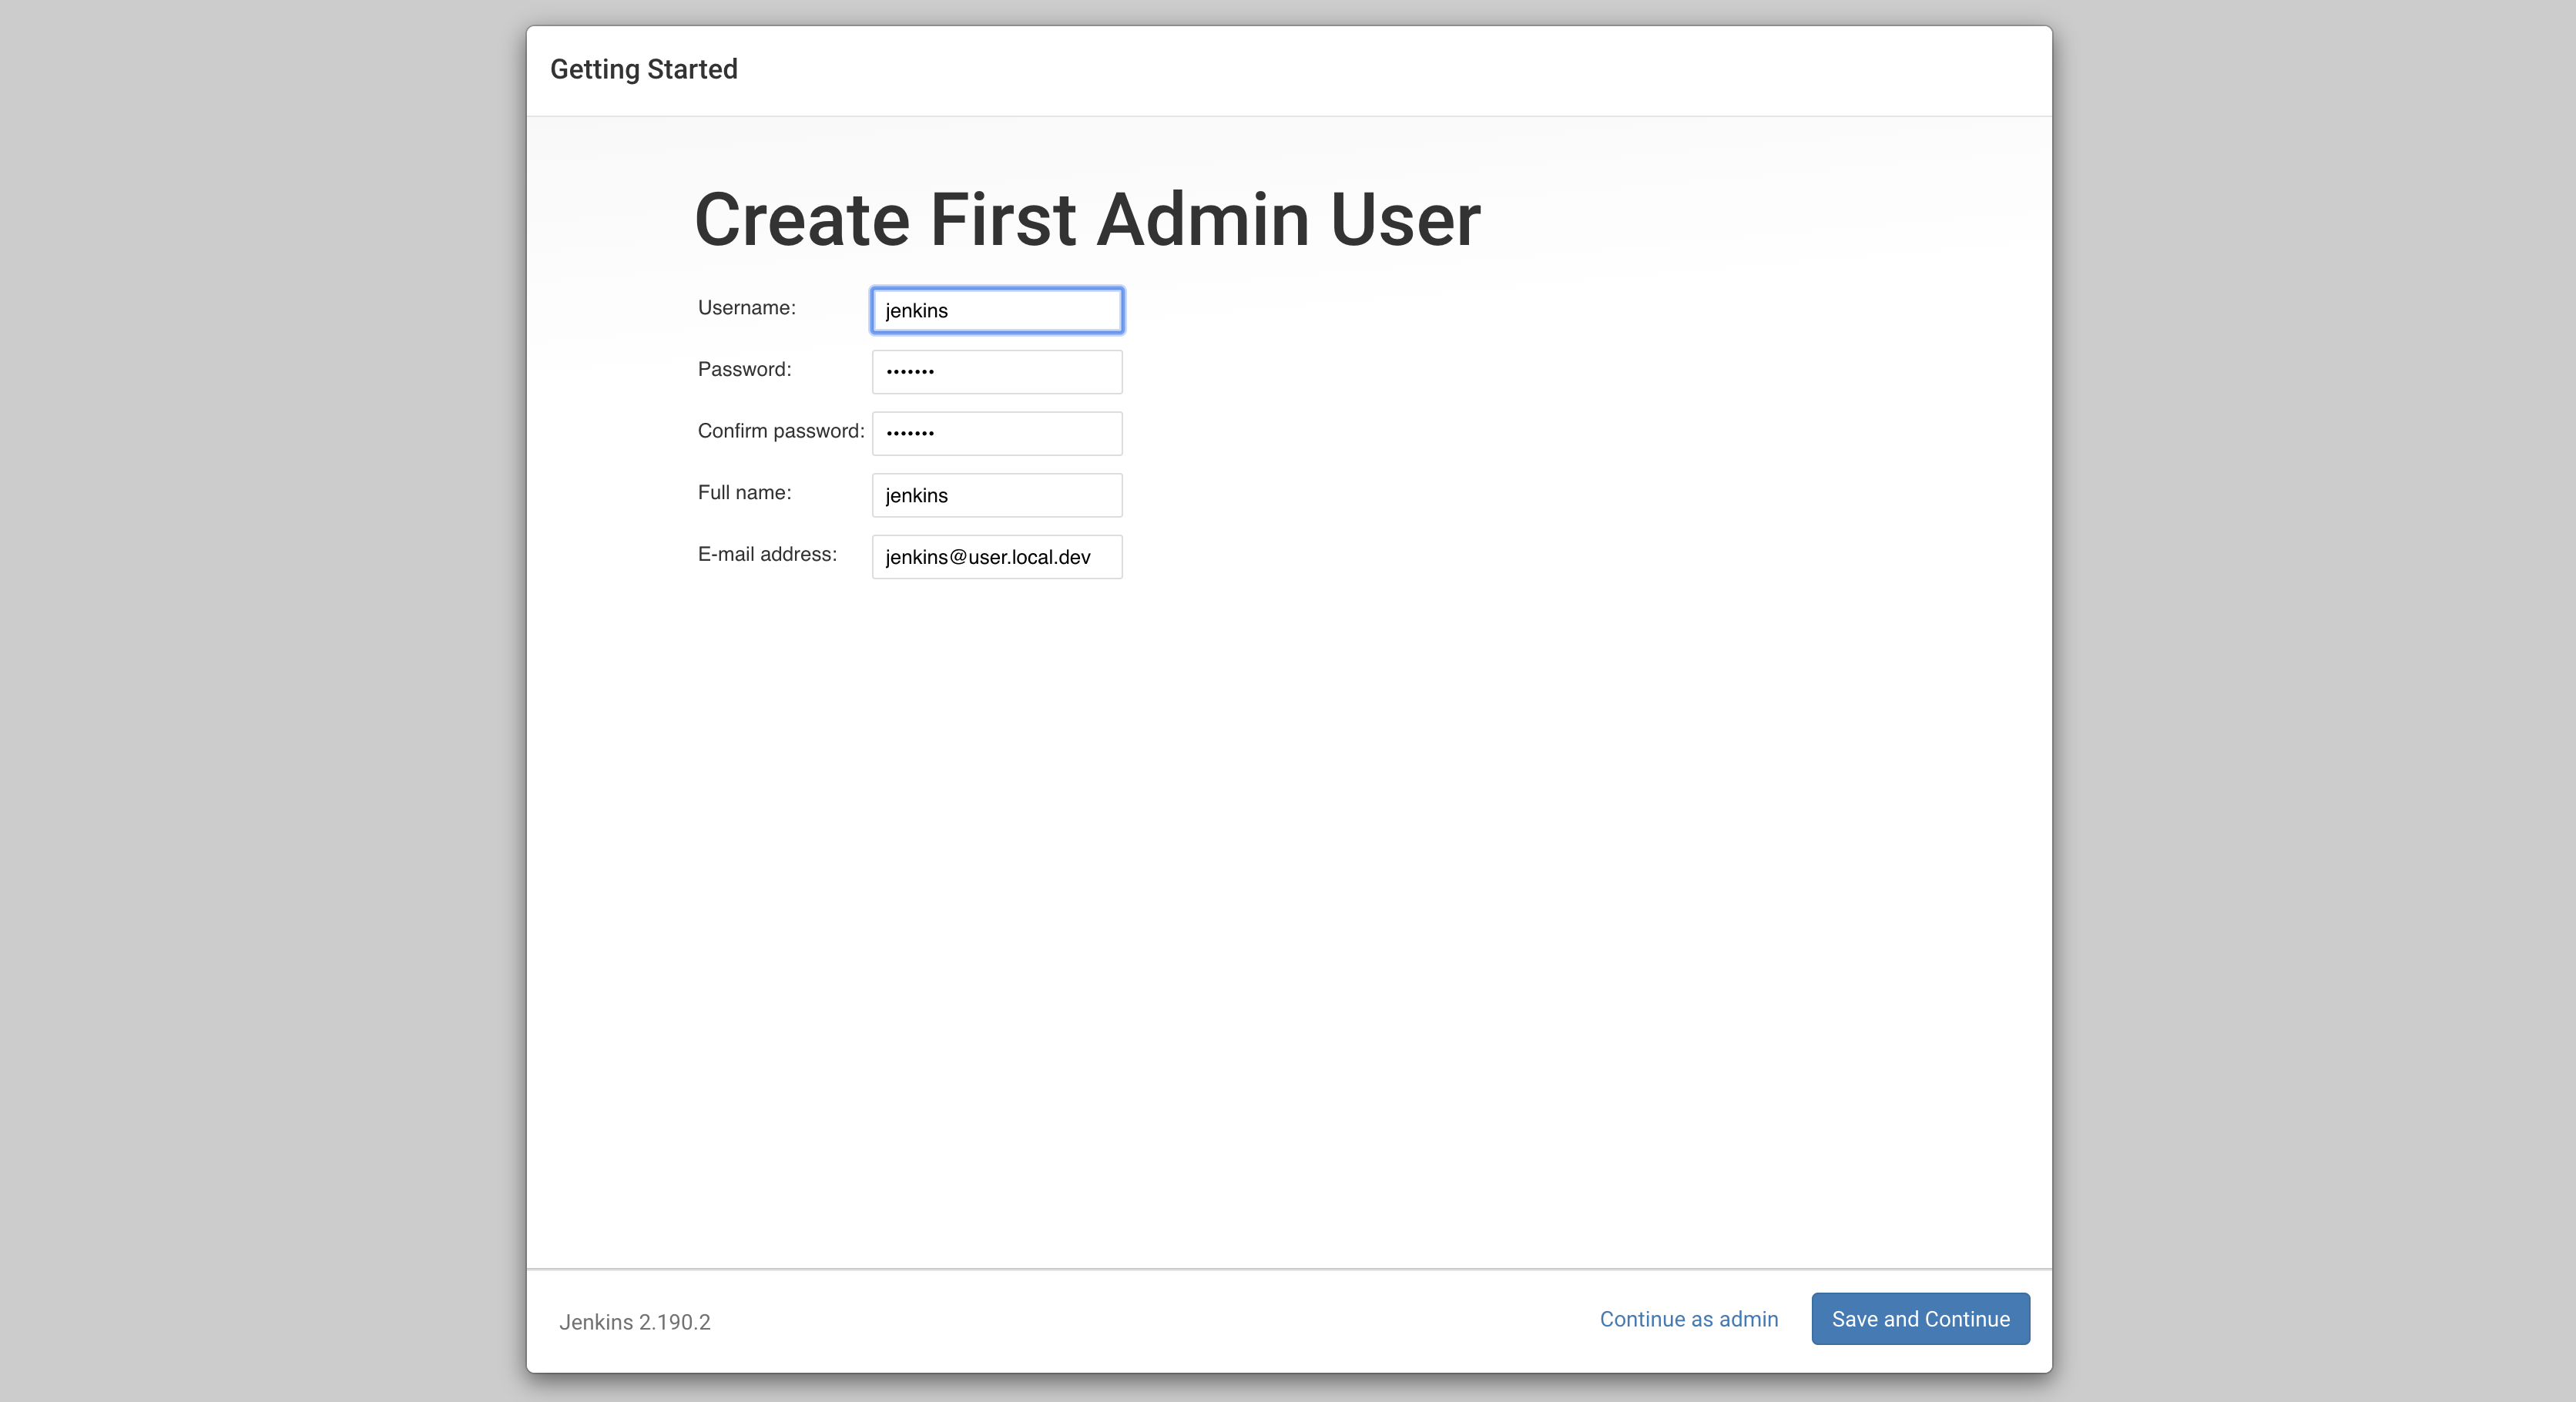
Creating the first administrator account
Step 3: Complete Initial Setup
Click "Save and Finish" to complete the initial instance configuration:
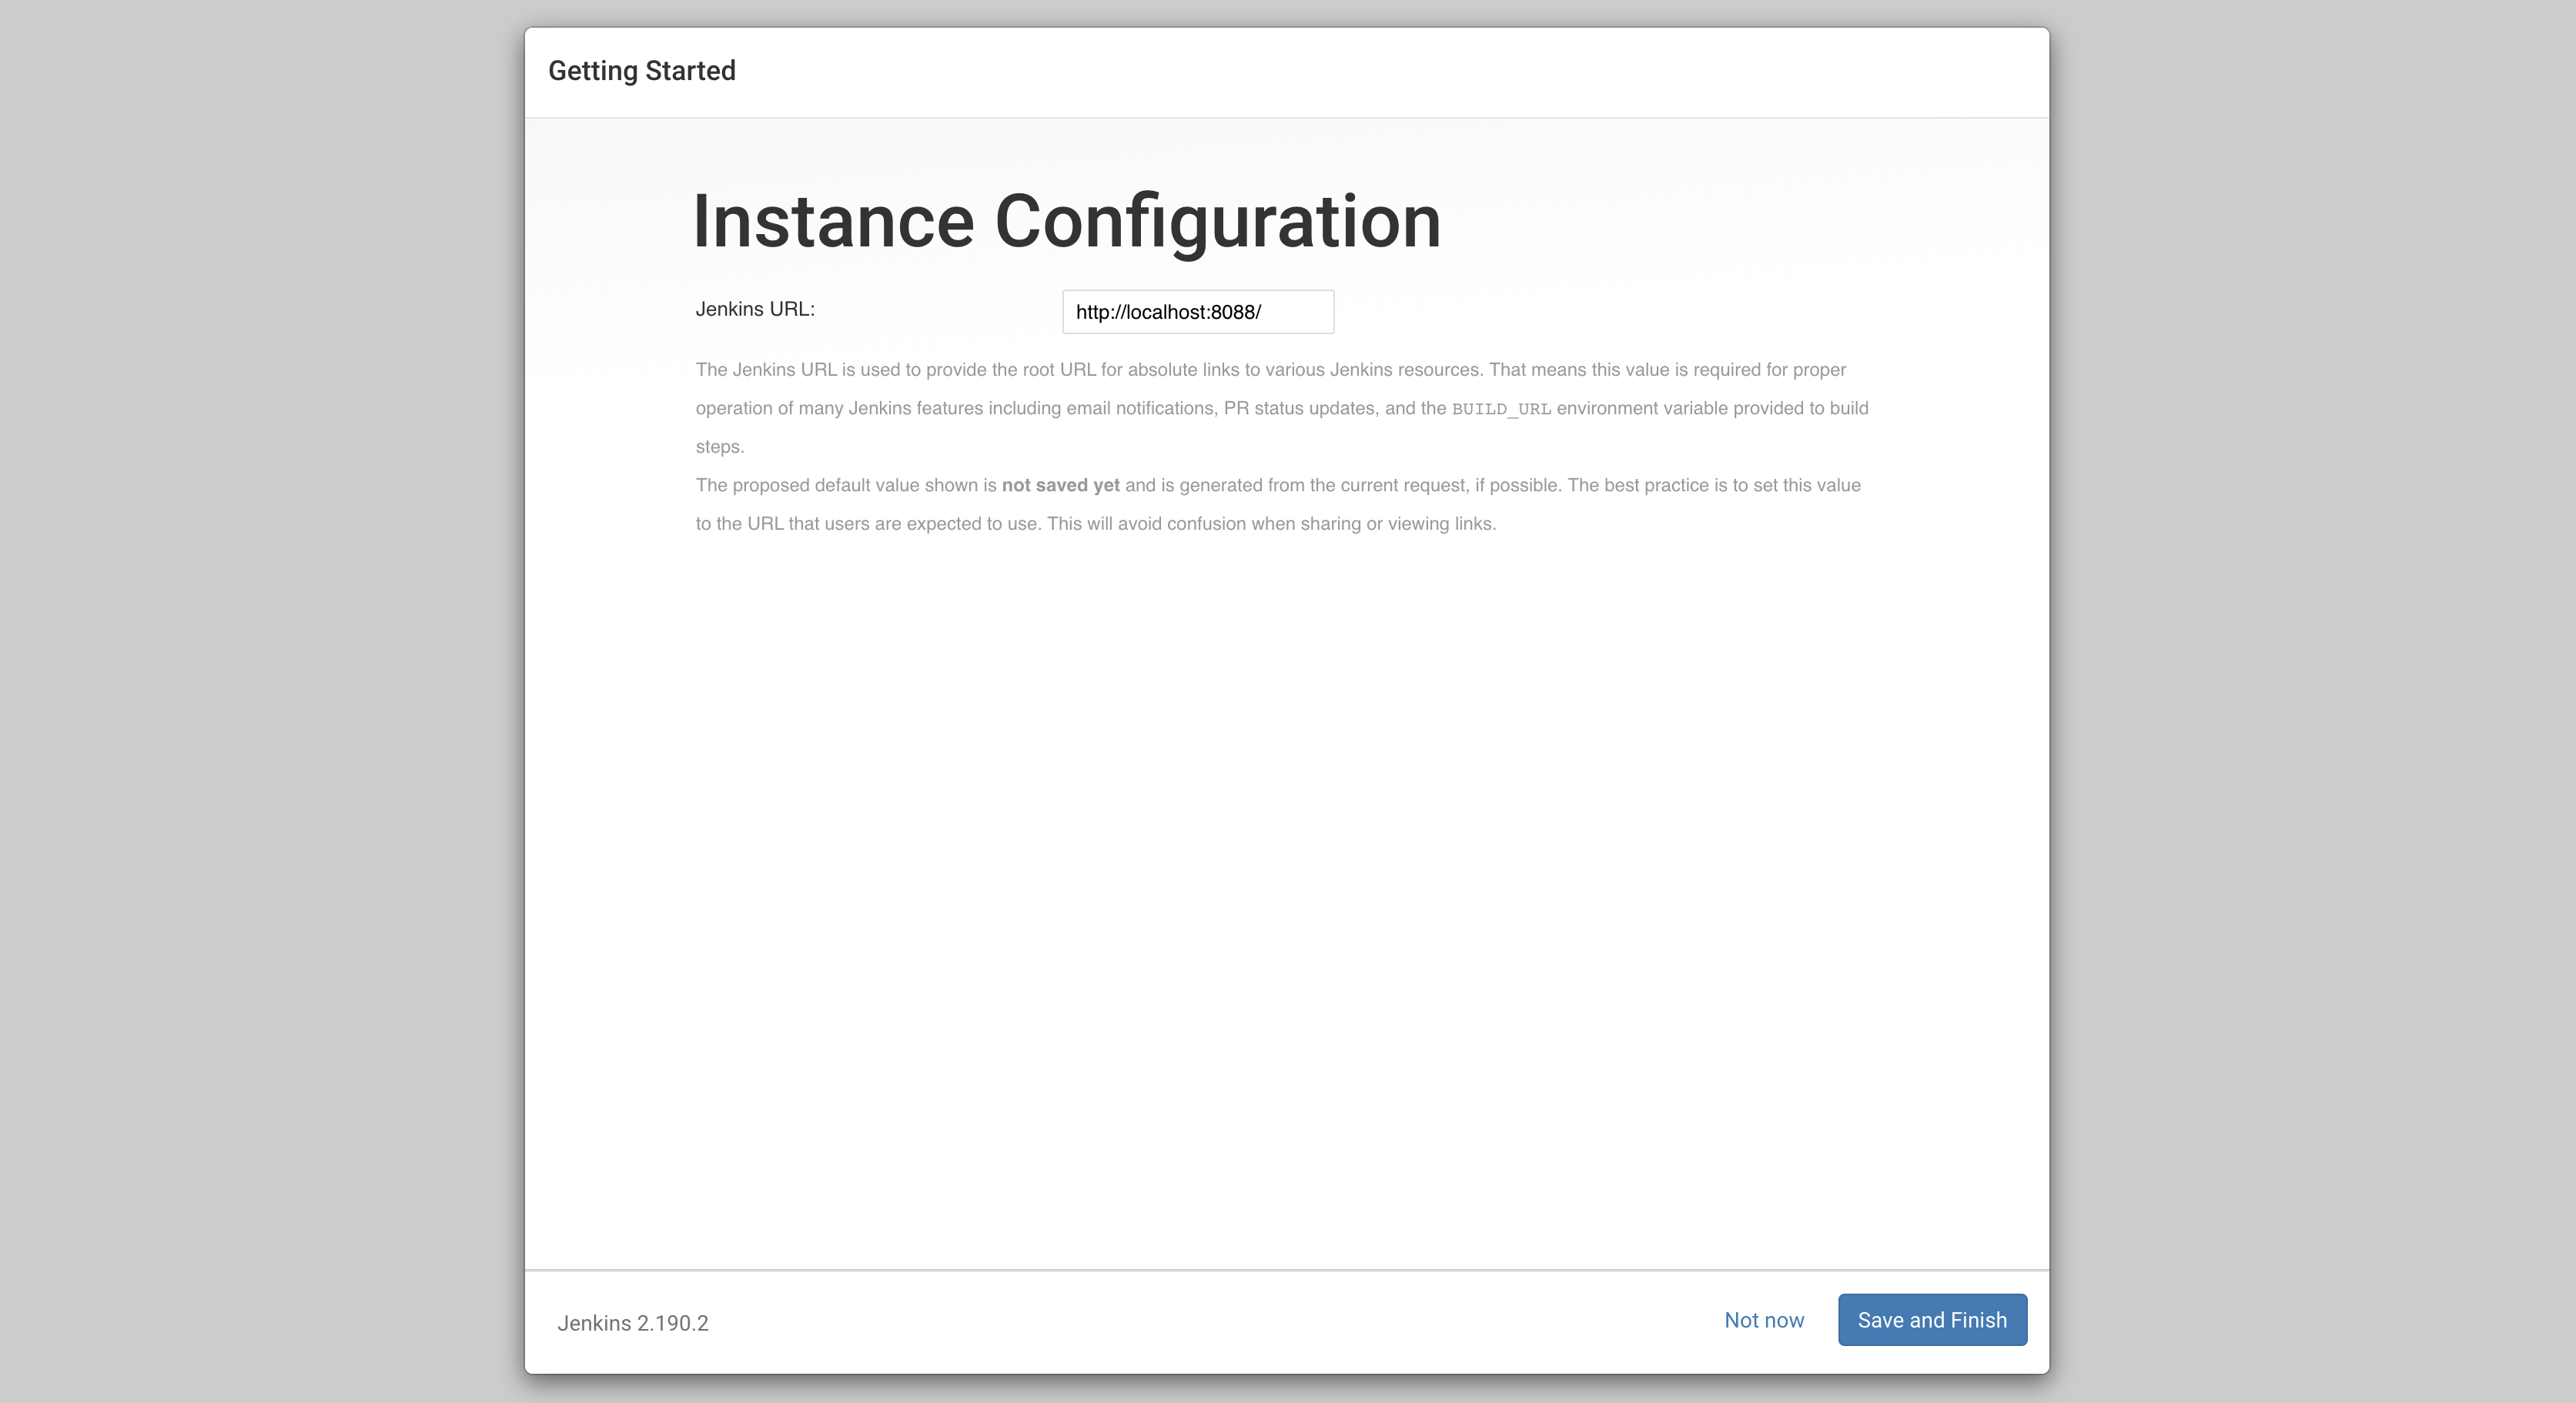
Setting up the Jenkins URL
Click "Start using Jenkins" to proceed to the dashboard:
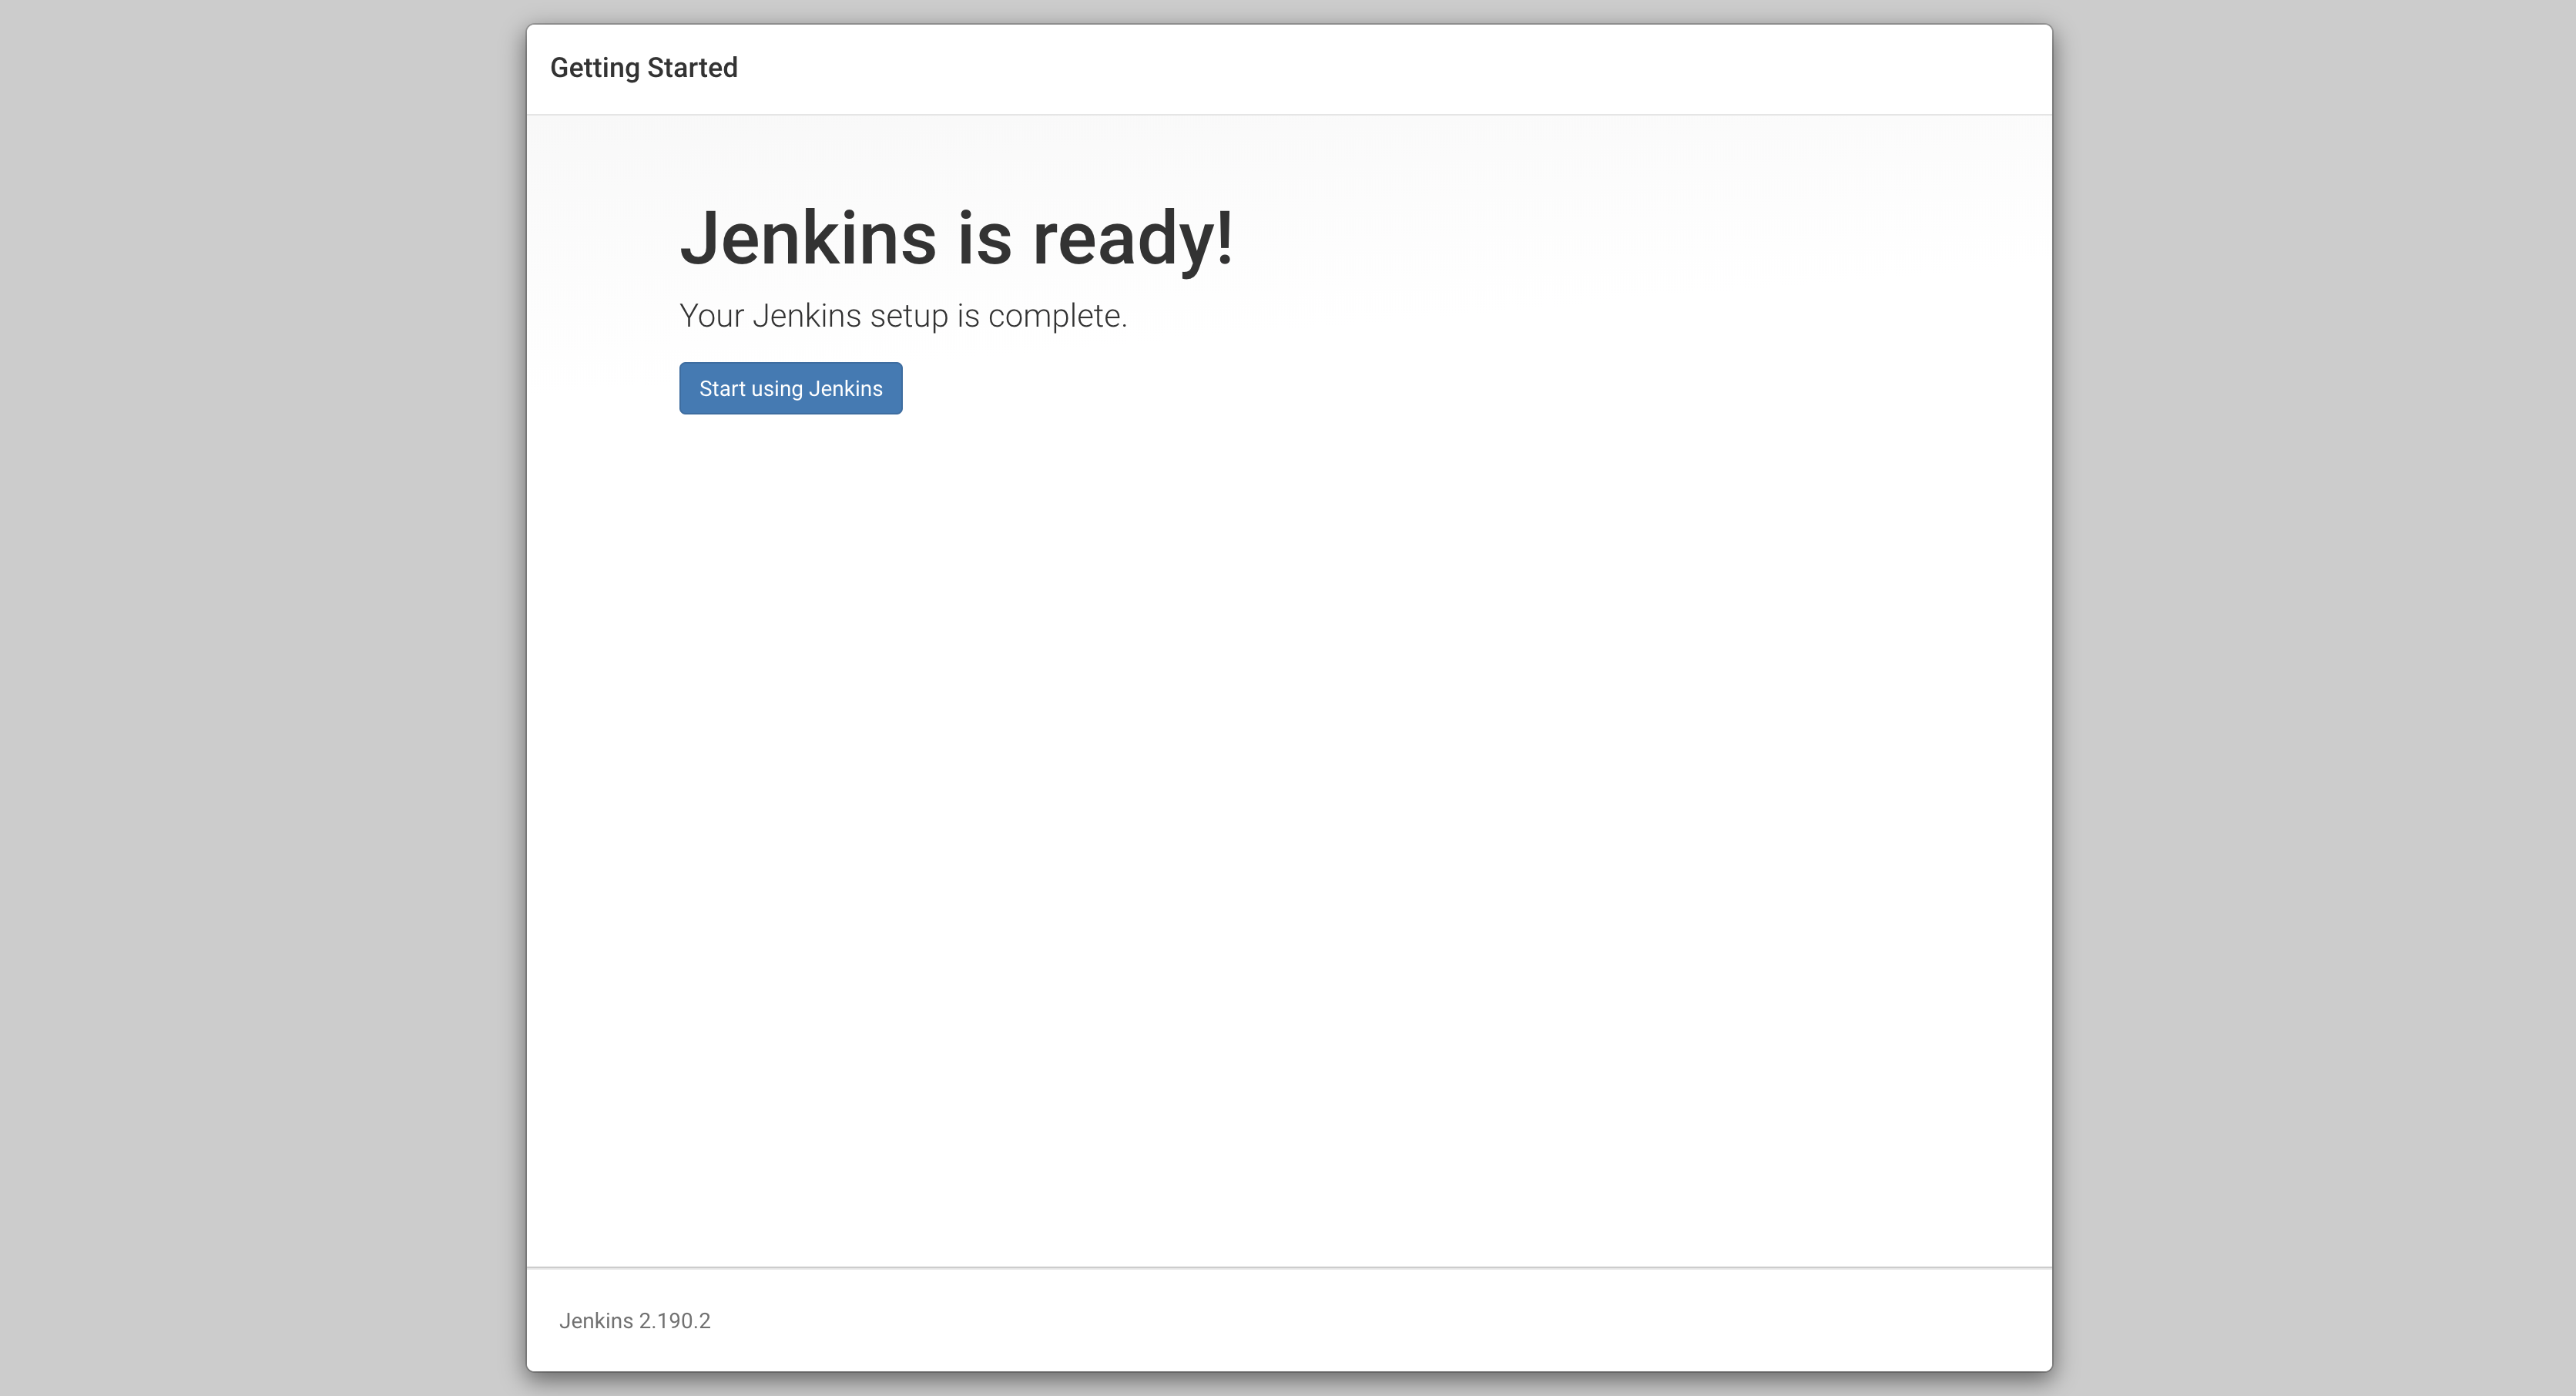
Ready to start using Jenkins
Step 4: Install Additional Plugins
We need to install some additional plugins for our HashiCorp integration:
- Navigate to "Manage Jenkins" → "Manage Plugins"
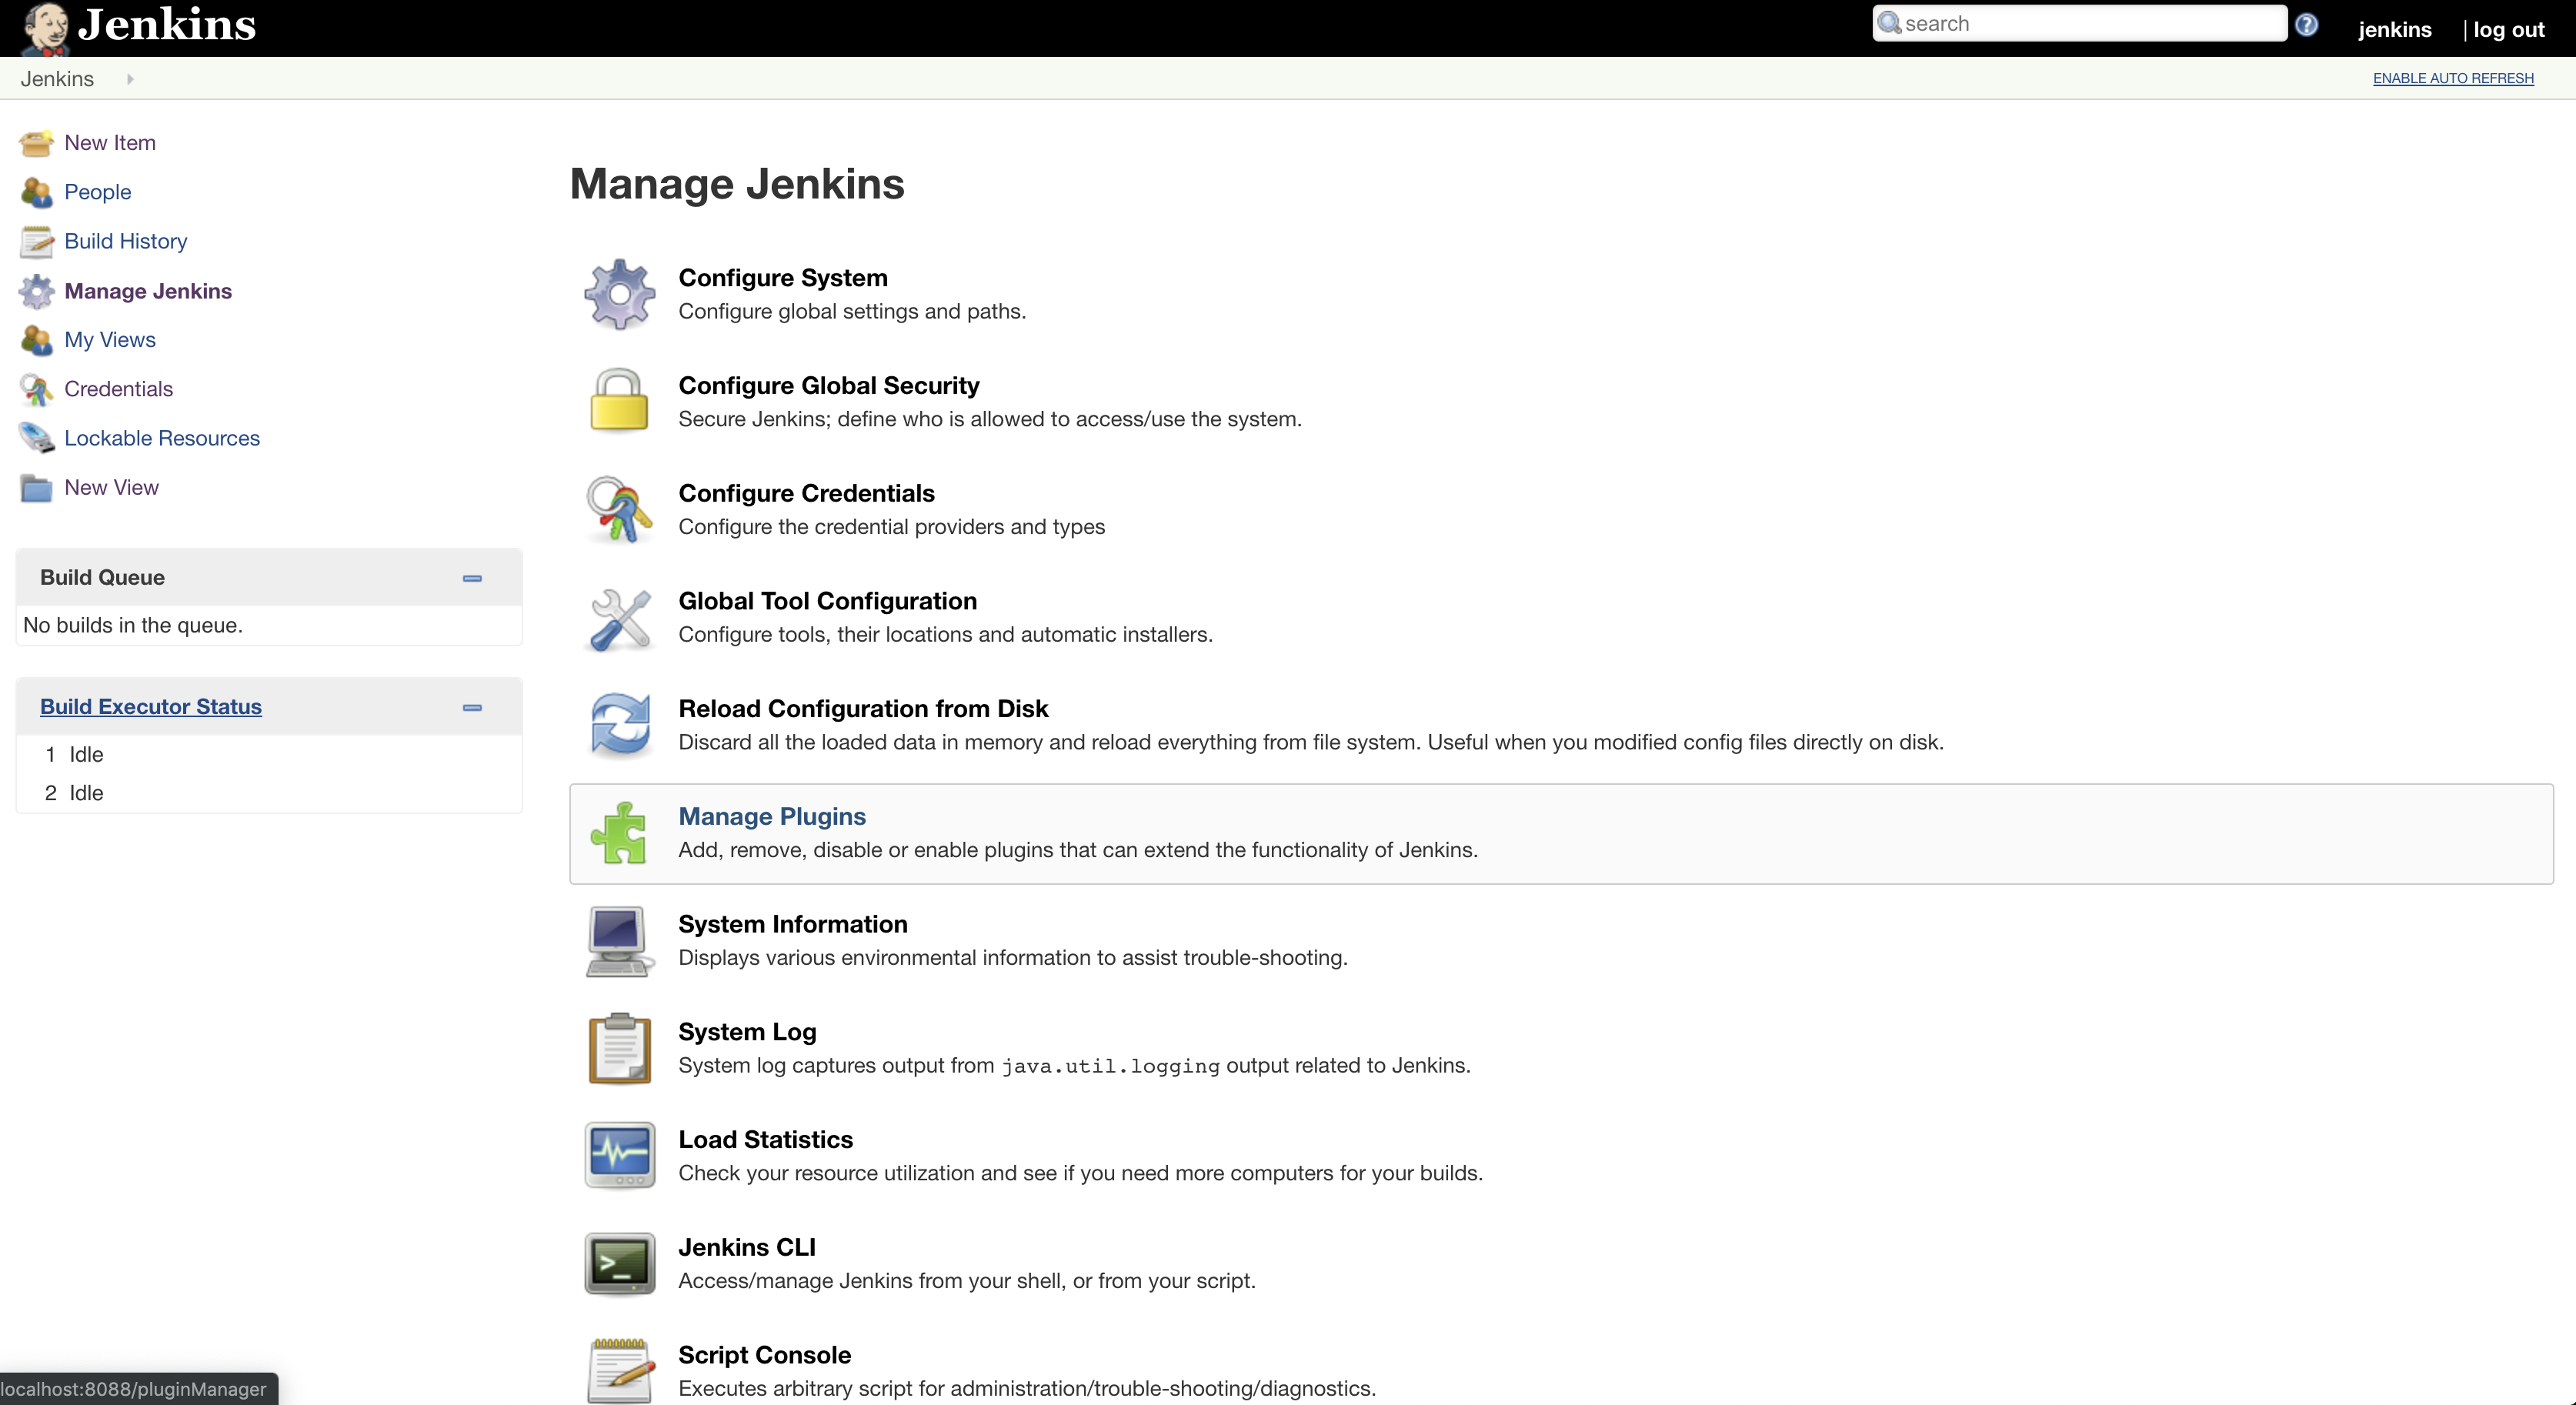
Accessing the plugin manager
Click on "Available" tab and search for:
- "HashiCorp Vault"
- "Pipeline: Multibranch with defaults"
Select these plugins and click "Download and Install after Restart"
Select "Restart Jenkins once Installation is Complete"
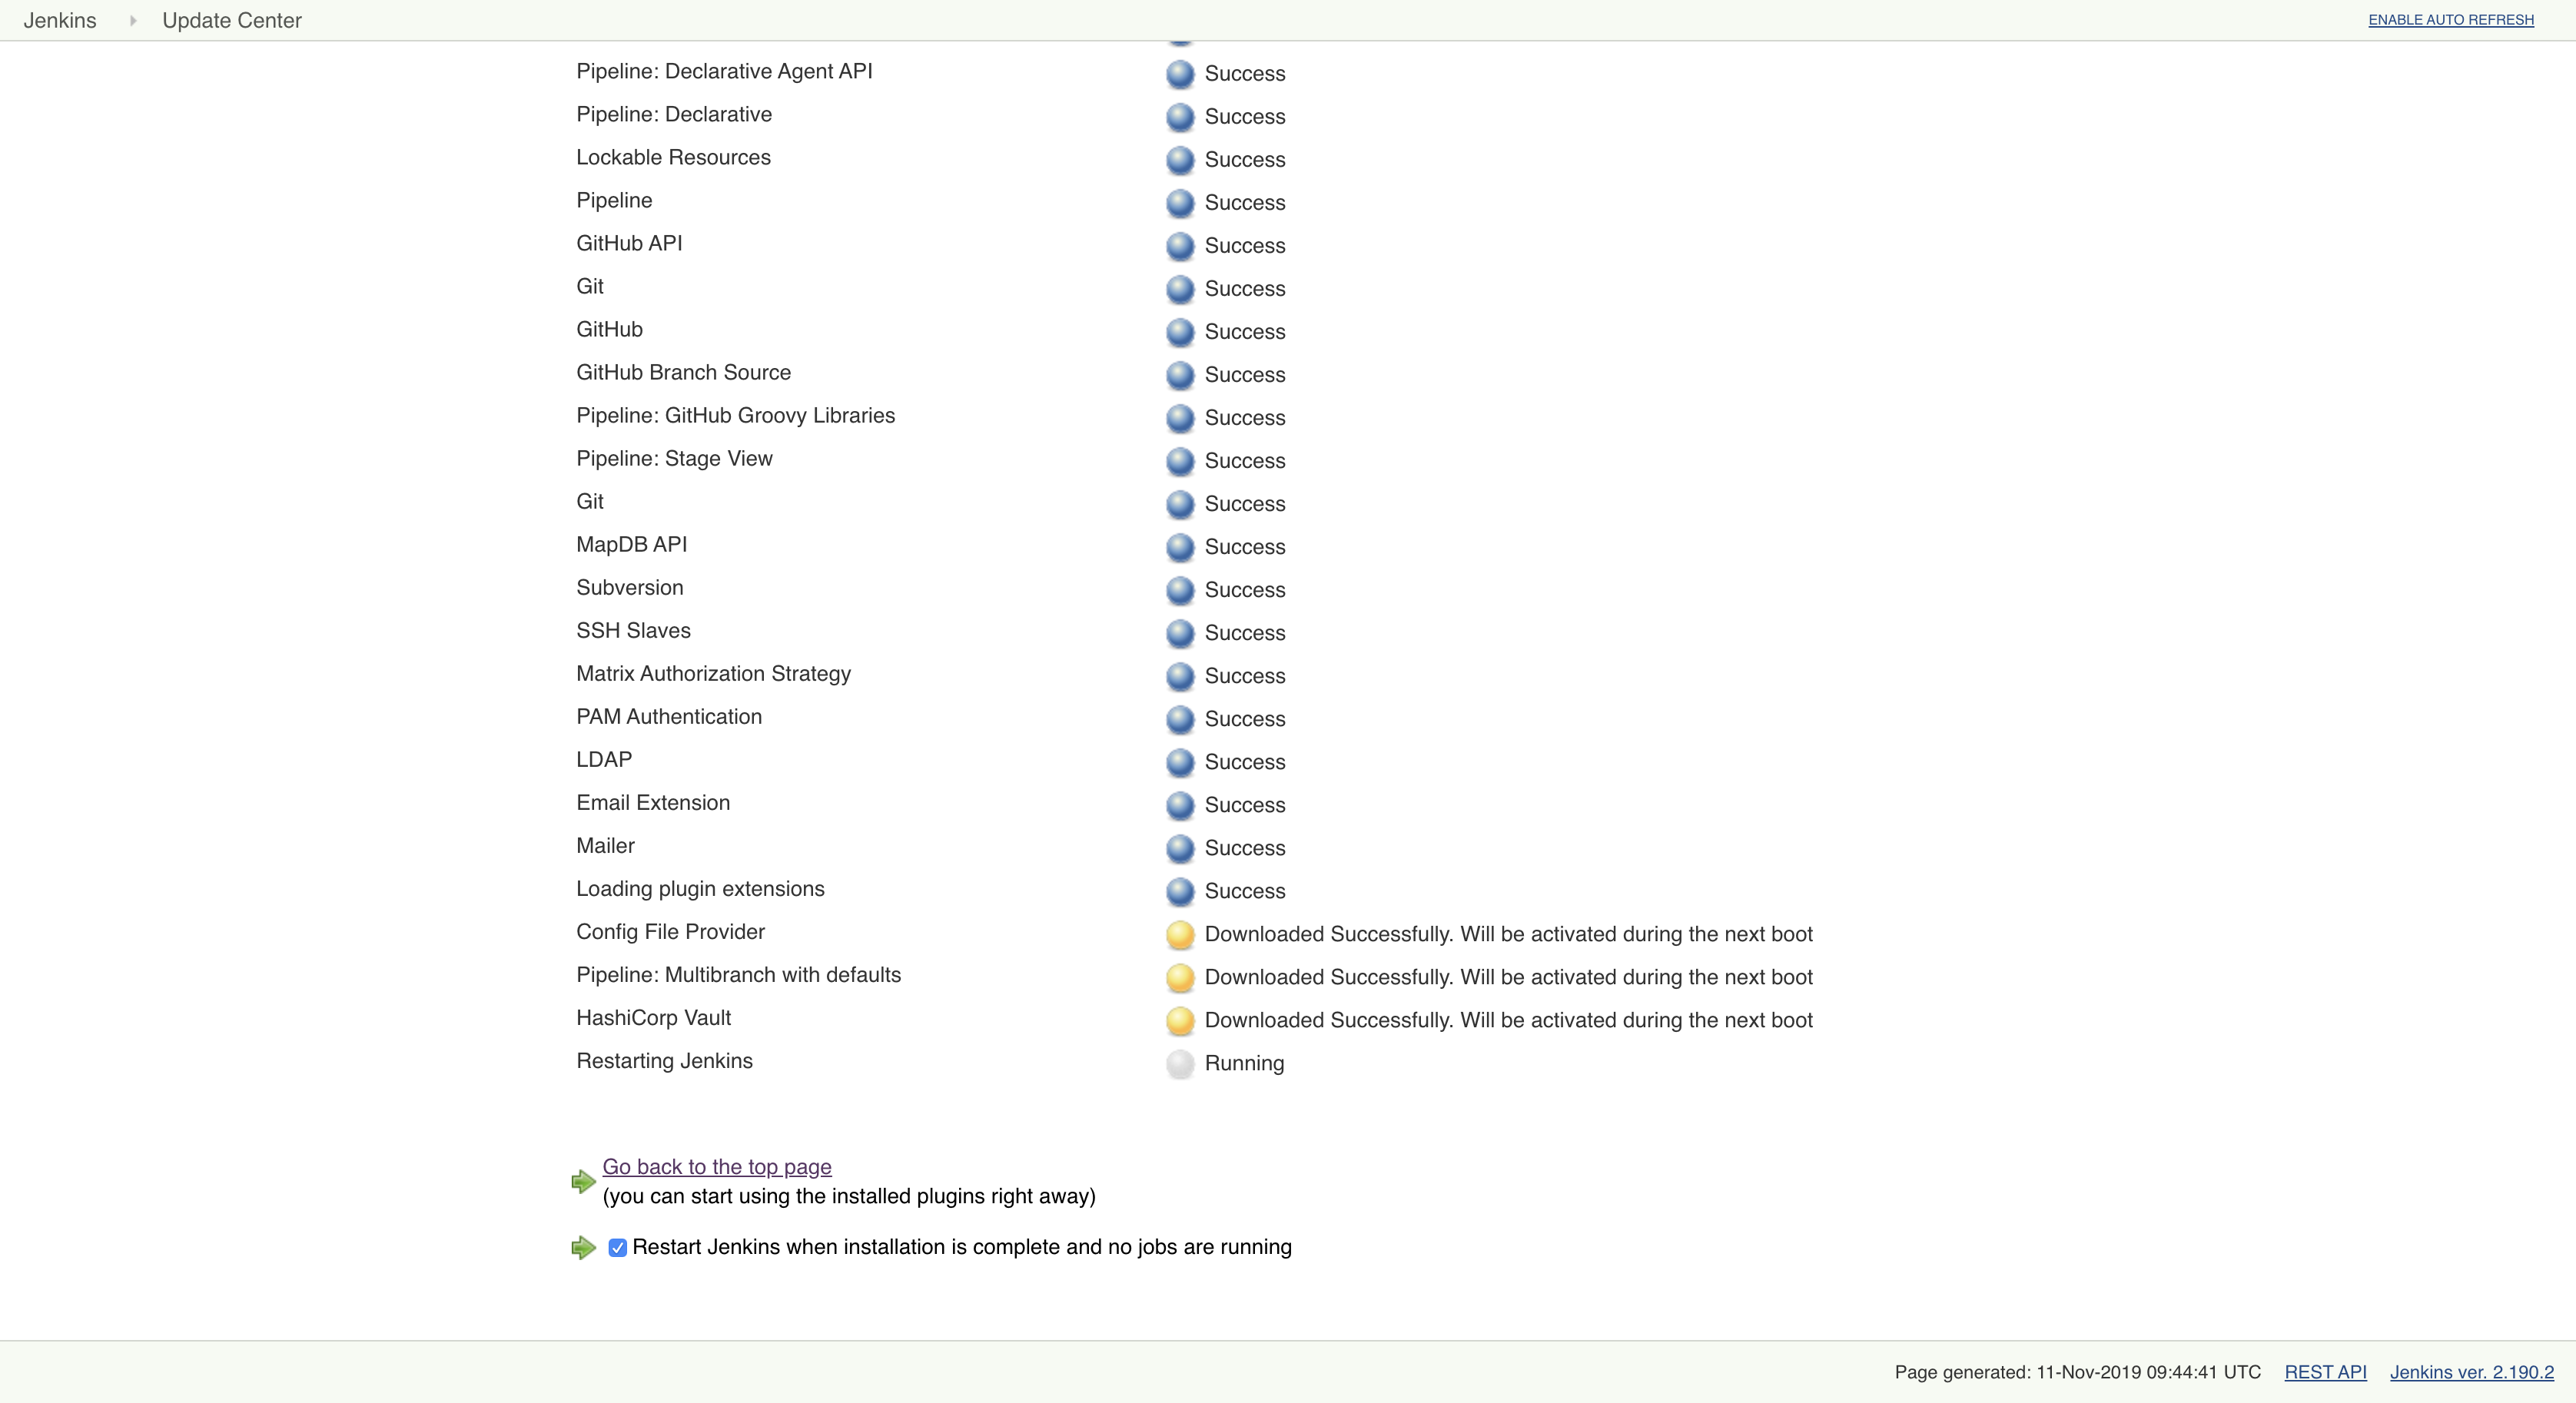
Restarting Jenkins after installing new plugins
- Click "Enable Automatic Refresh" in the top right to be redirected to the login page
- Log in with the admin credentials you created earlier
🔐 Configuring HashiCorp Vault
Note: The Vault setup was automatically done for you during the provisioning step with the command in
jenkins/jenkins.sh.
Verifying Vault is Running
Make sure Vault is running and unsealed:
- Open http://localhost:8200
- Use the unseal keys and root token provided during provisioning
- After logging in, you should see the Vault dashboard:
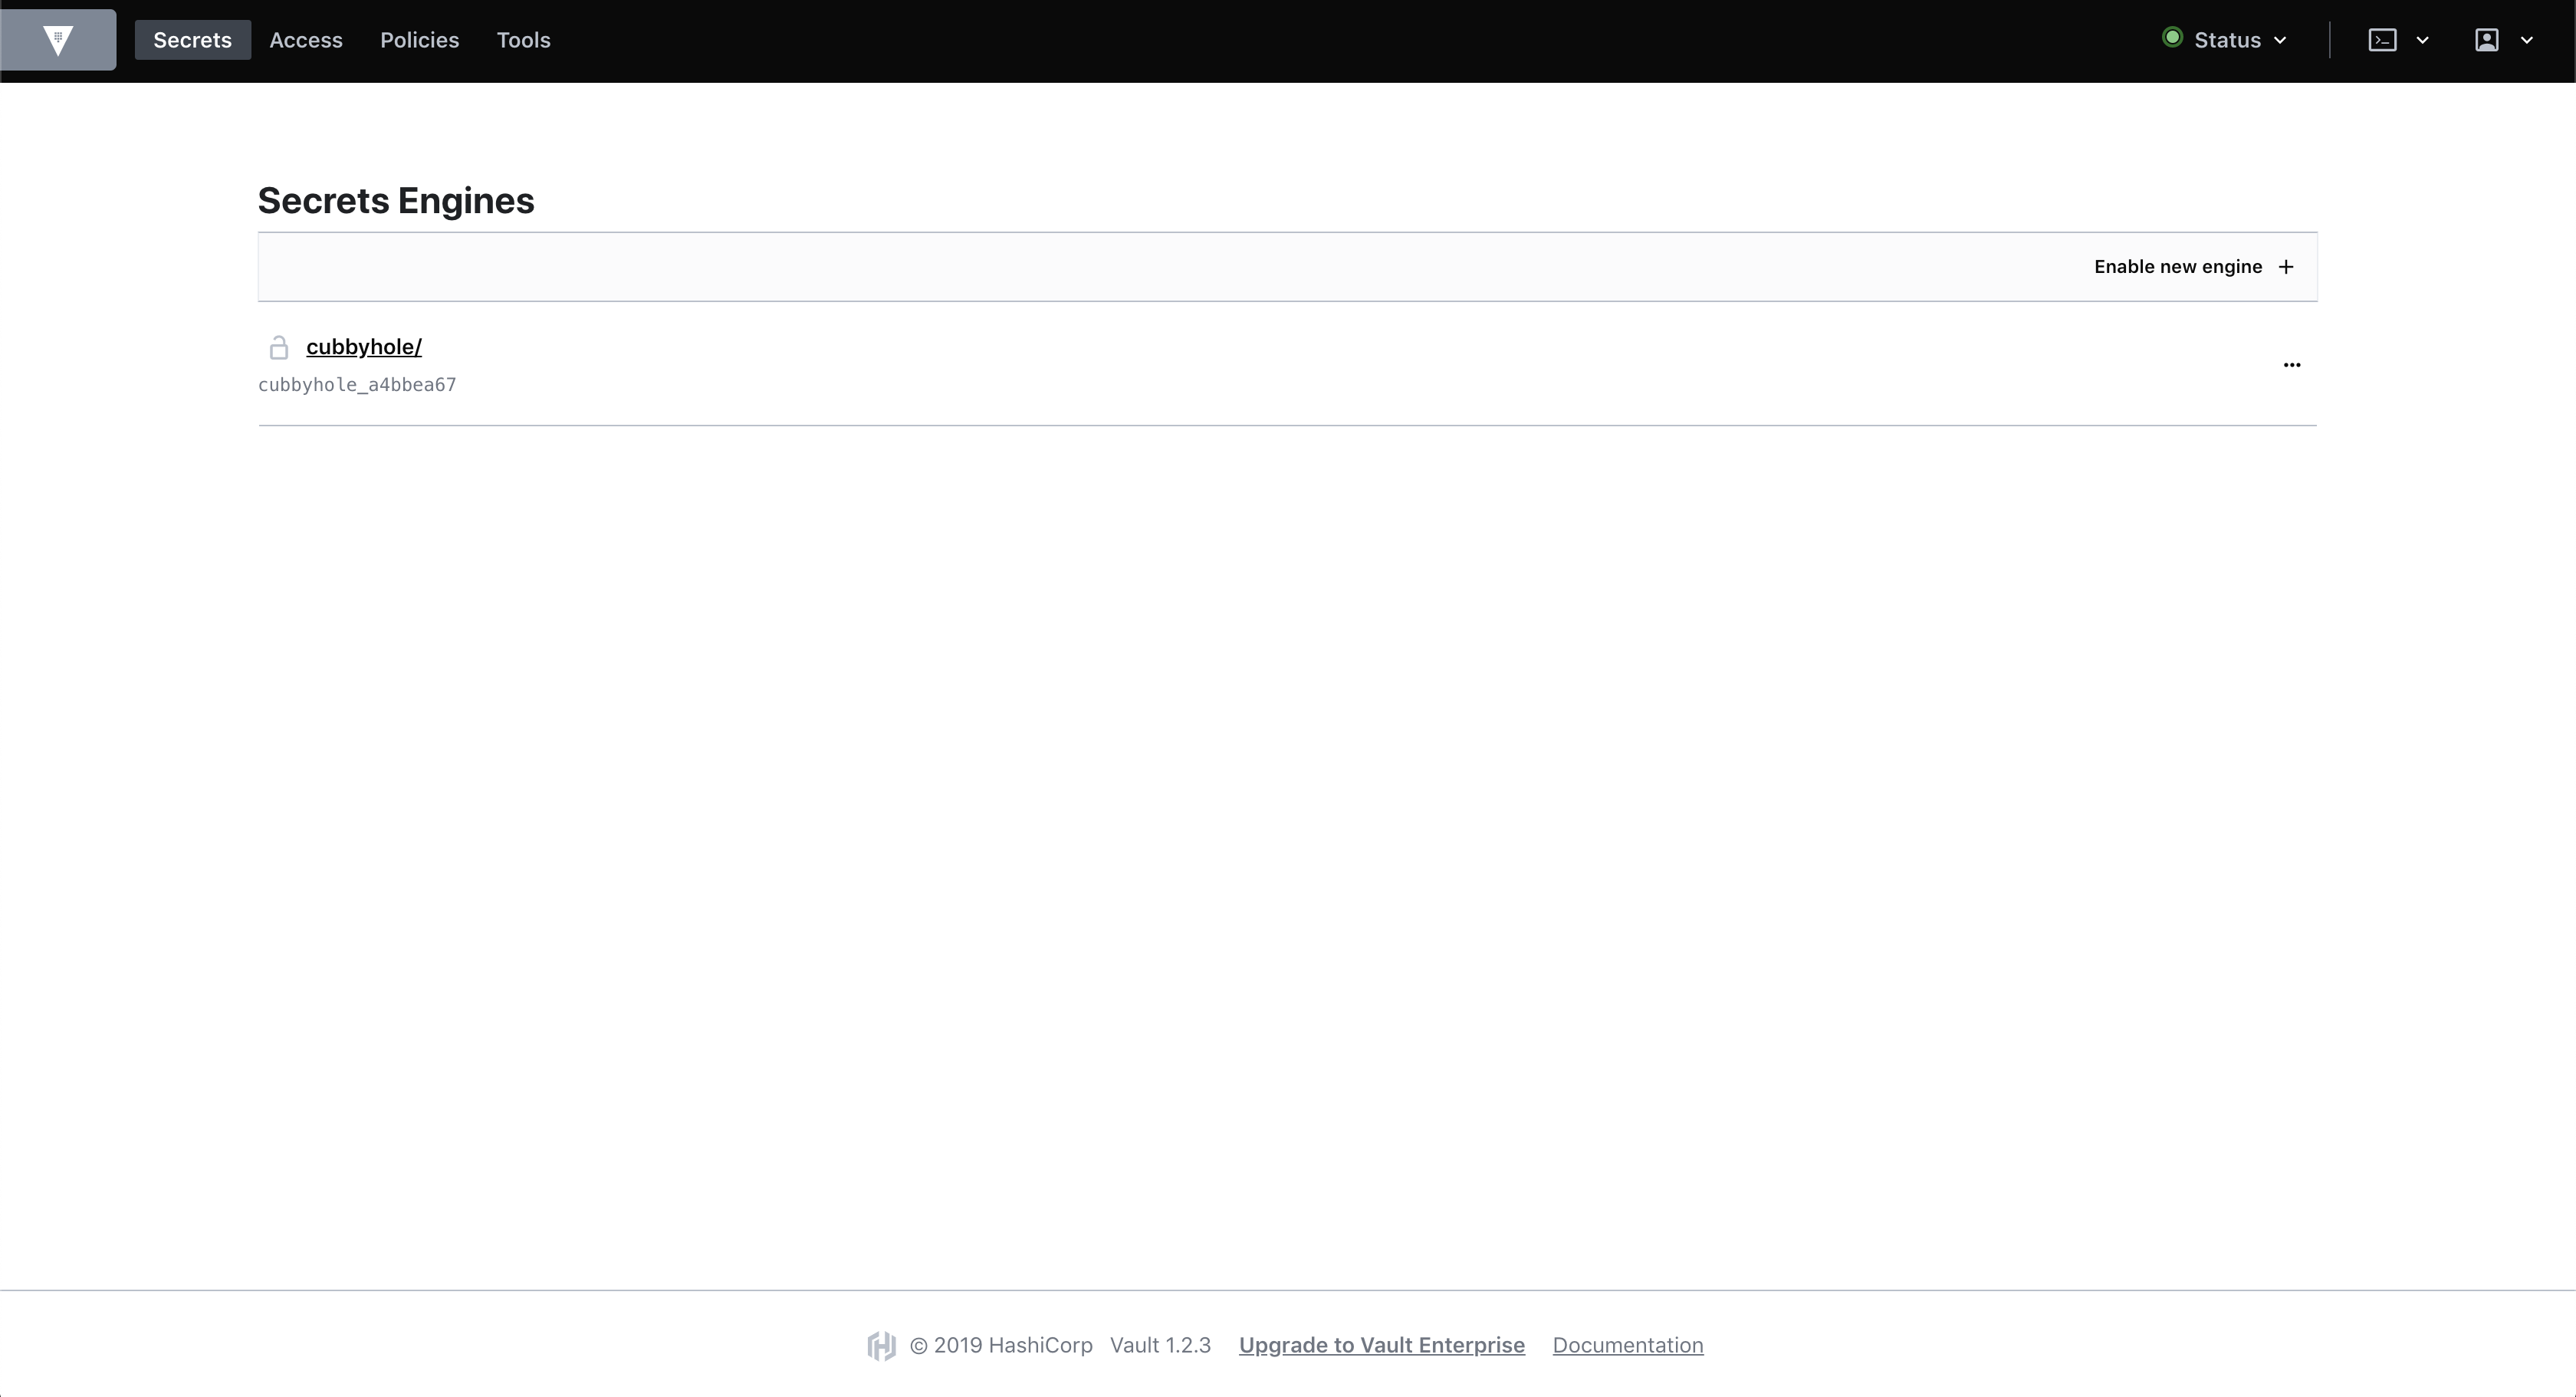
Vault UI after successful login
Setting Up Secret Engines
To prepare Vault for our Jenkins integration, we need to enable KV secret engines (v1 and v2) and add some test data:
- Click on "Enable new engine +" (top right)
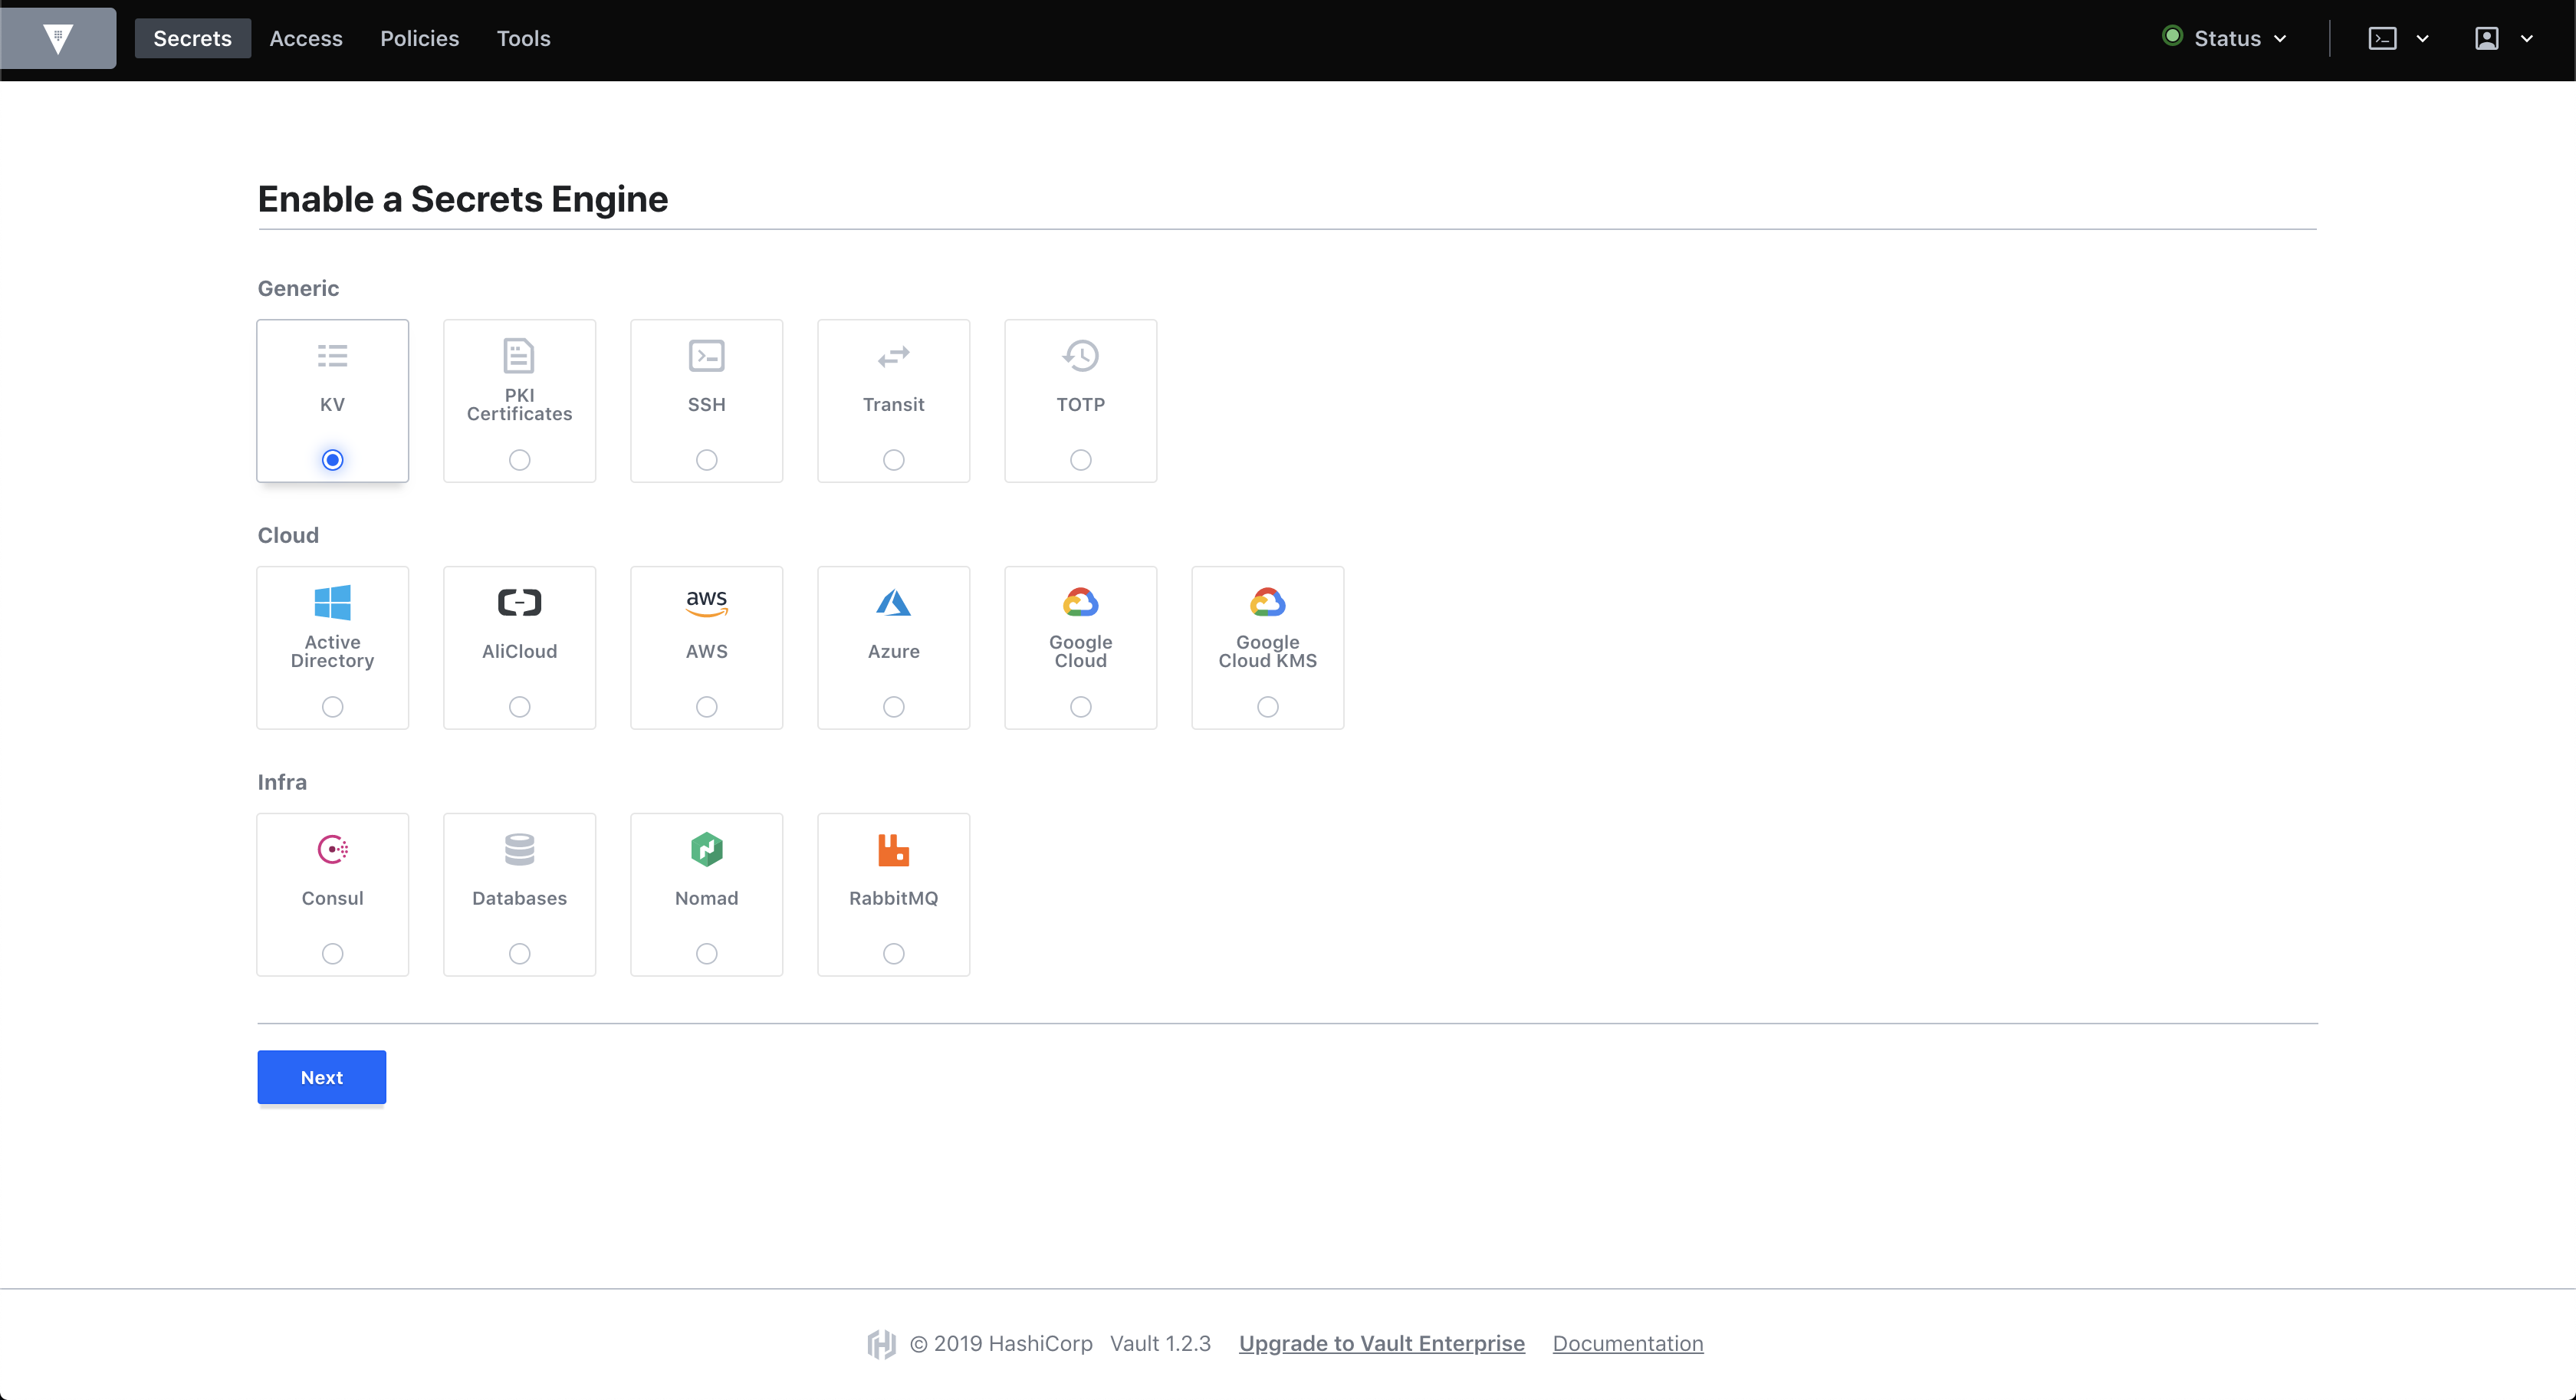
Enabling the KV secrets engine
- Select KV and set the path to "kv2" for version 2:
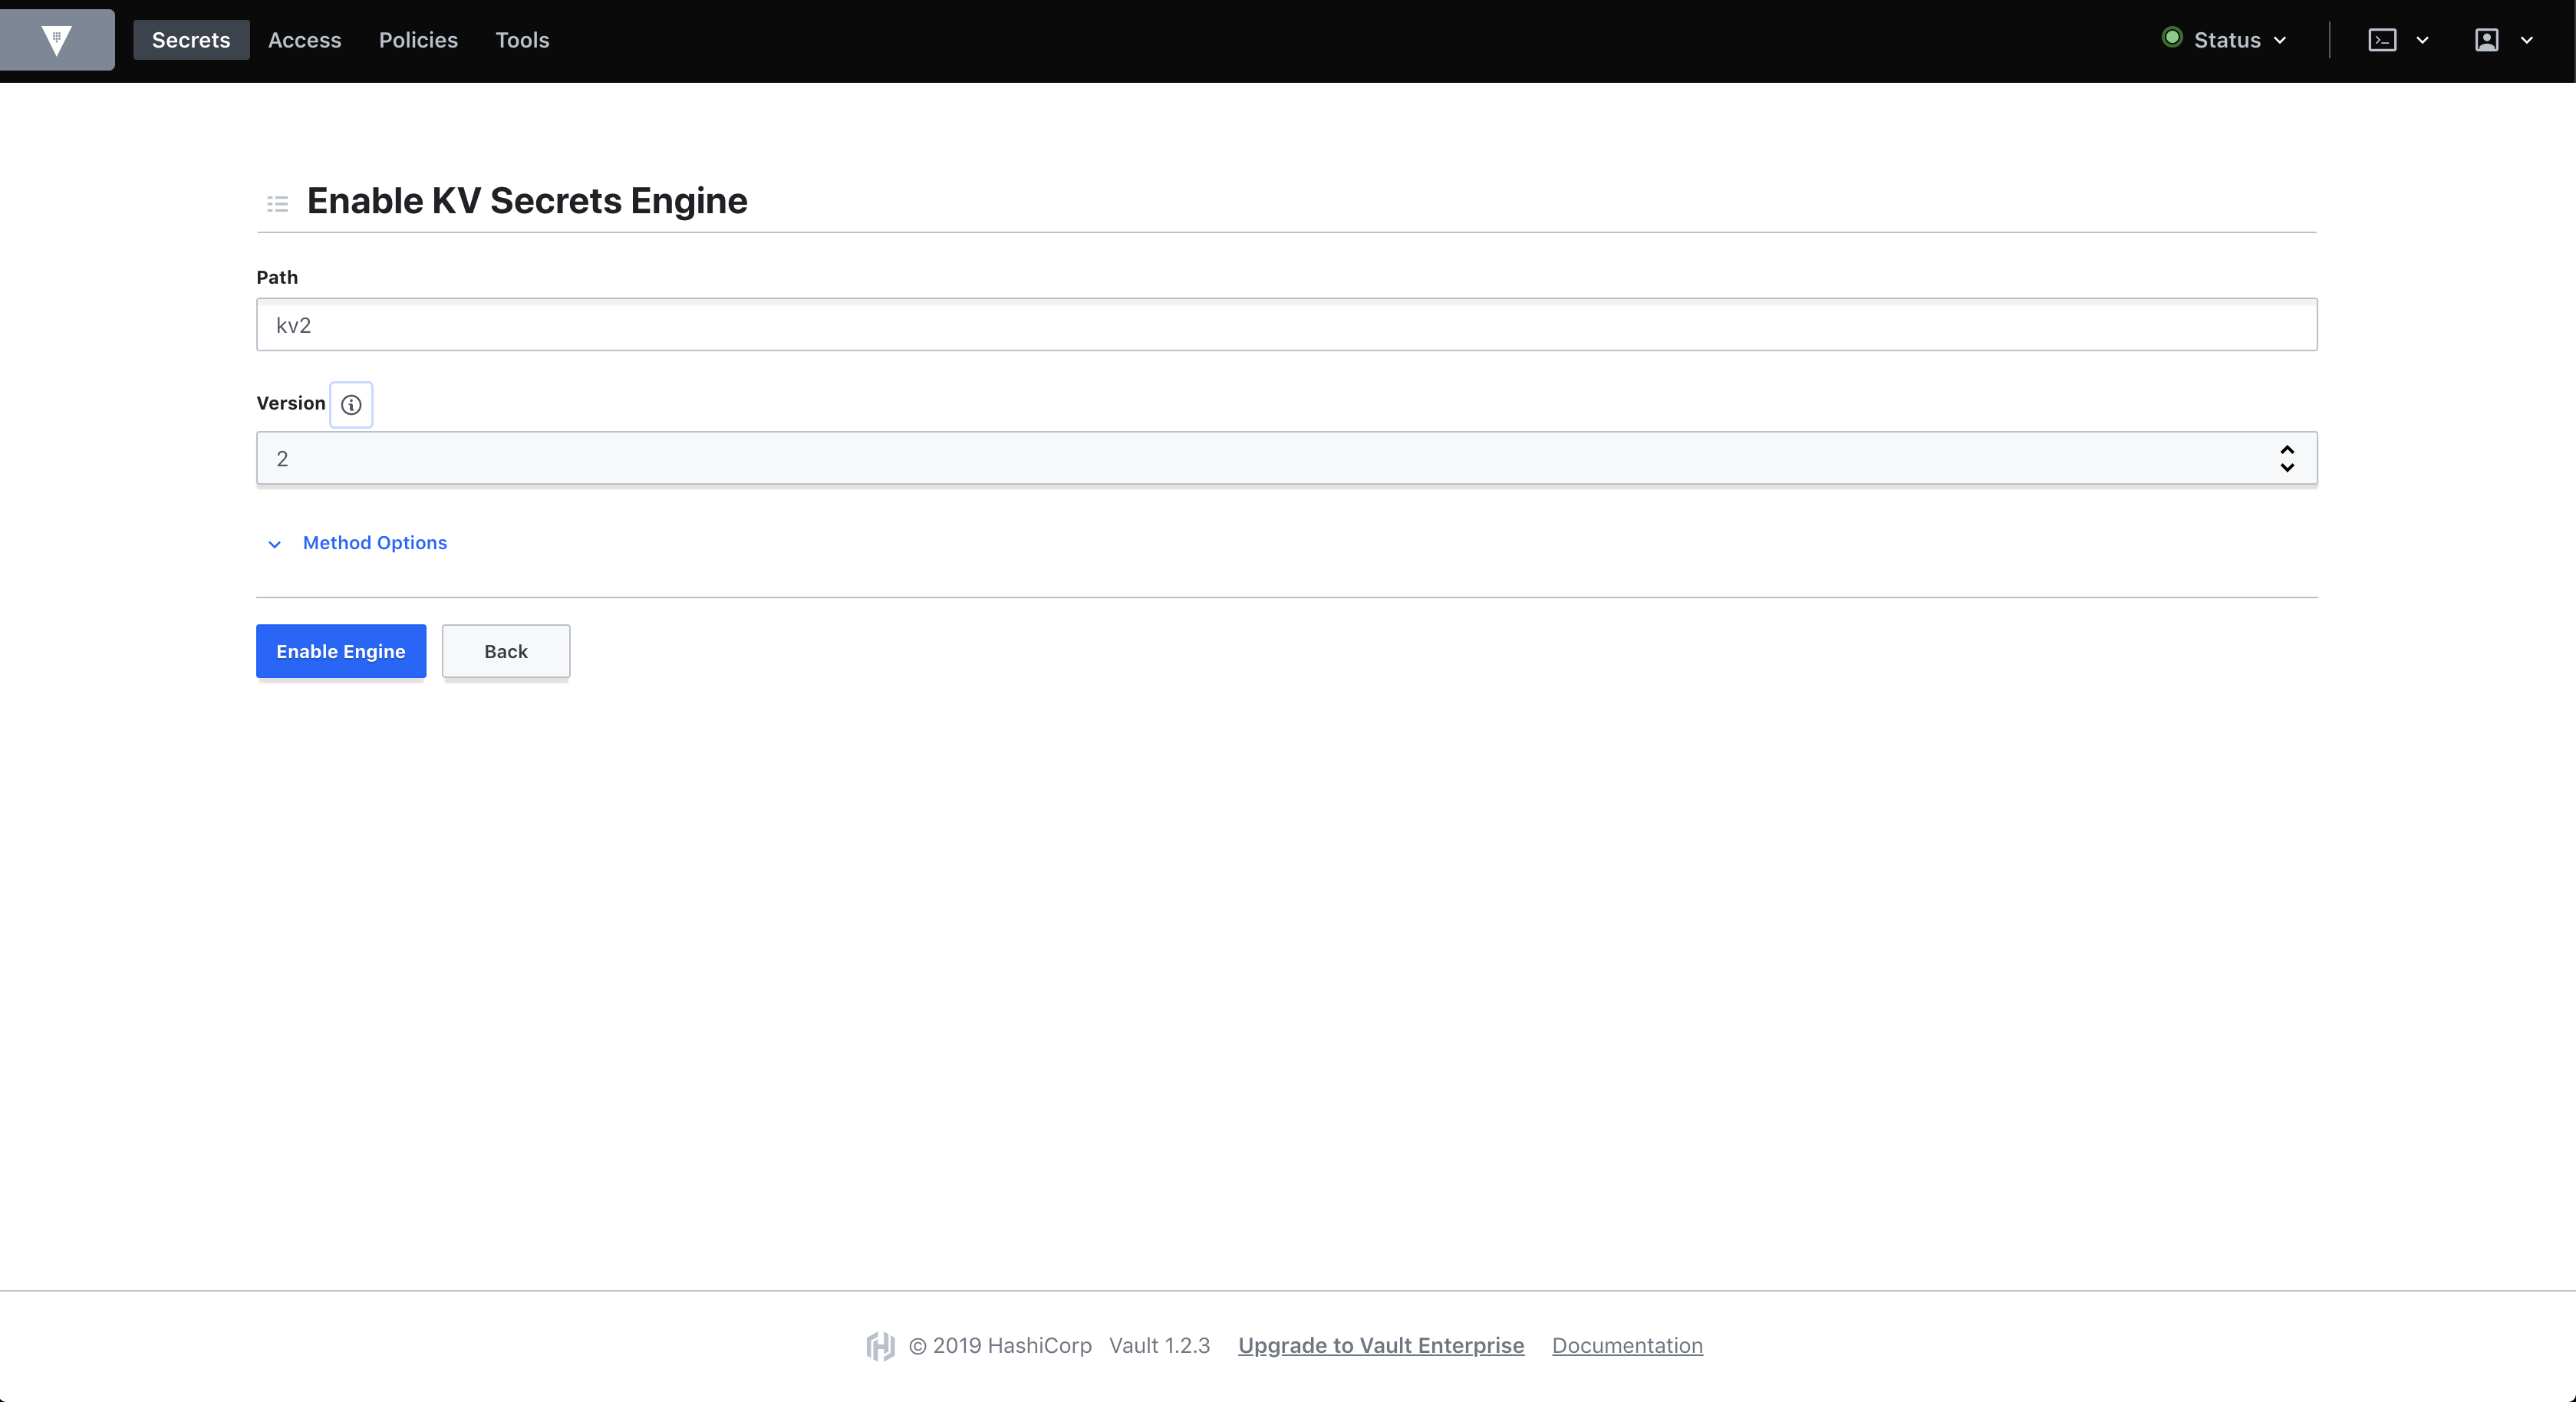
Configuring the KV v2 secret engine
- Add a secret at path
secret/another_testwith the keyanother_test:
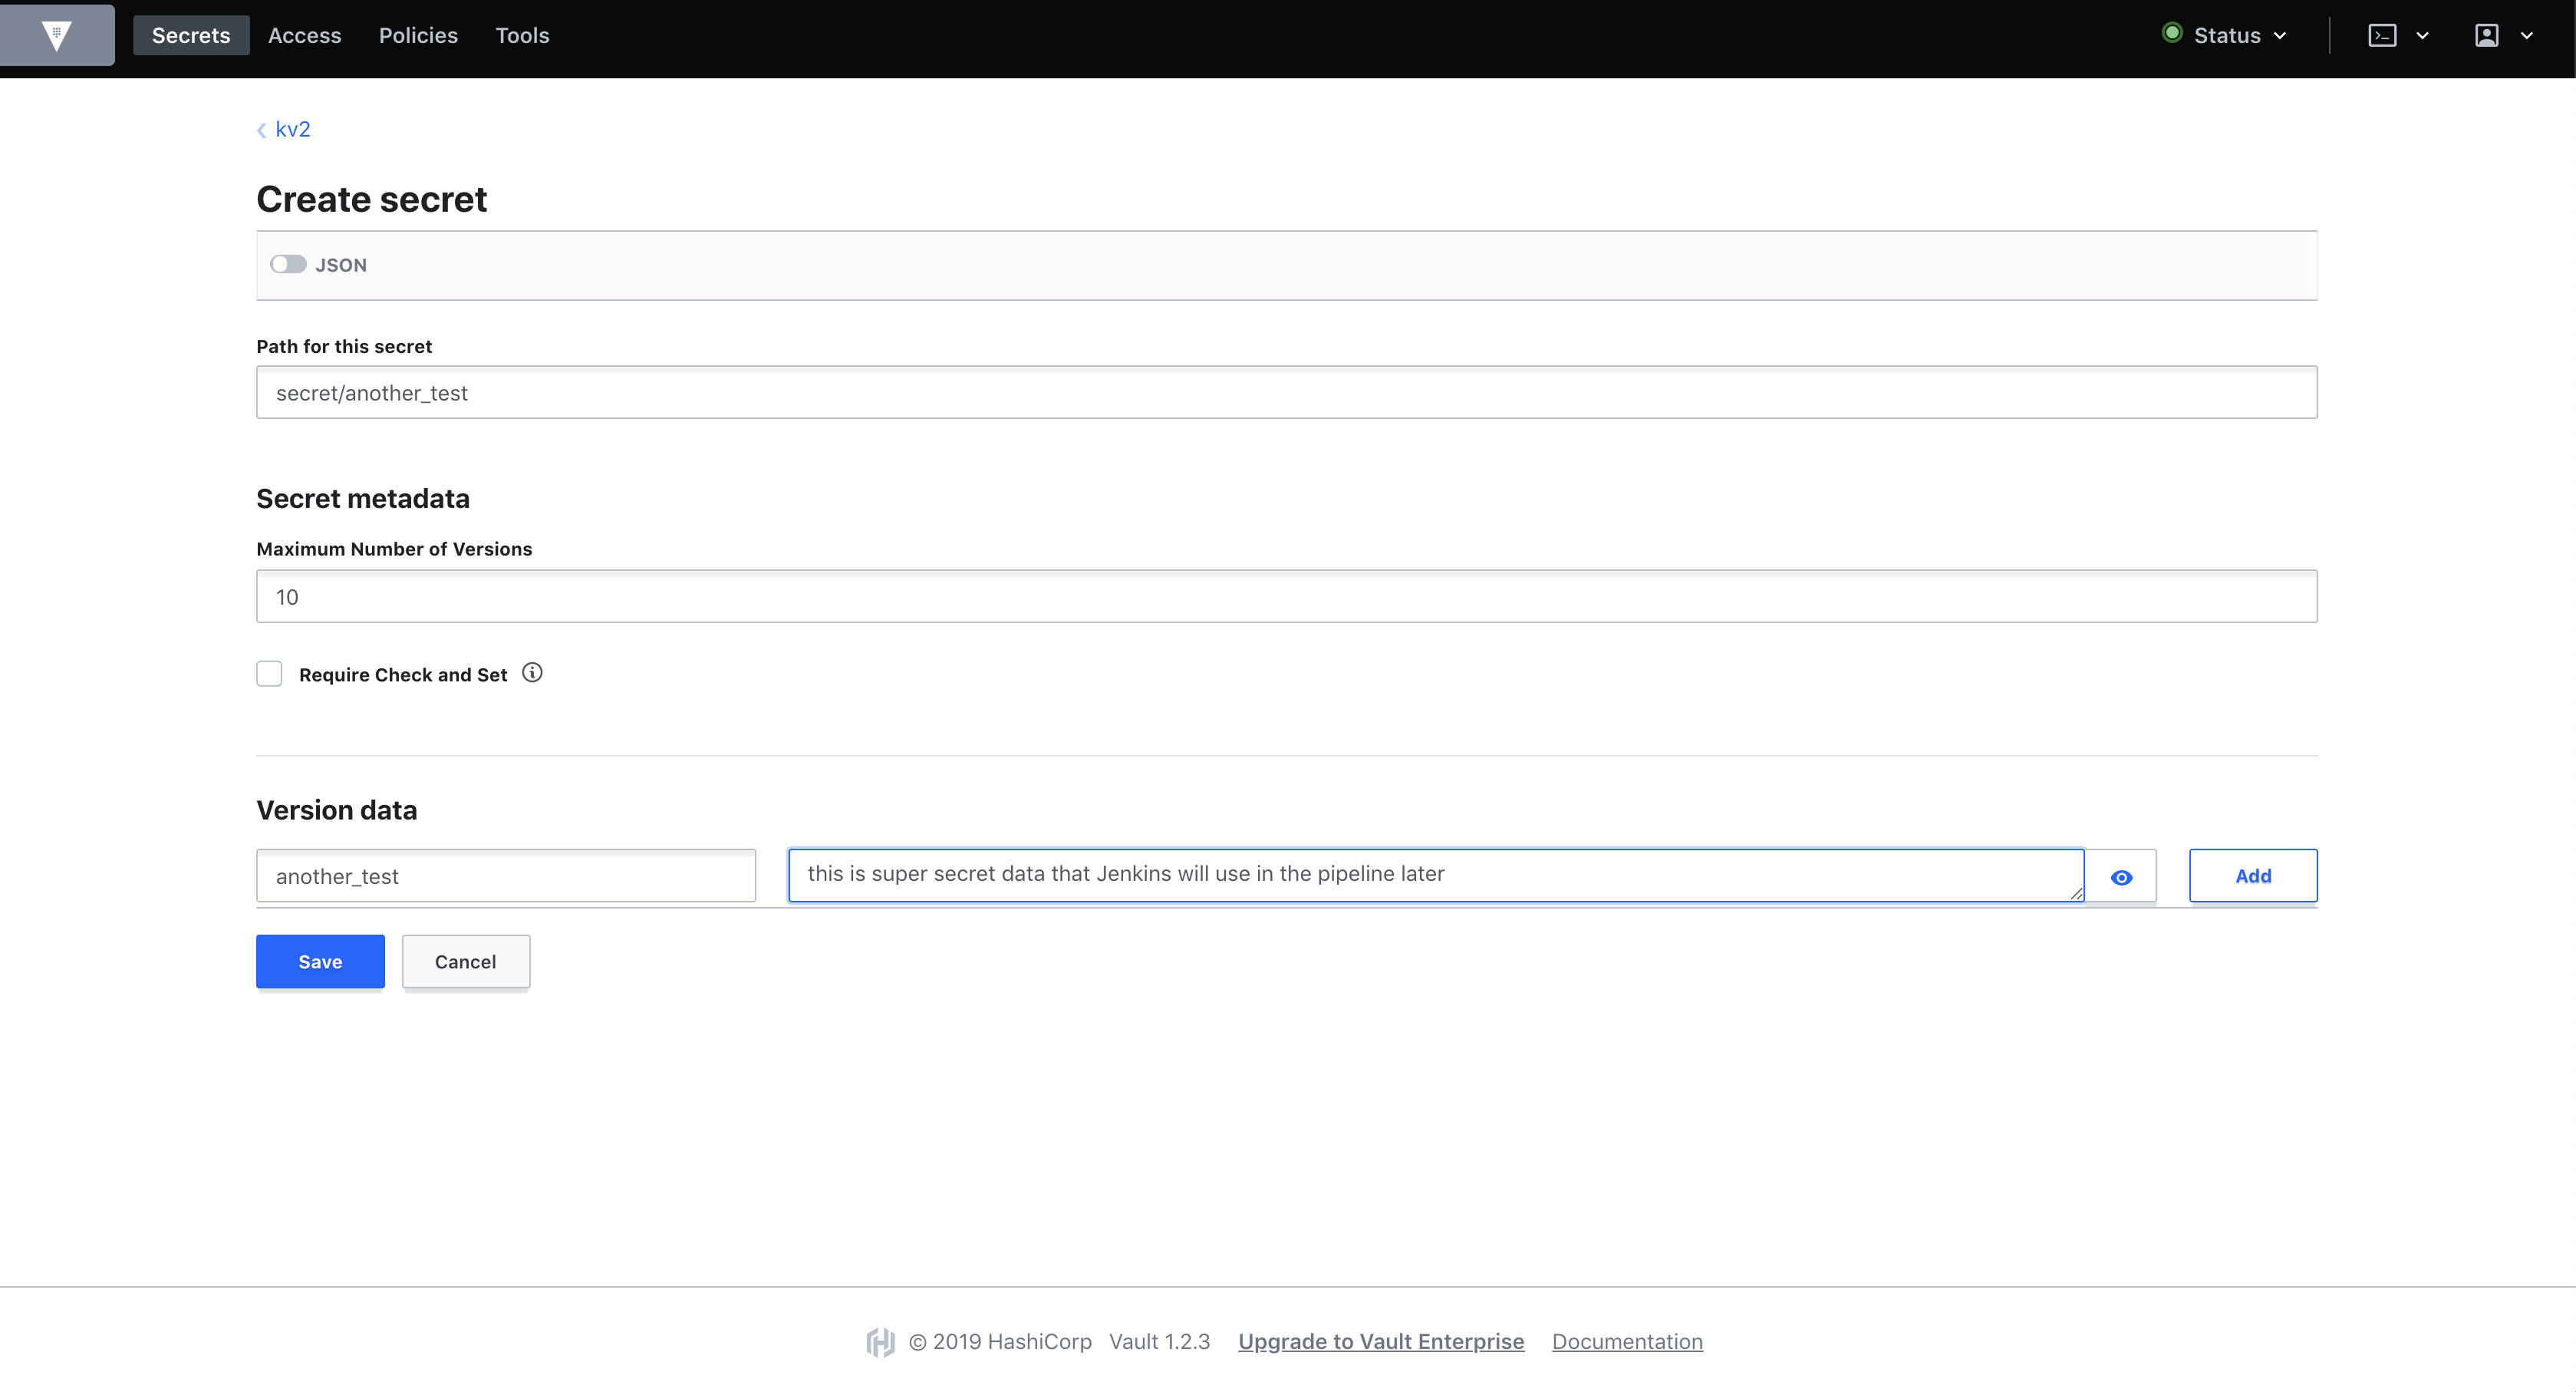
Adding a secret to the KV v2 engine
- Enable KV v1 at the path "kv1":
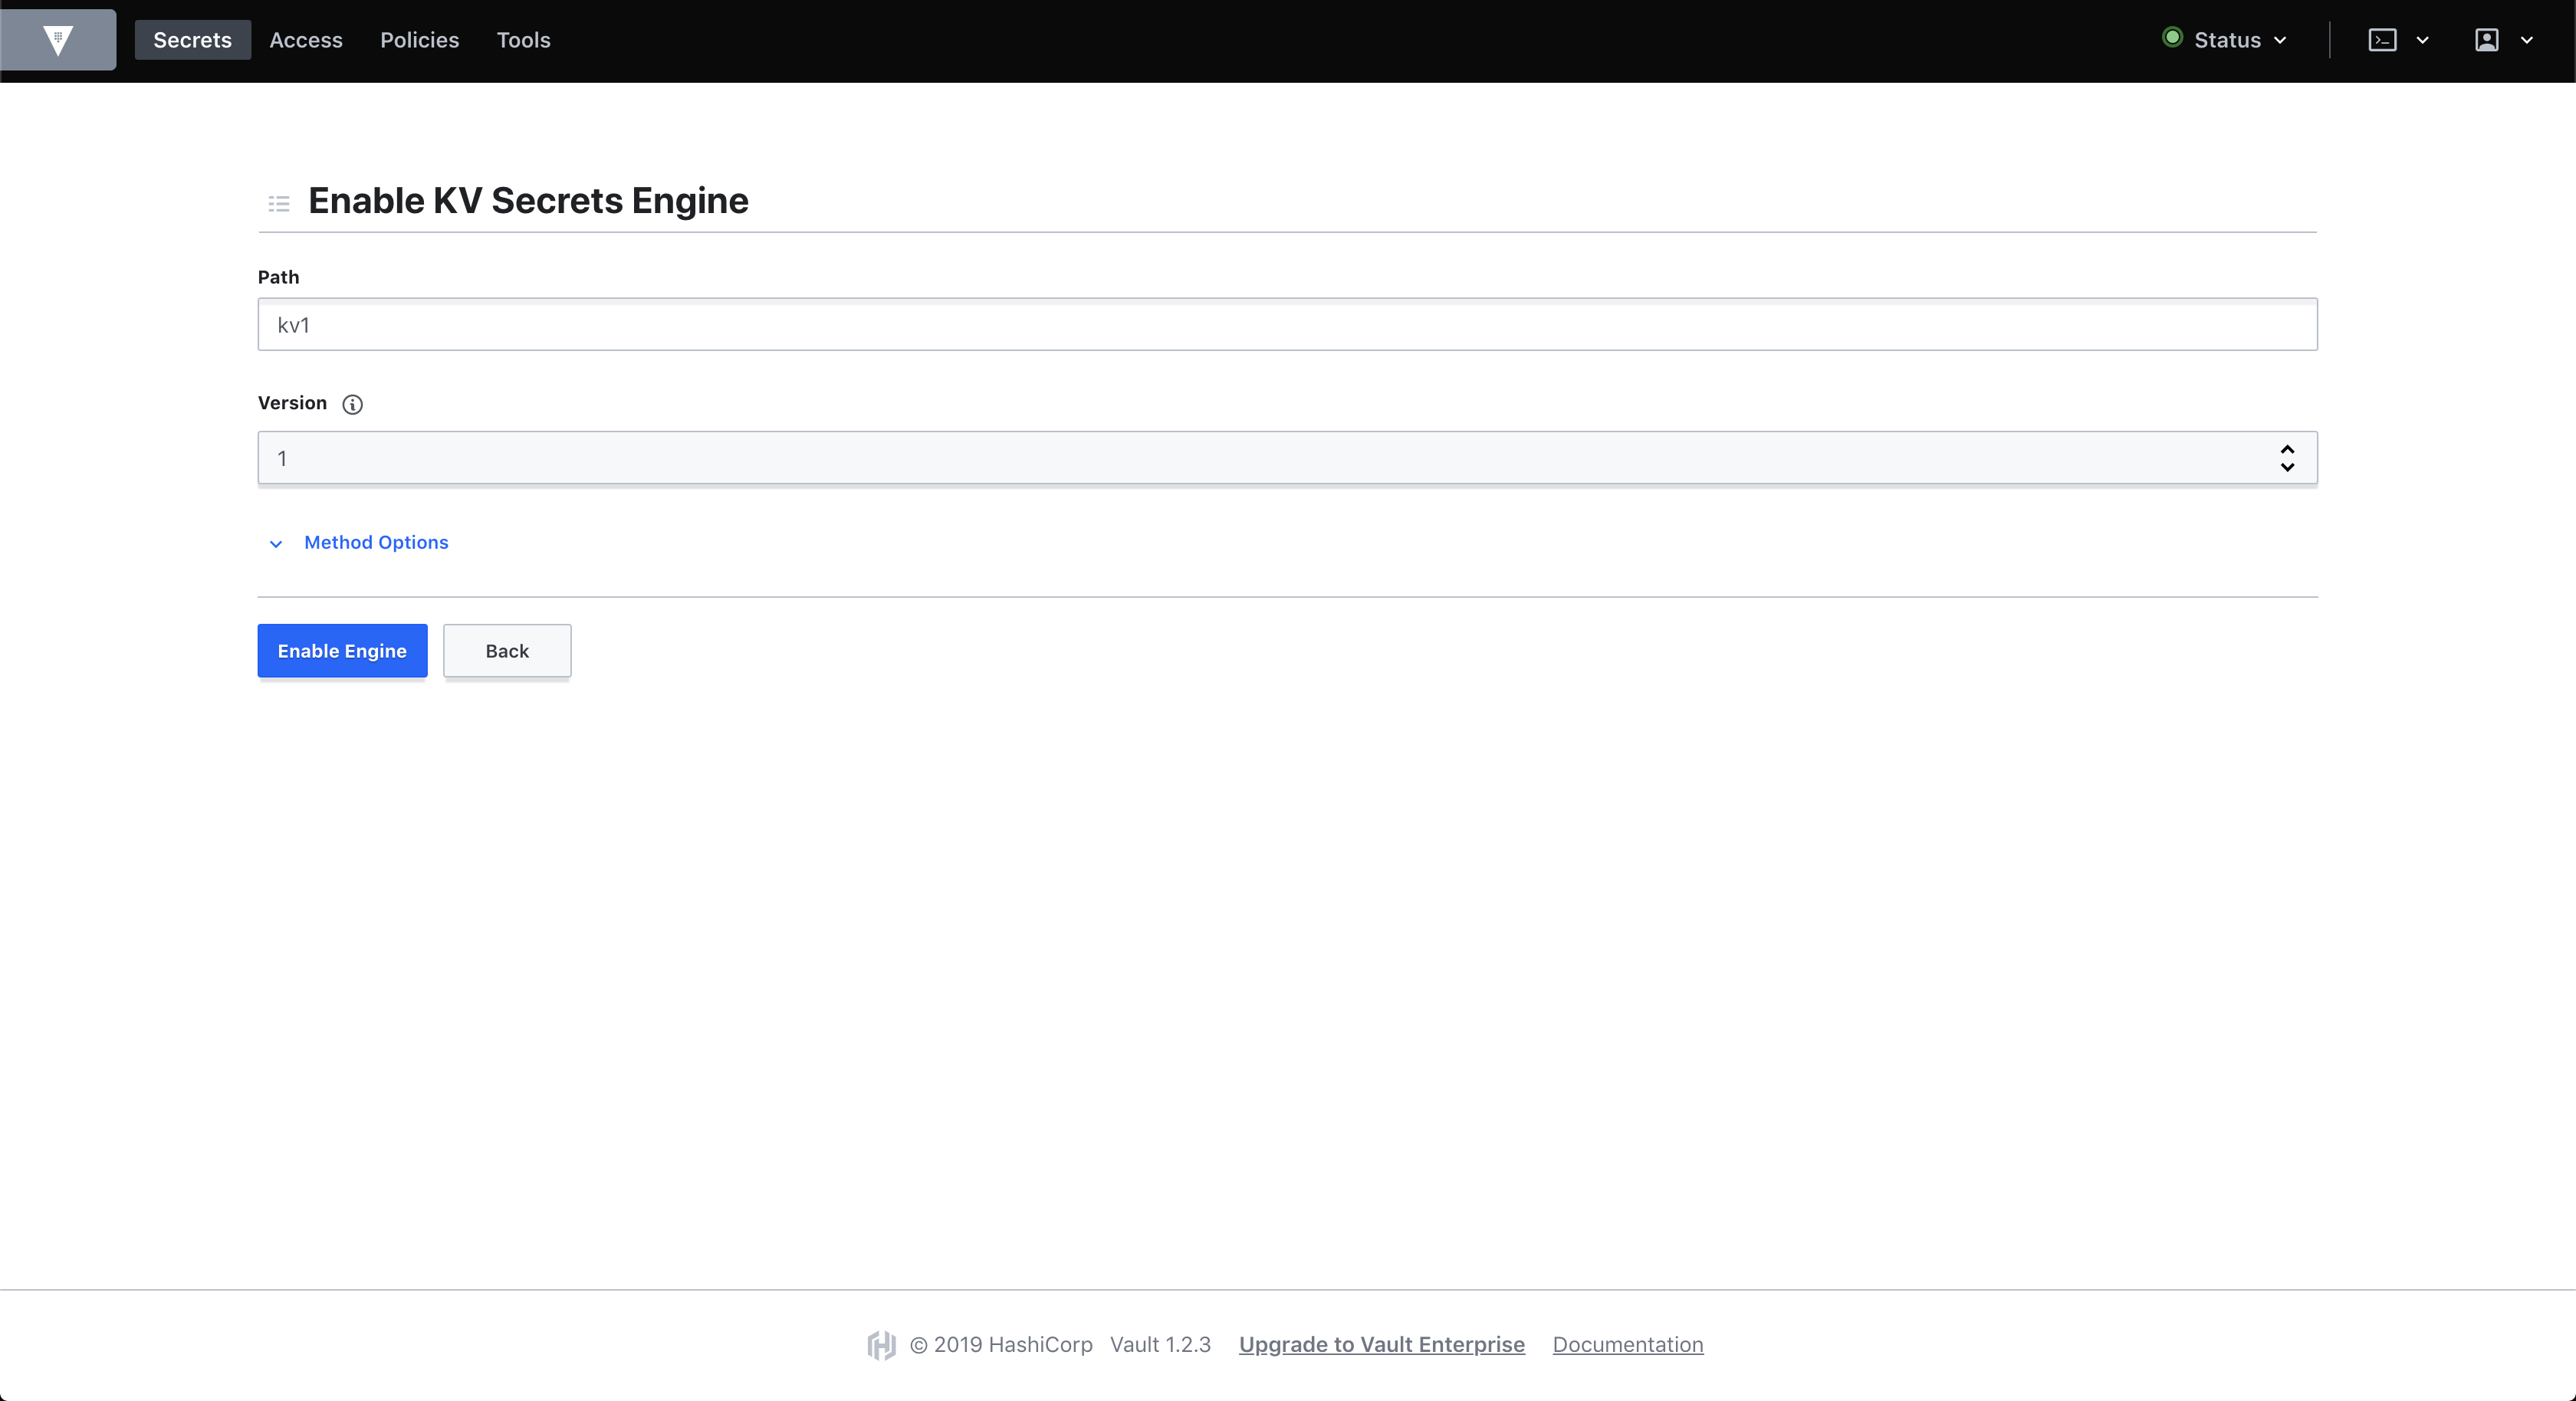
Enabling the KV v1 secret engine
- Add secrets to the KV v1 engine:
- Path:
secret/testing - Keys:
value_oneandvalue_twowith values of your choice
- Path:
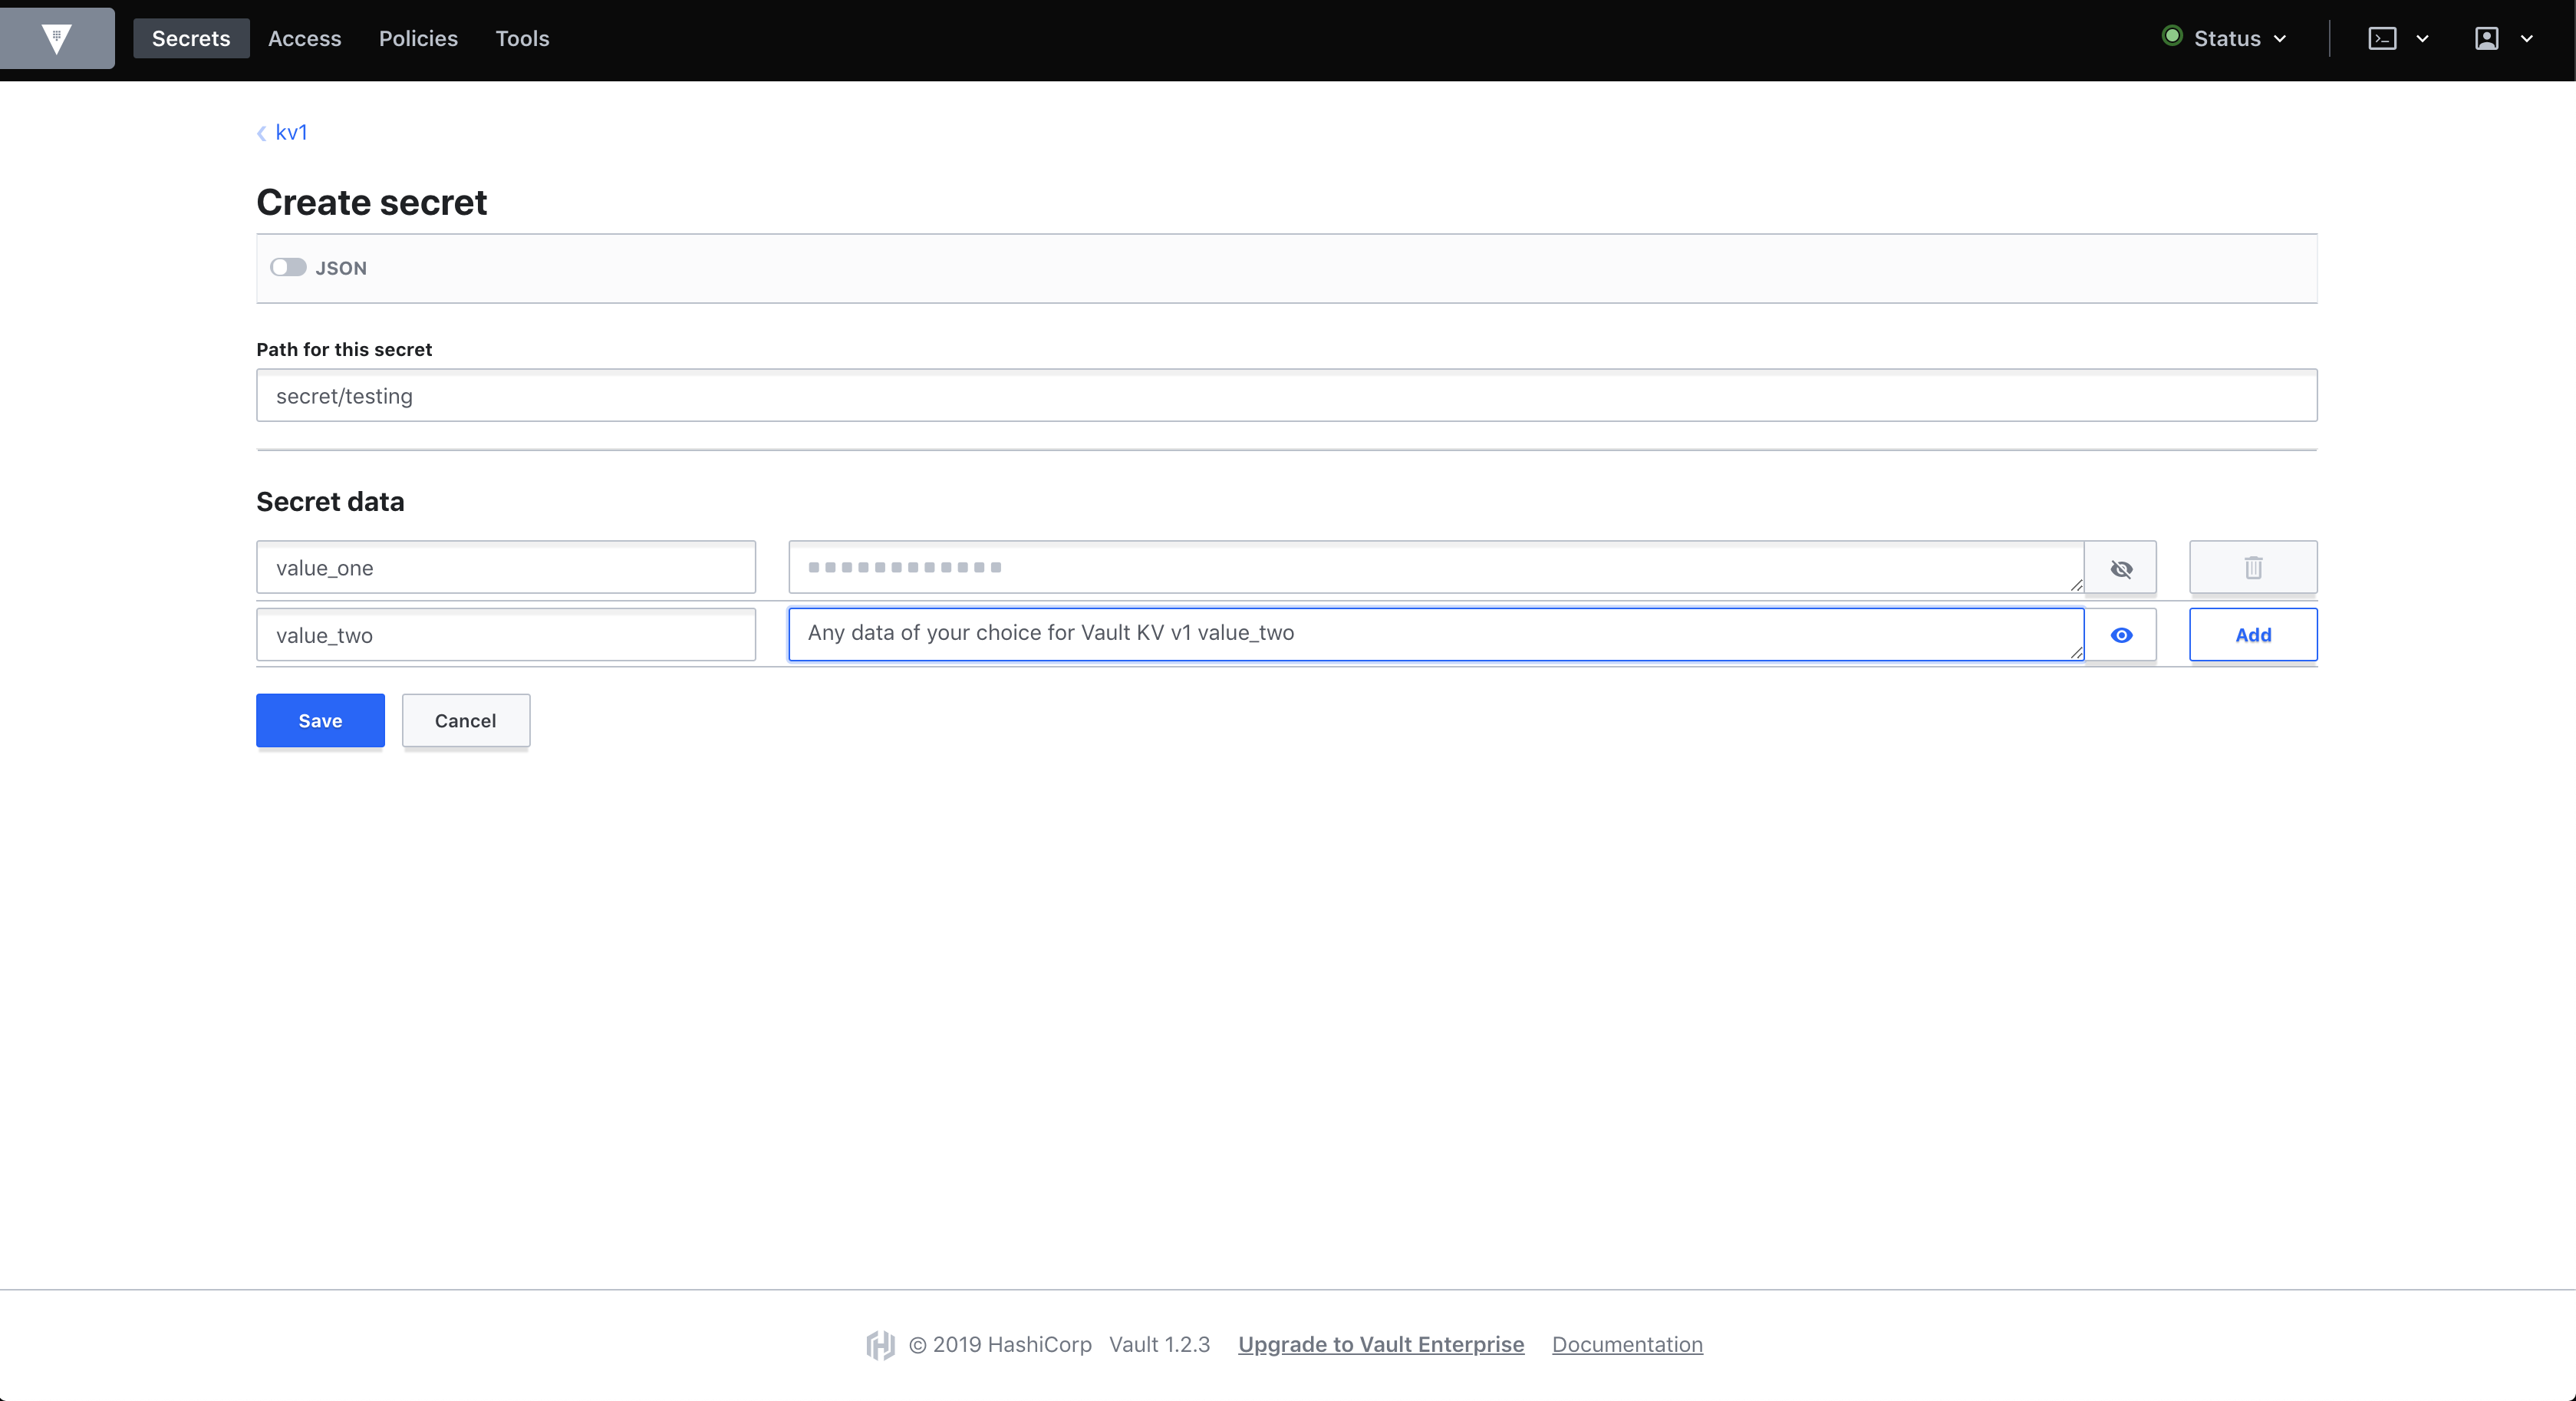
Adding secrets to the KV v1 engine
Connecting Jenkins to Vault
Configure Jenkins to access Vault:
- Navigate to "Manage Jenkins" → "Configure System"
- Scroll down to the Vault section

Configuring Vault integration in Jenkins
- Set the Vault address to
http://10.9.99.10:8200 - Check "Skip SSL Validation" for this demo
- Add the Vault root token as the credential:
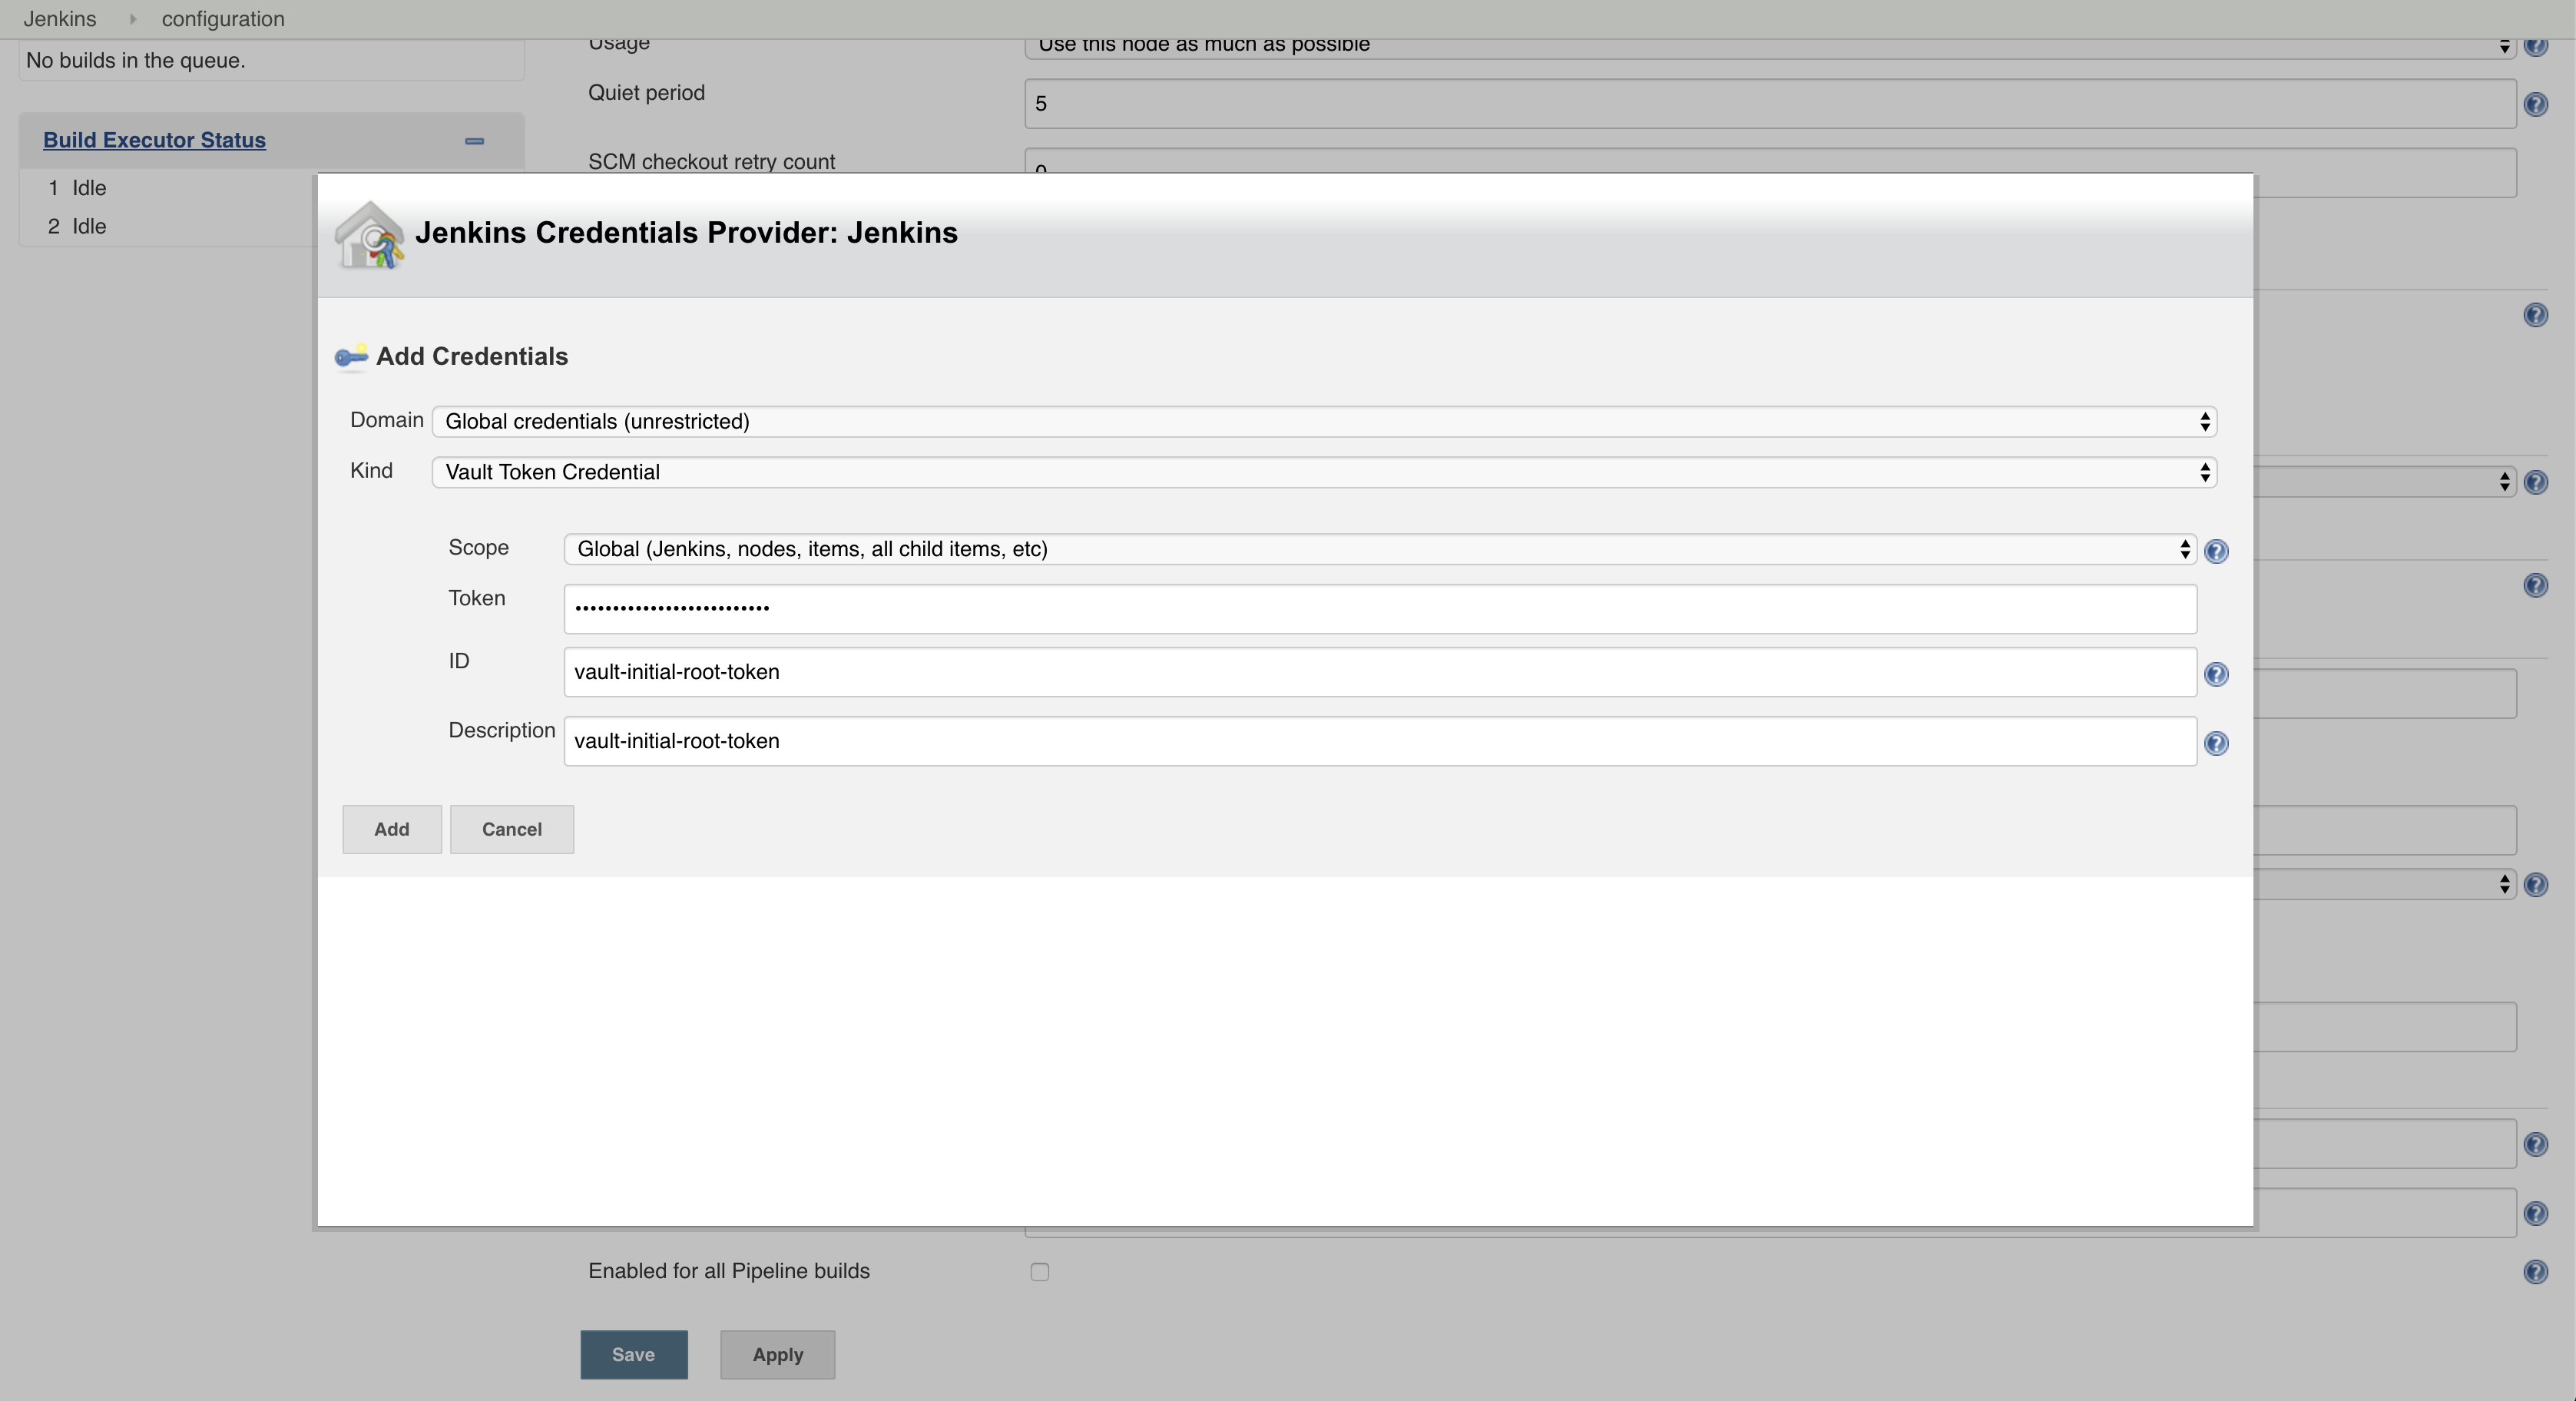
Adding the Vault root token to Jenkins
☁️ HCP Vault Secrets Integration
HashiCorp Cloud Platform (HCP) Vault Secrets is a cloud-based secrets management service that centralizes secrets while syncing them to platforms like CSPs, GitHub, and Vercel.
Setting Up HCP Vault Secrets
- Register an organization on HashiCorp Cloud Portal
- Navigate to Vault Secrets
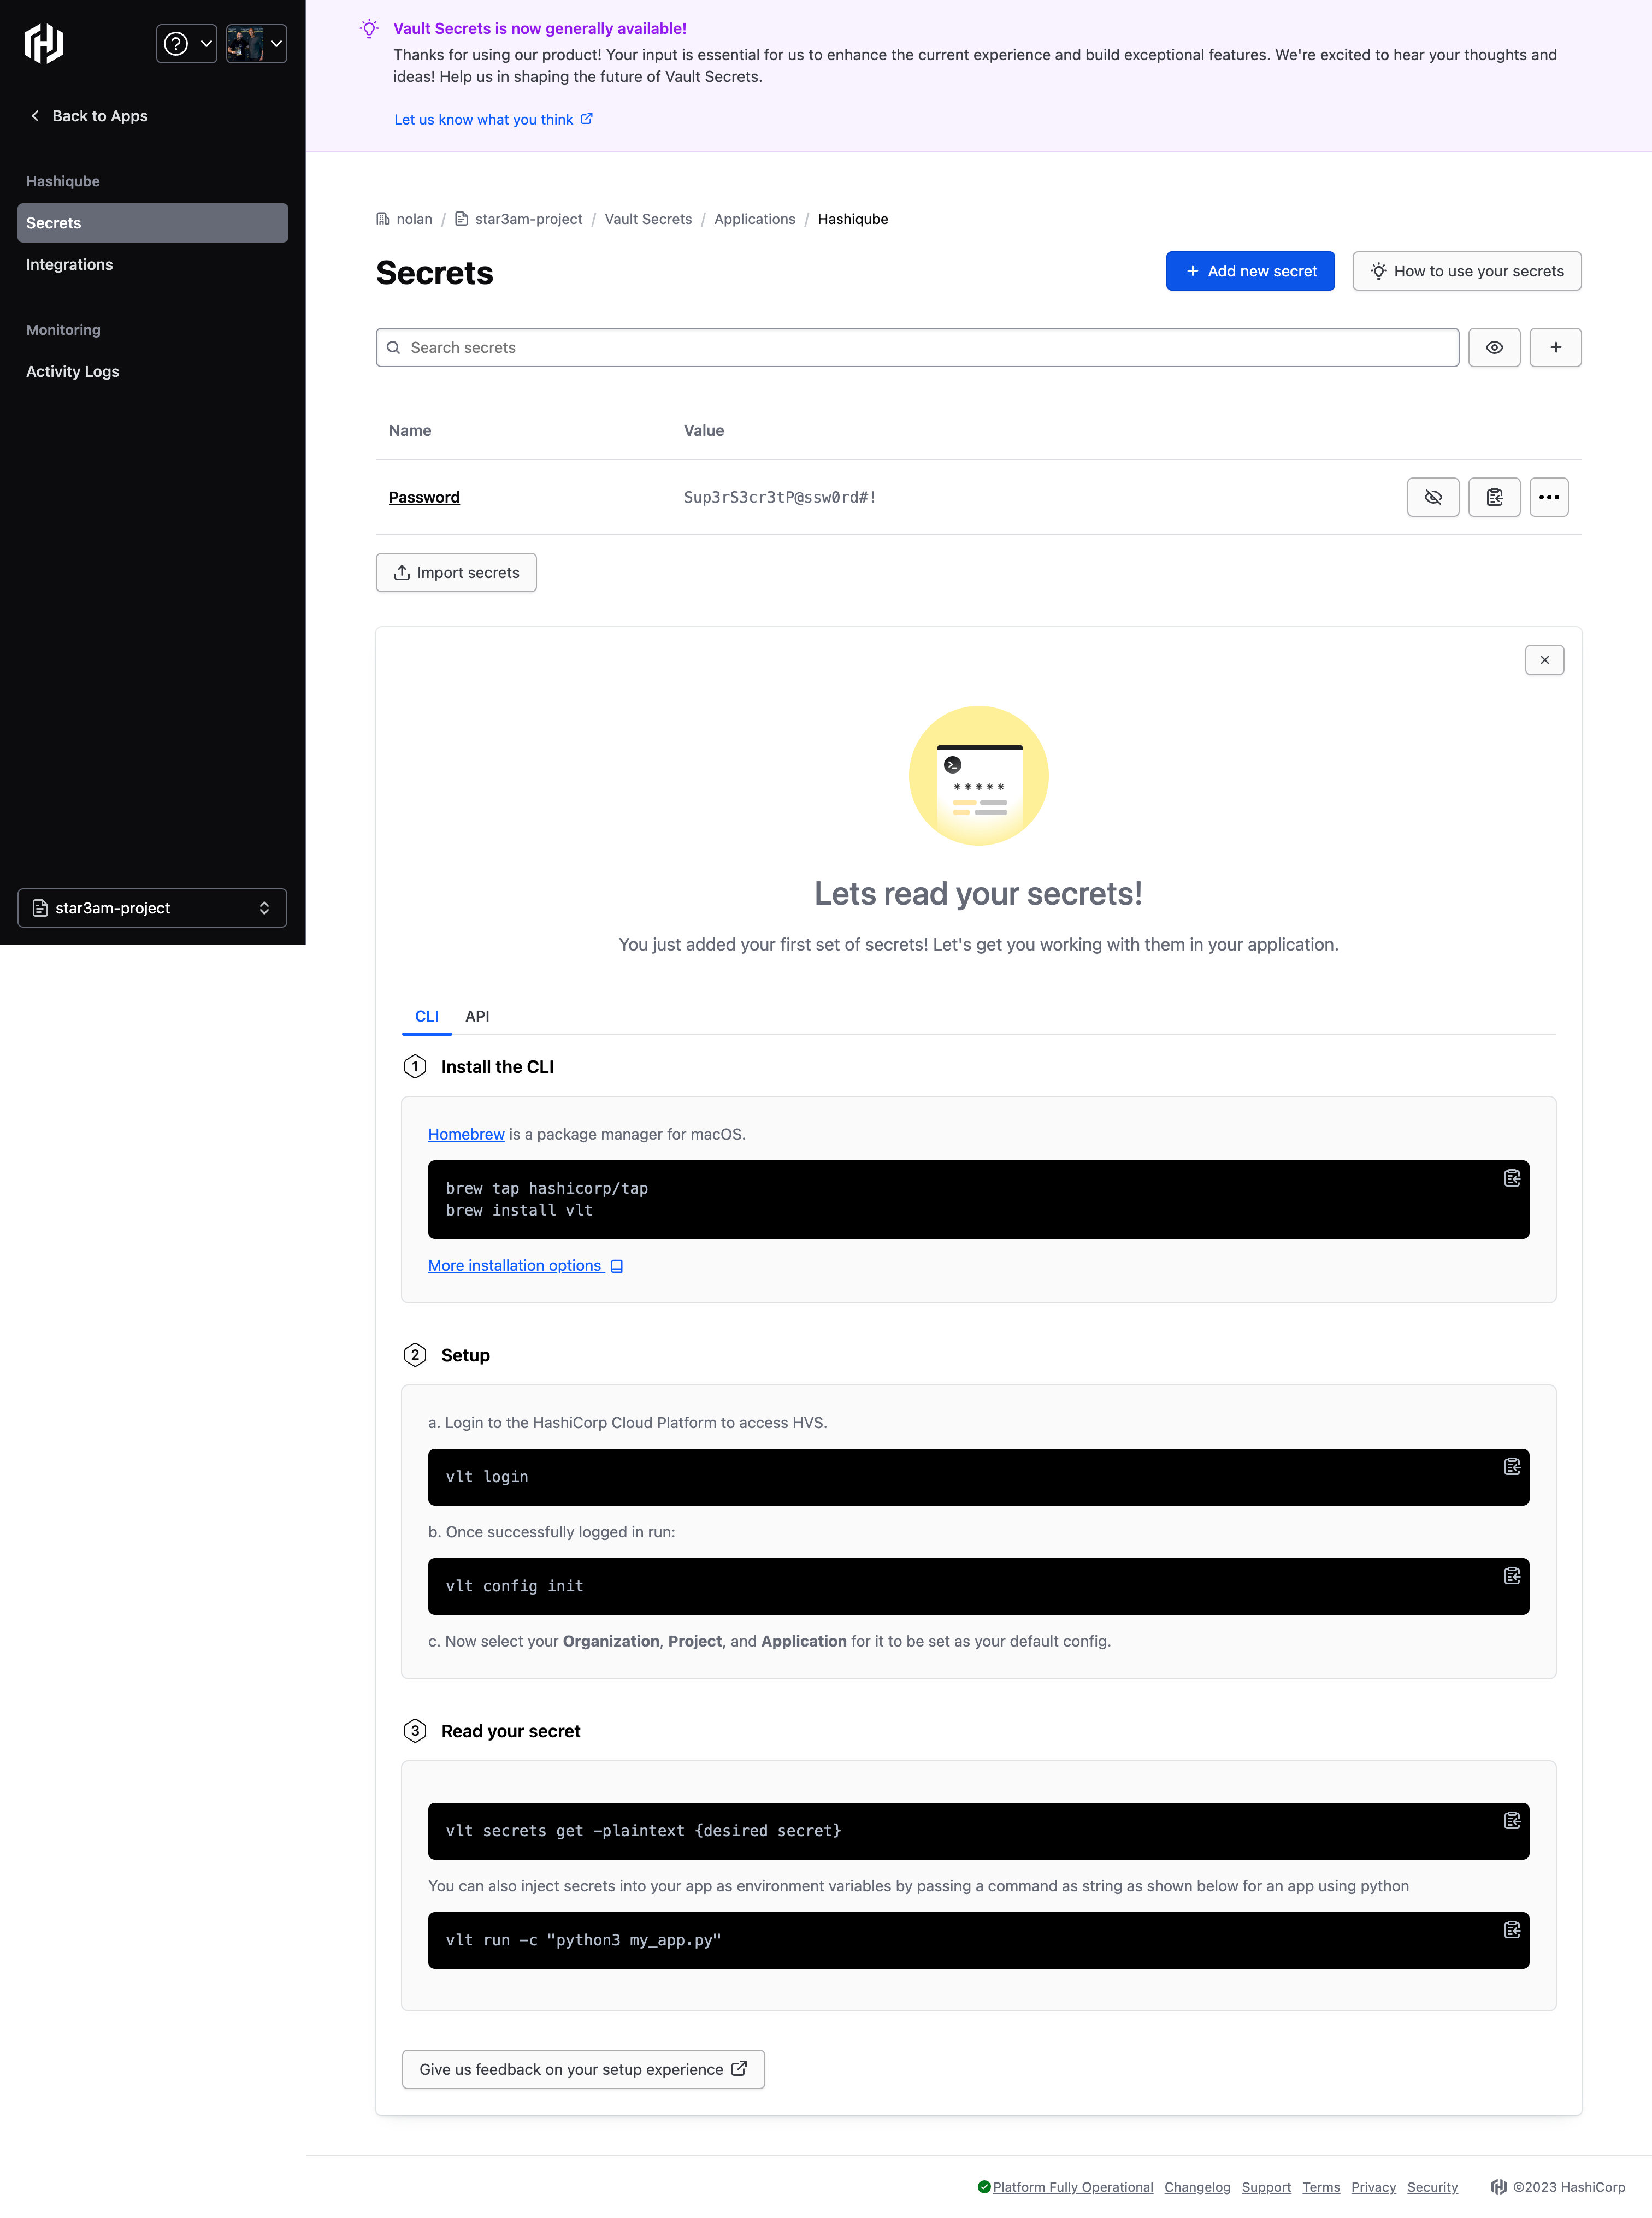
HCP Vault Secrets application setup
- Create your first secret:
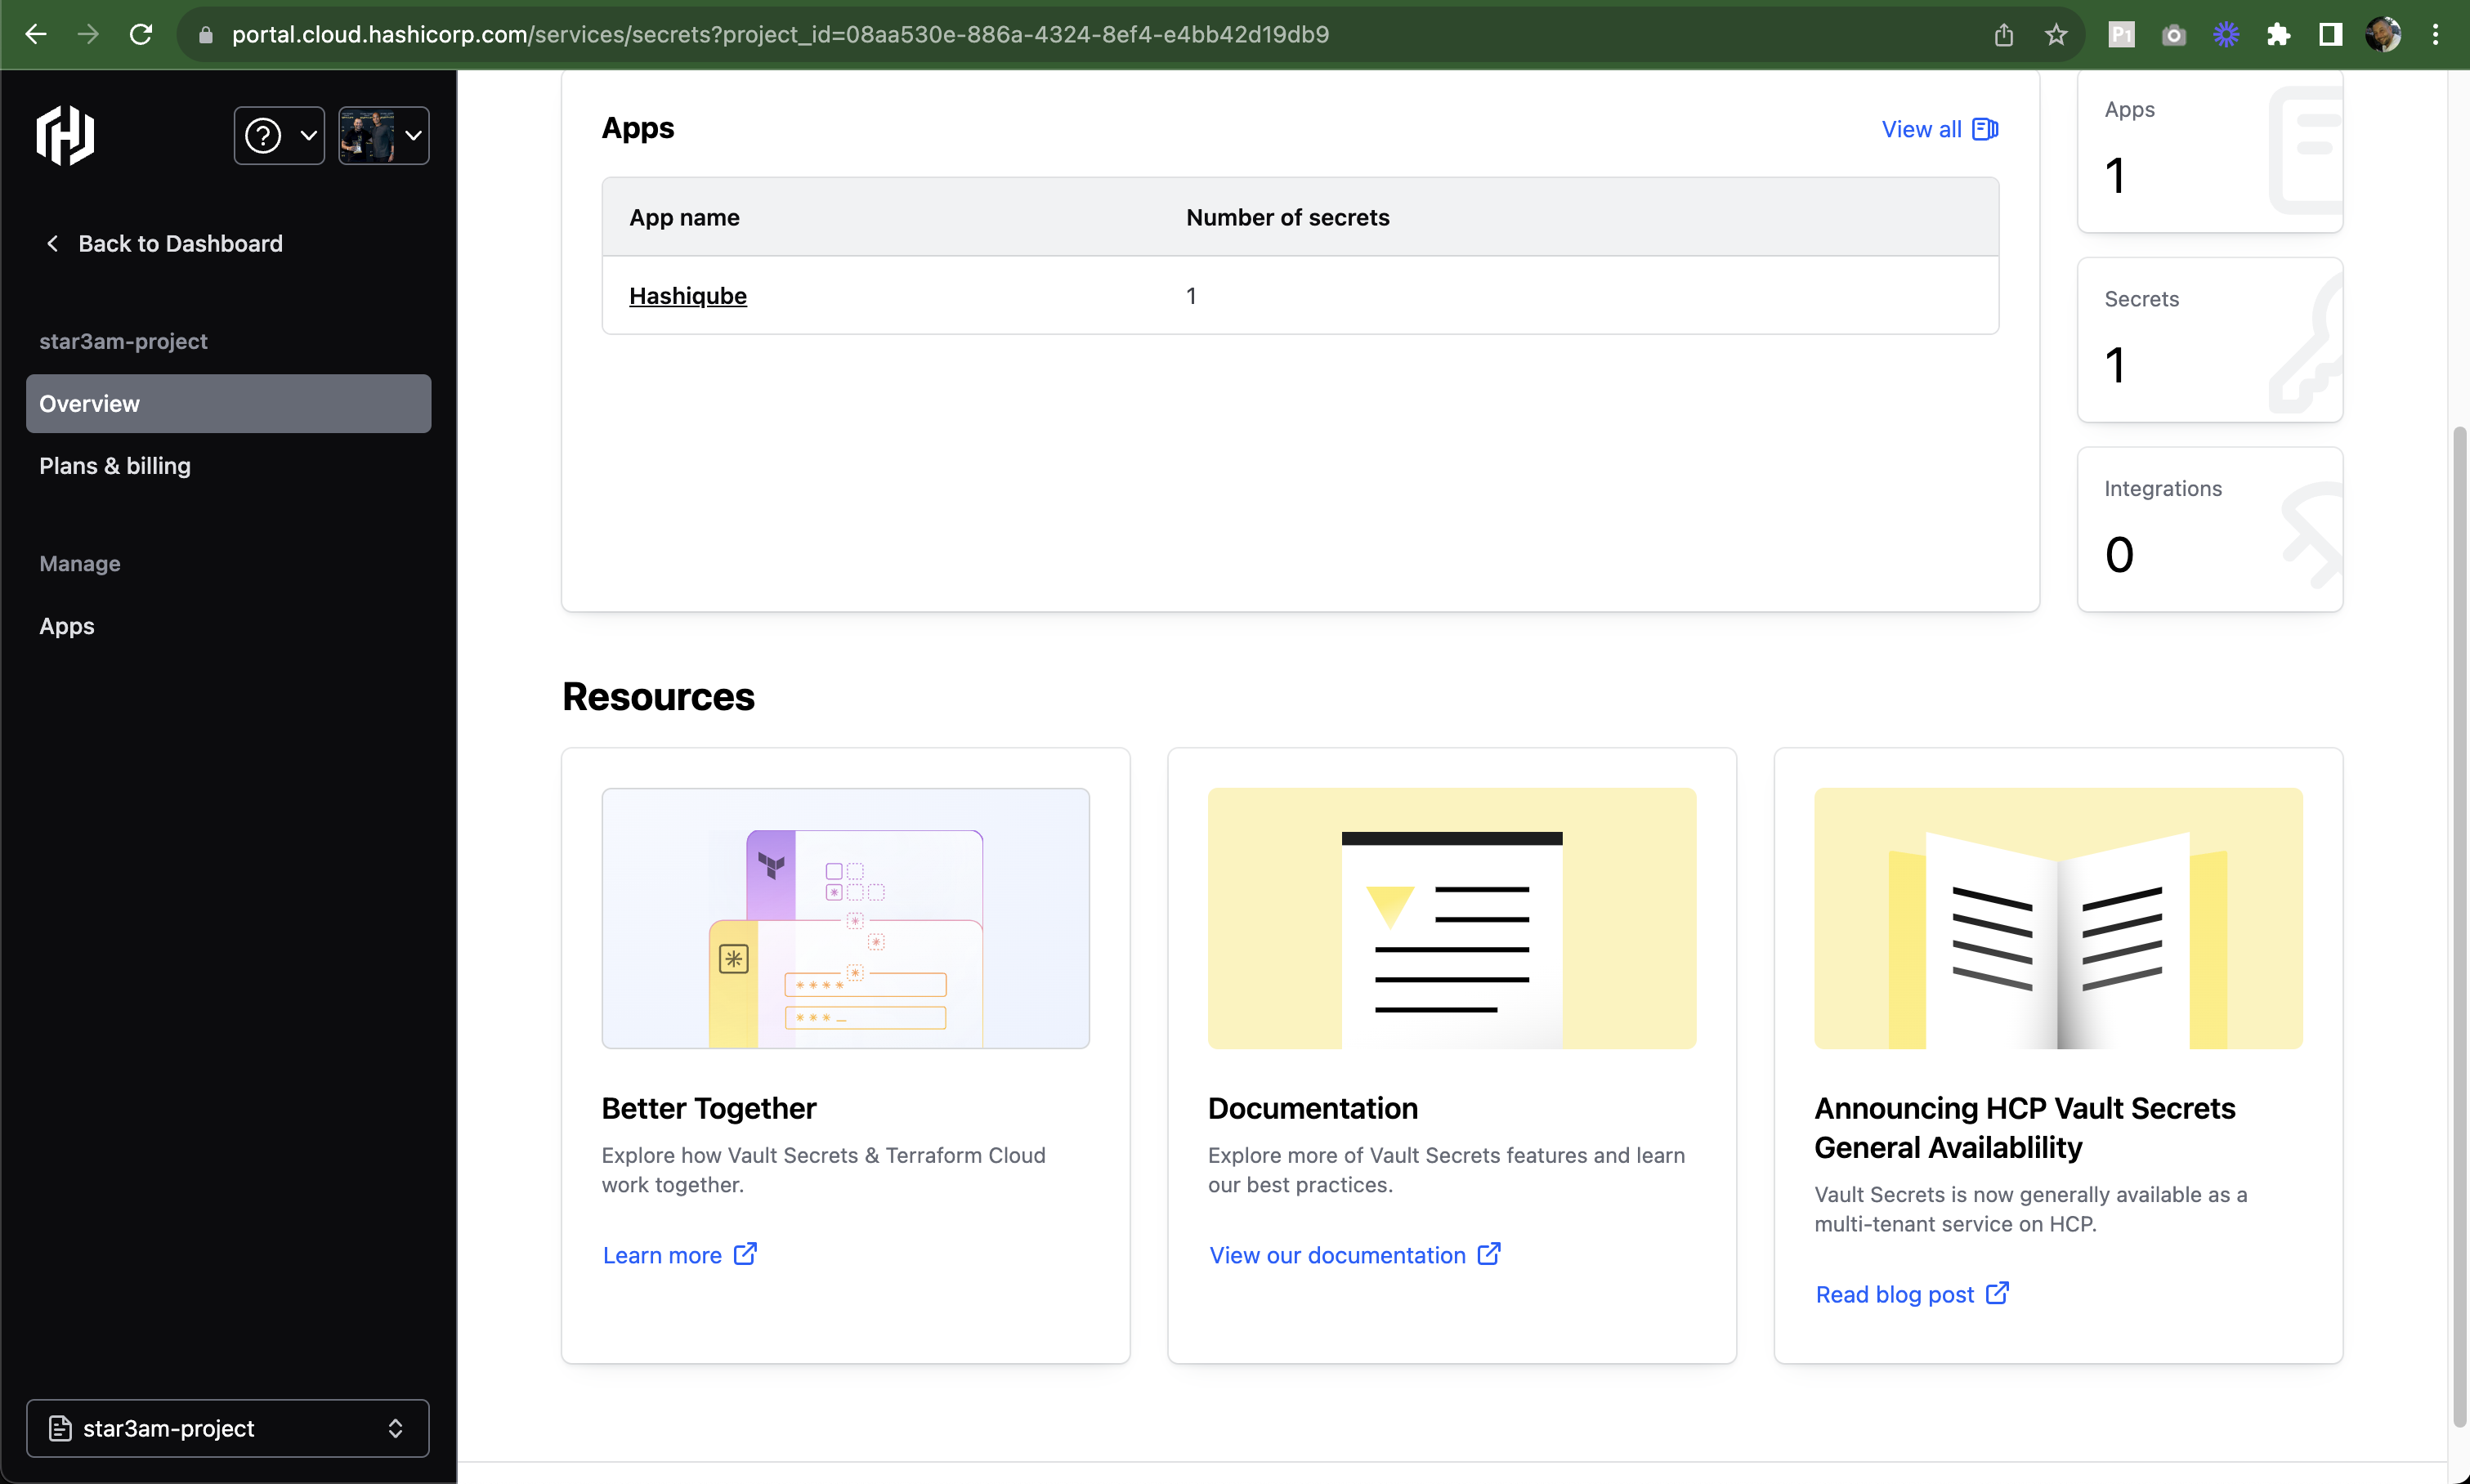
Creating a secret in HCP Vault Secrets
- Create a project:
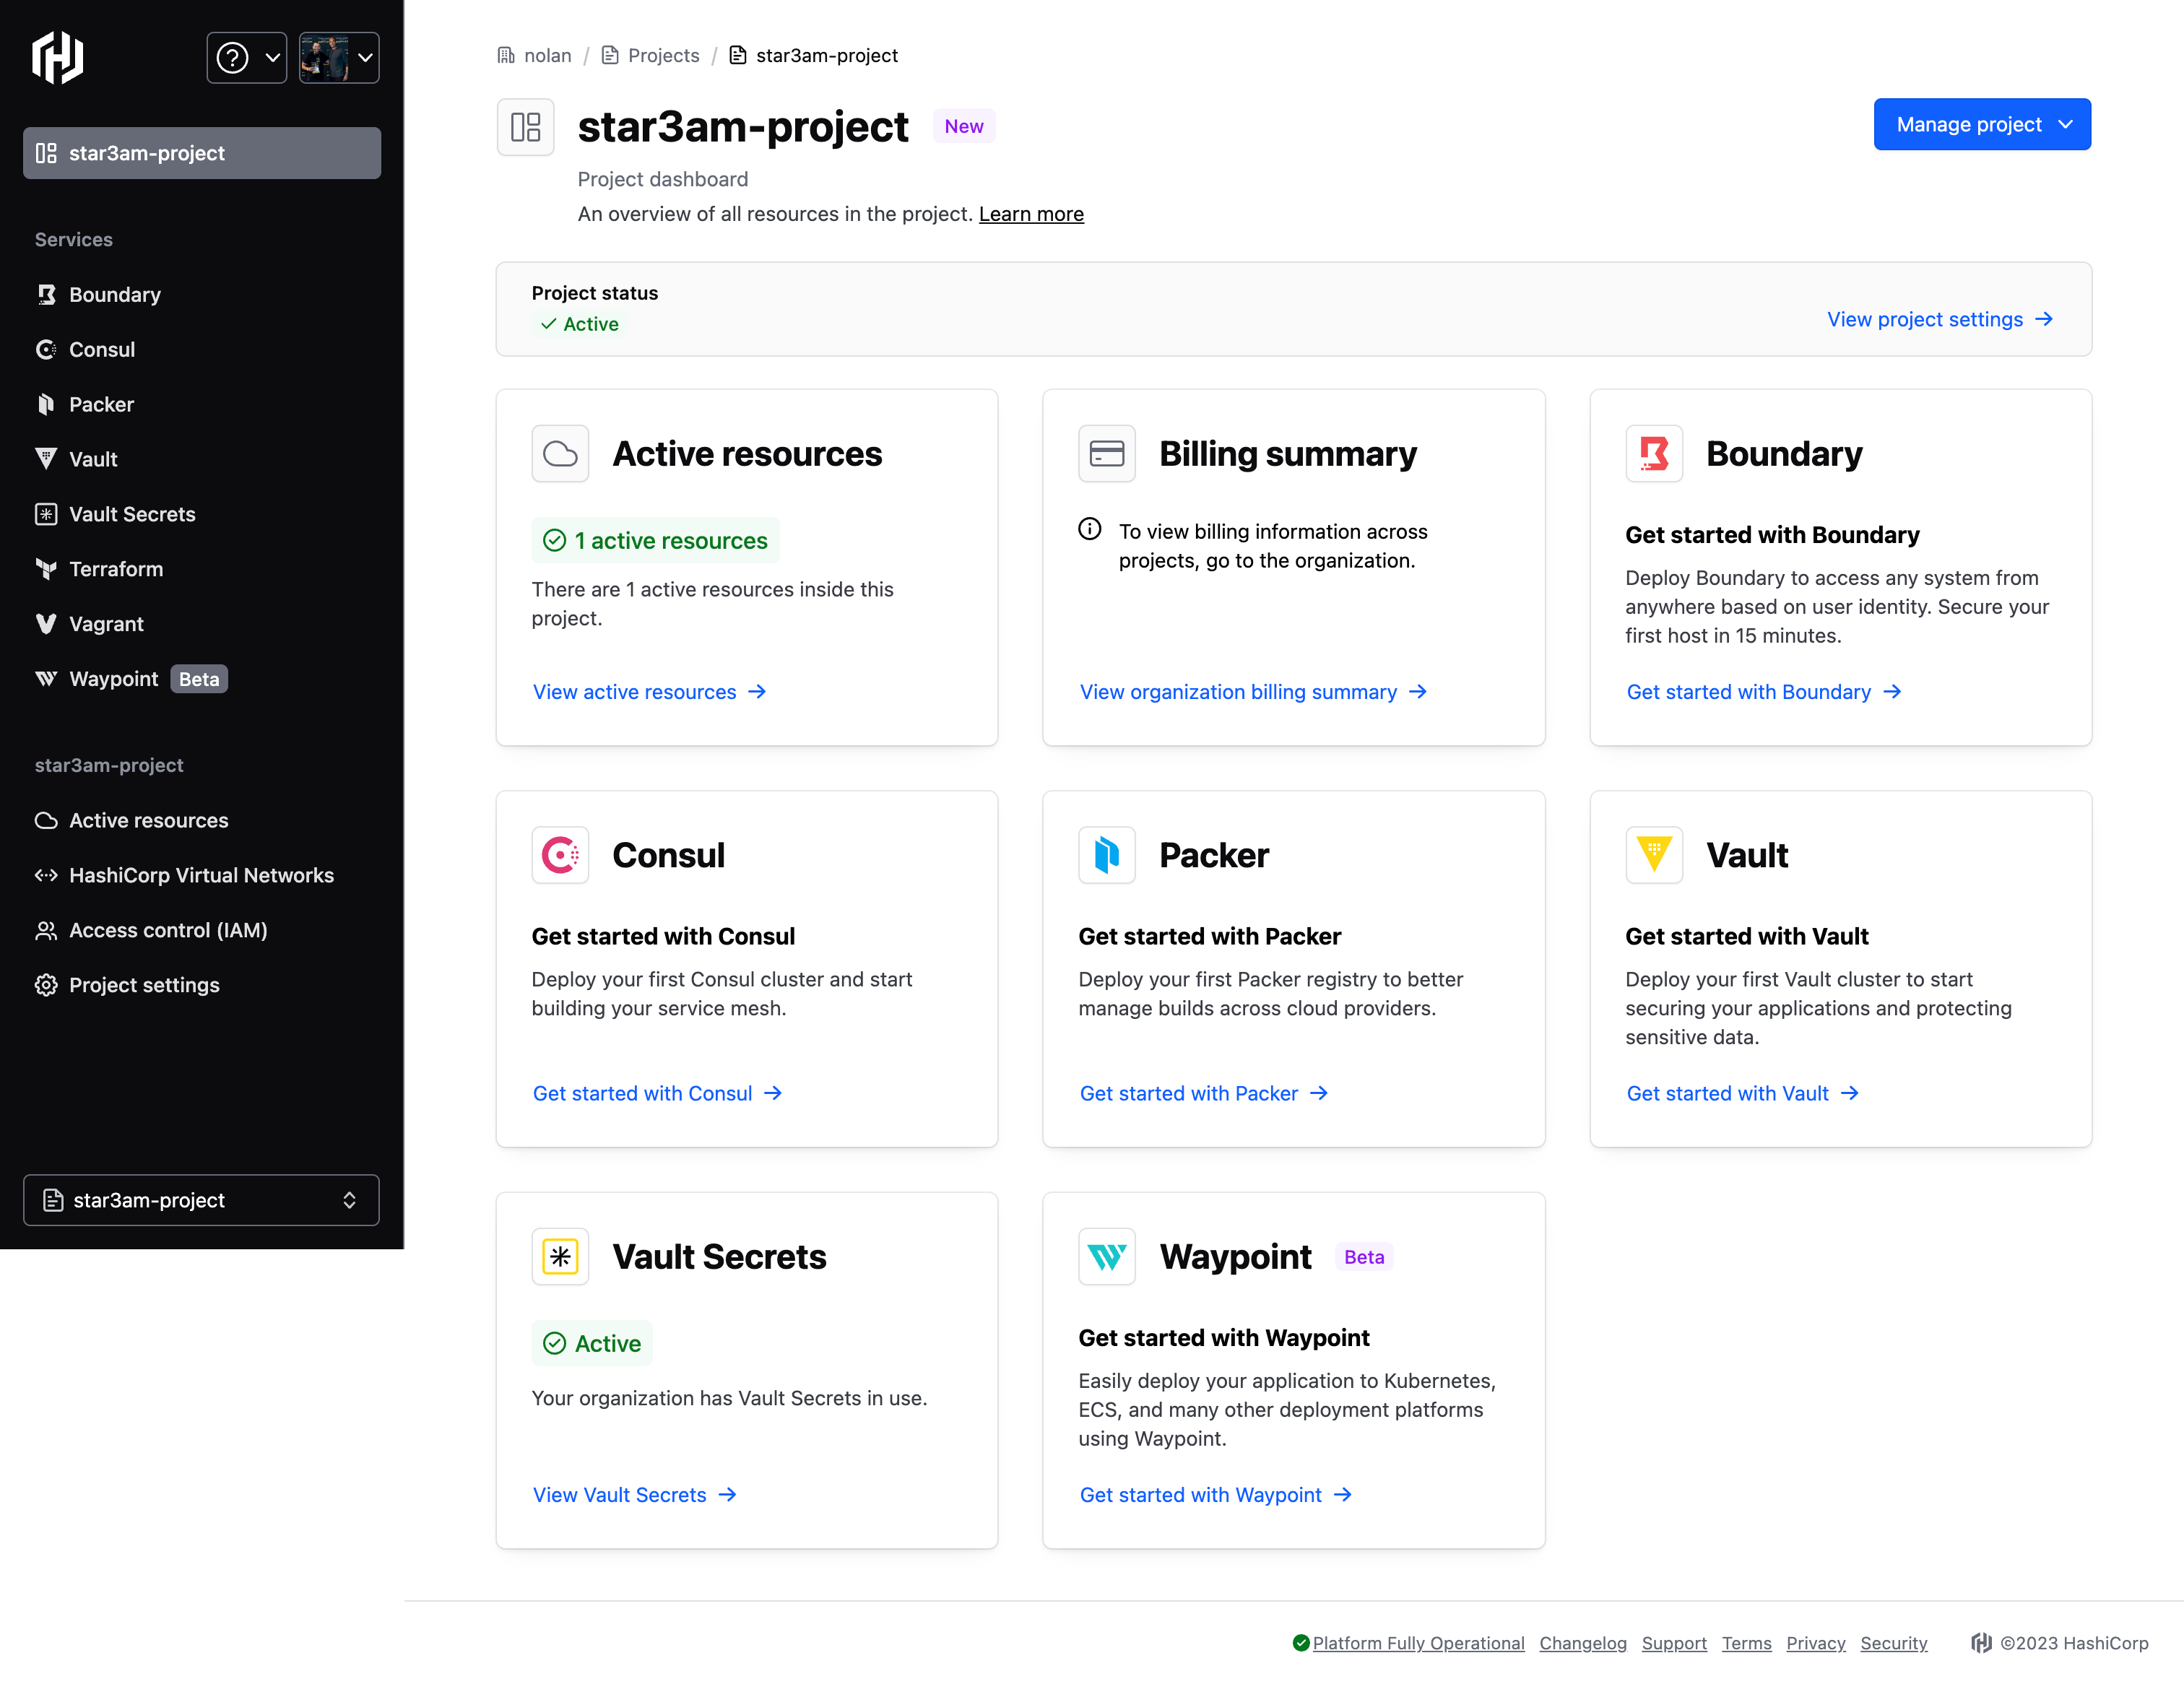
HCP dashboard with projects
Note the following information for your Jenkins pipeline:
YOUR_HCP_CLIENT_IDYOUR_HCP_CLIENT_SECRETYOUR_HCP_ORGANIZATION_NAMEYOUR_HCP_PROJECT_NAMEYOUR_HCP_APP_NAME
Set up credentials in Jenkins:
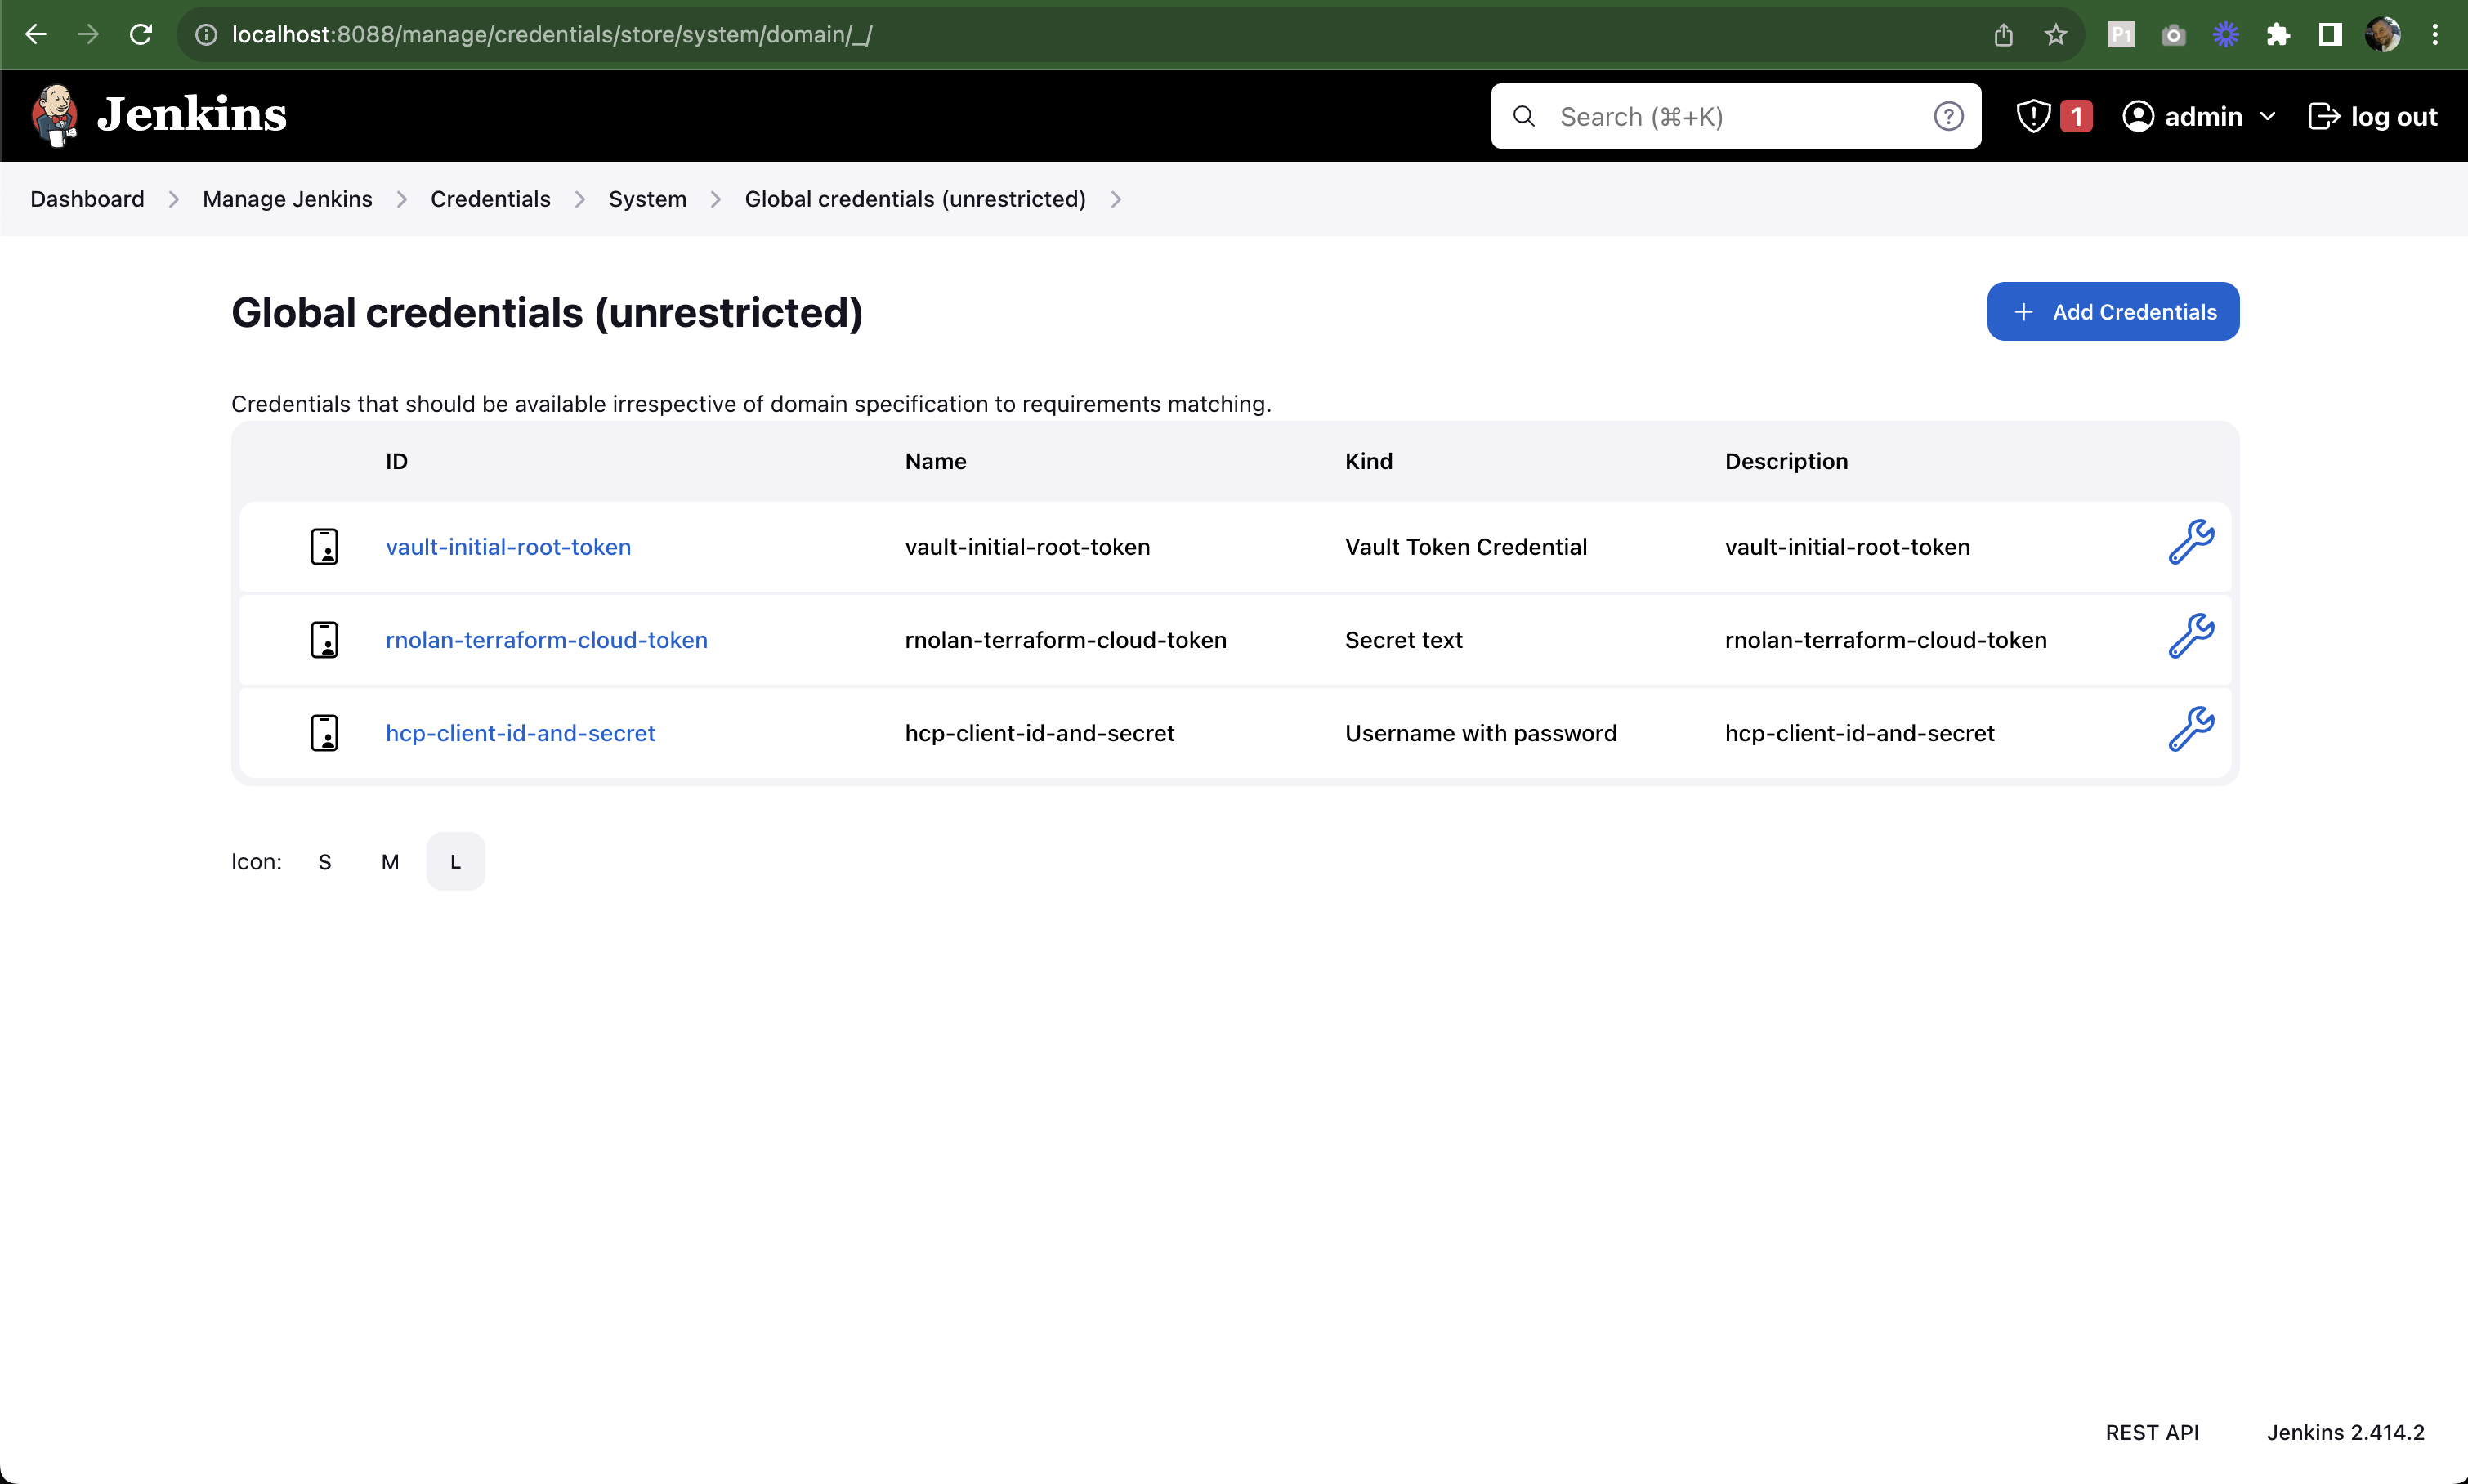
Adding HCP credentials to Jenkins
When you run the pipeline, your secret will be fetched from HCP Vault Secrets (and will be masked in the output):
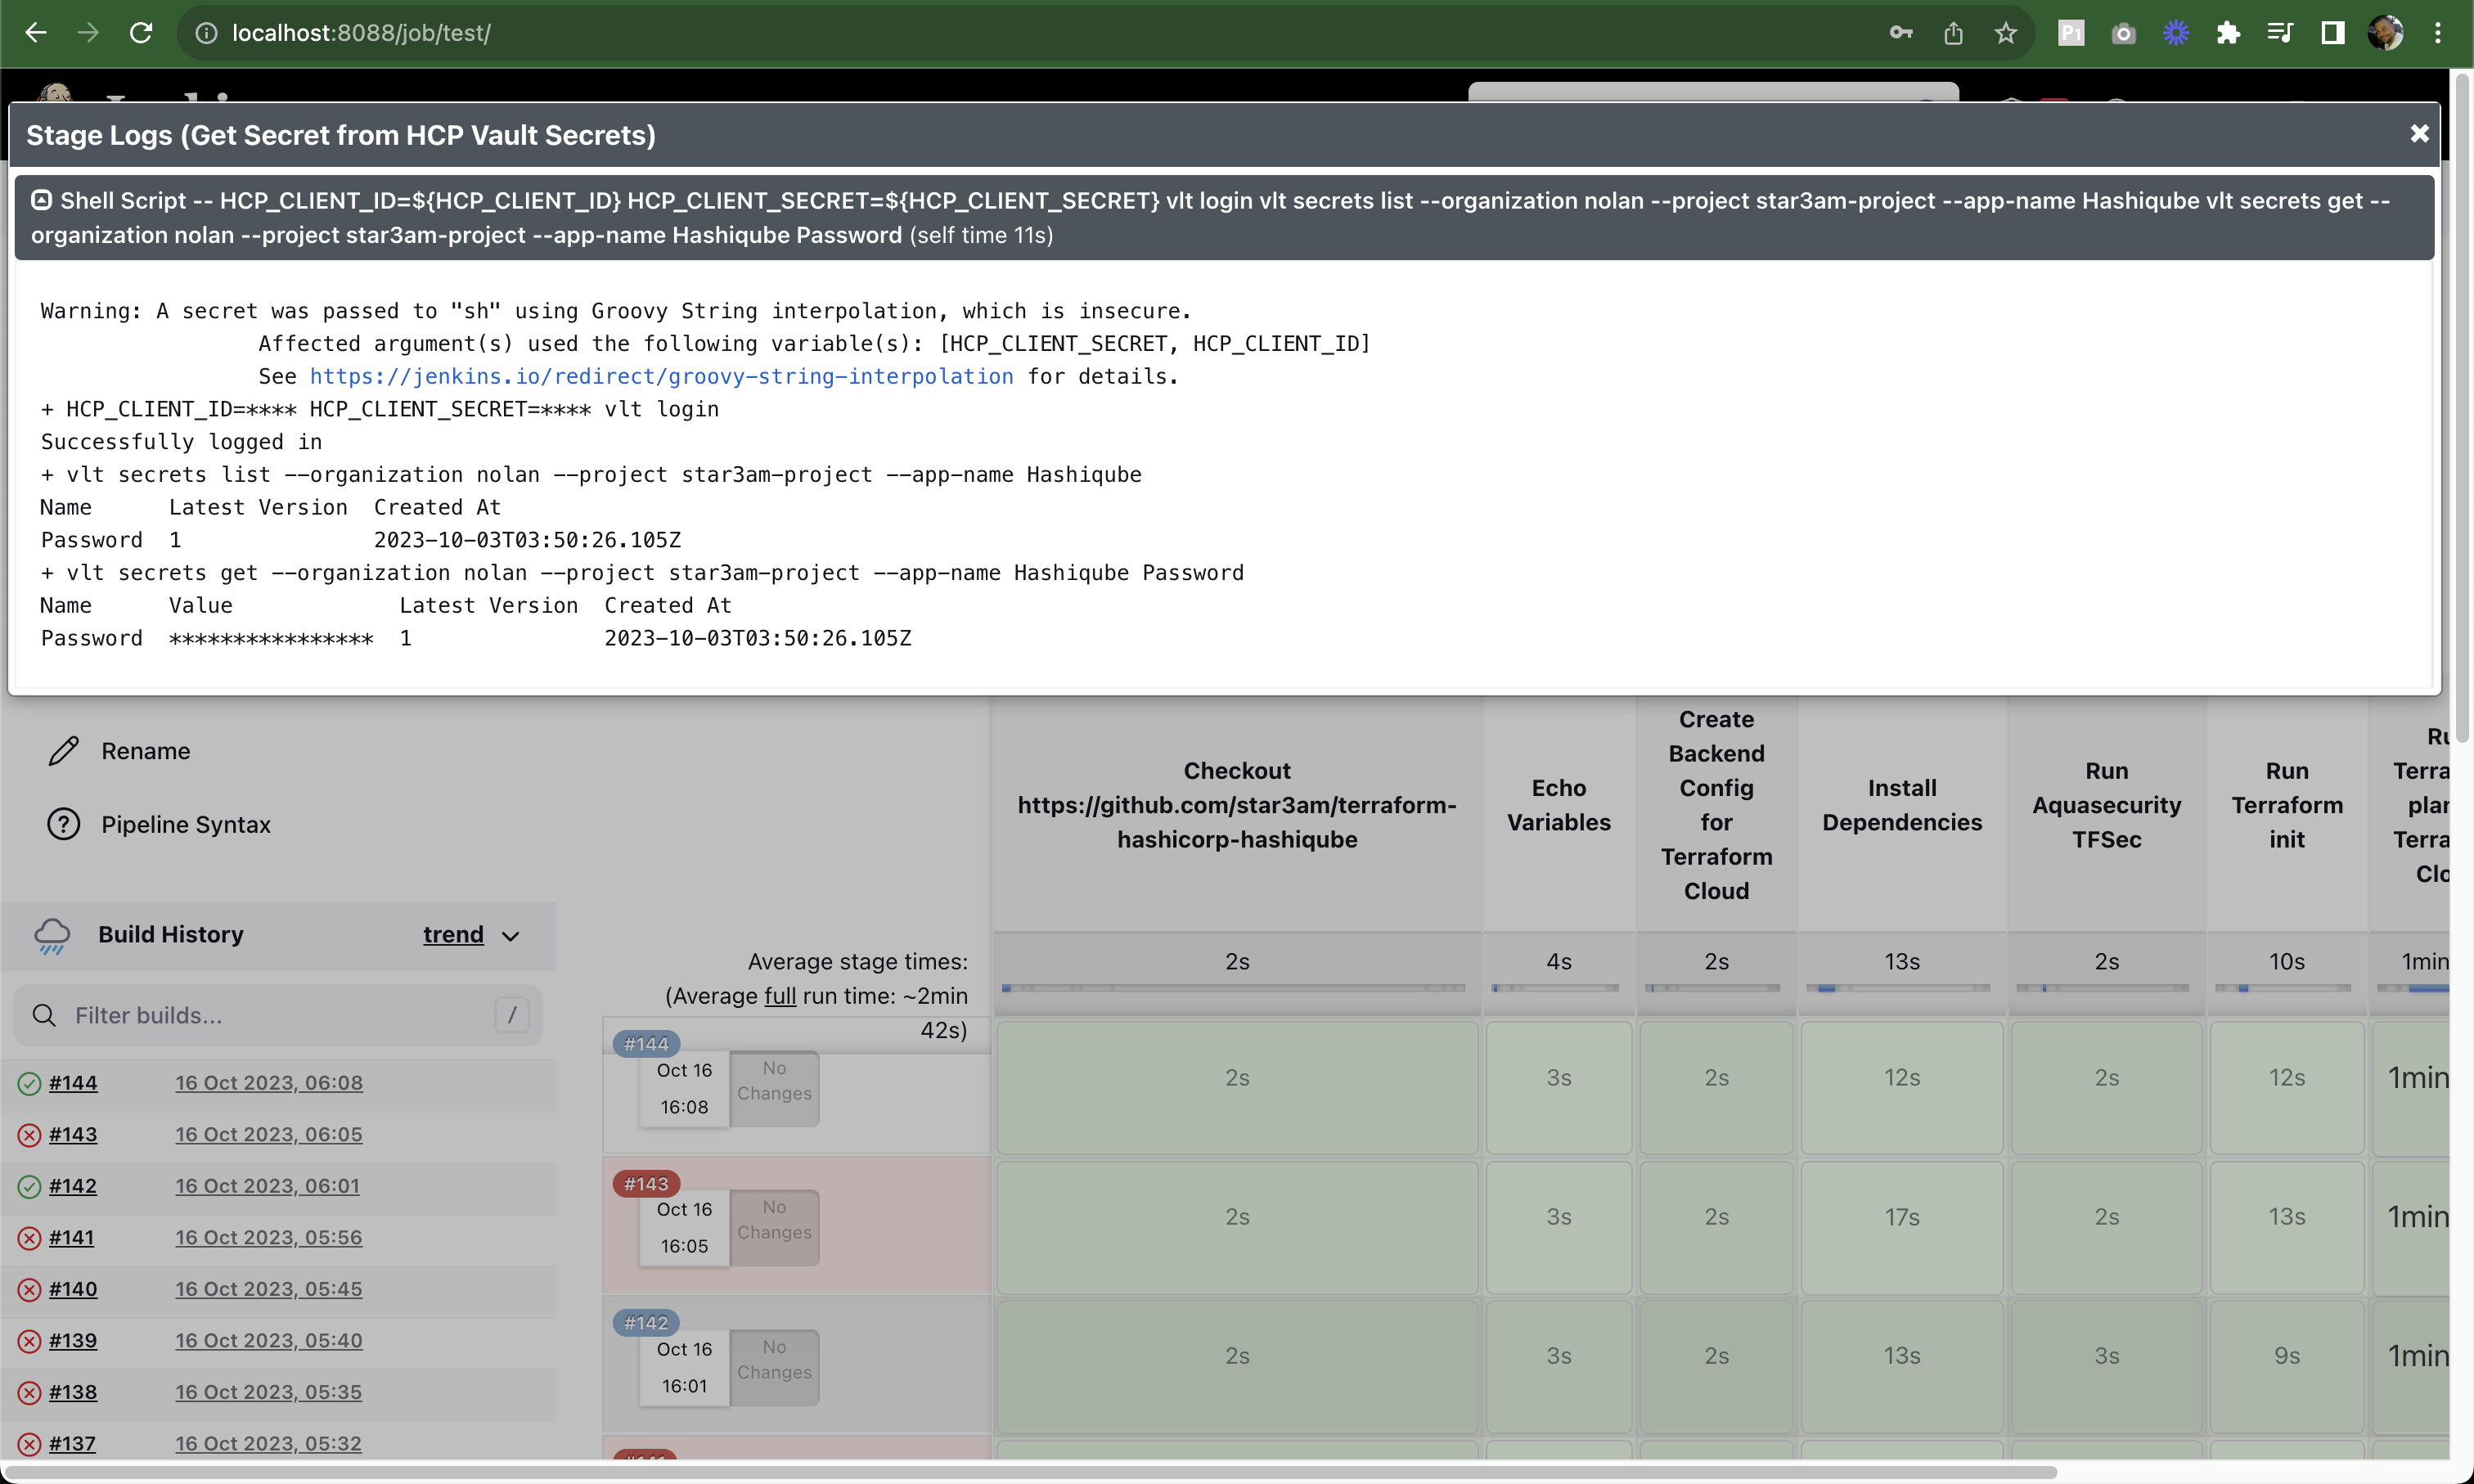
Jenkins pipeline accessing HCP Vault Secrets
☁️ Terraform Cloud Integration
Setting Up Terraform Cloud
- Sign up for a free Terraform Cloud account (no credit card required):
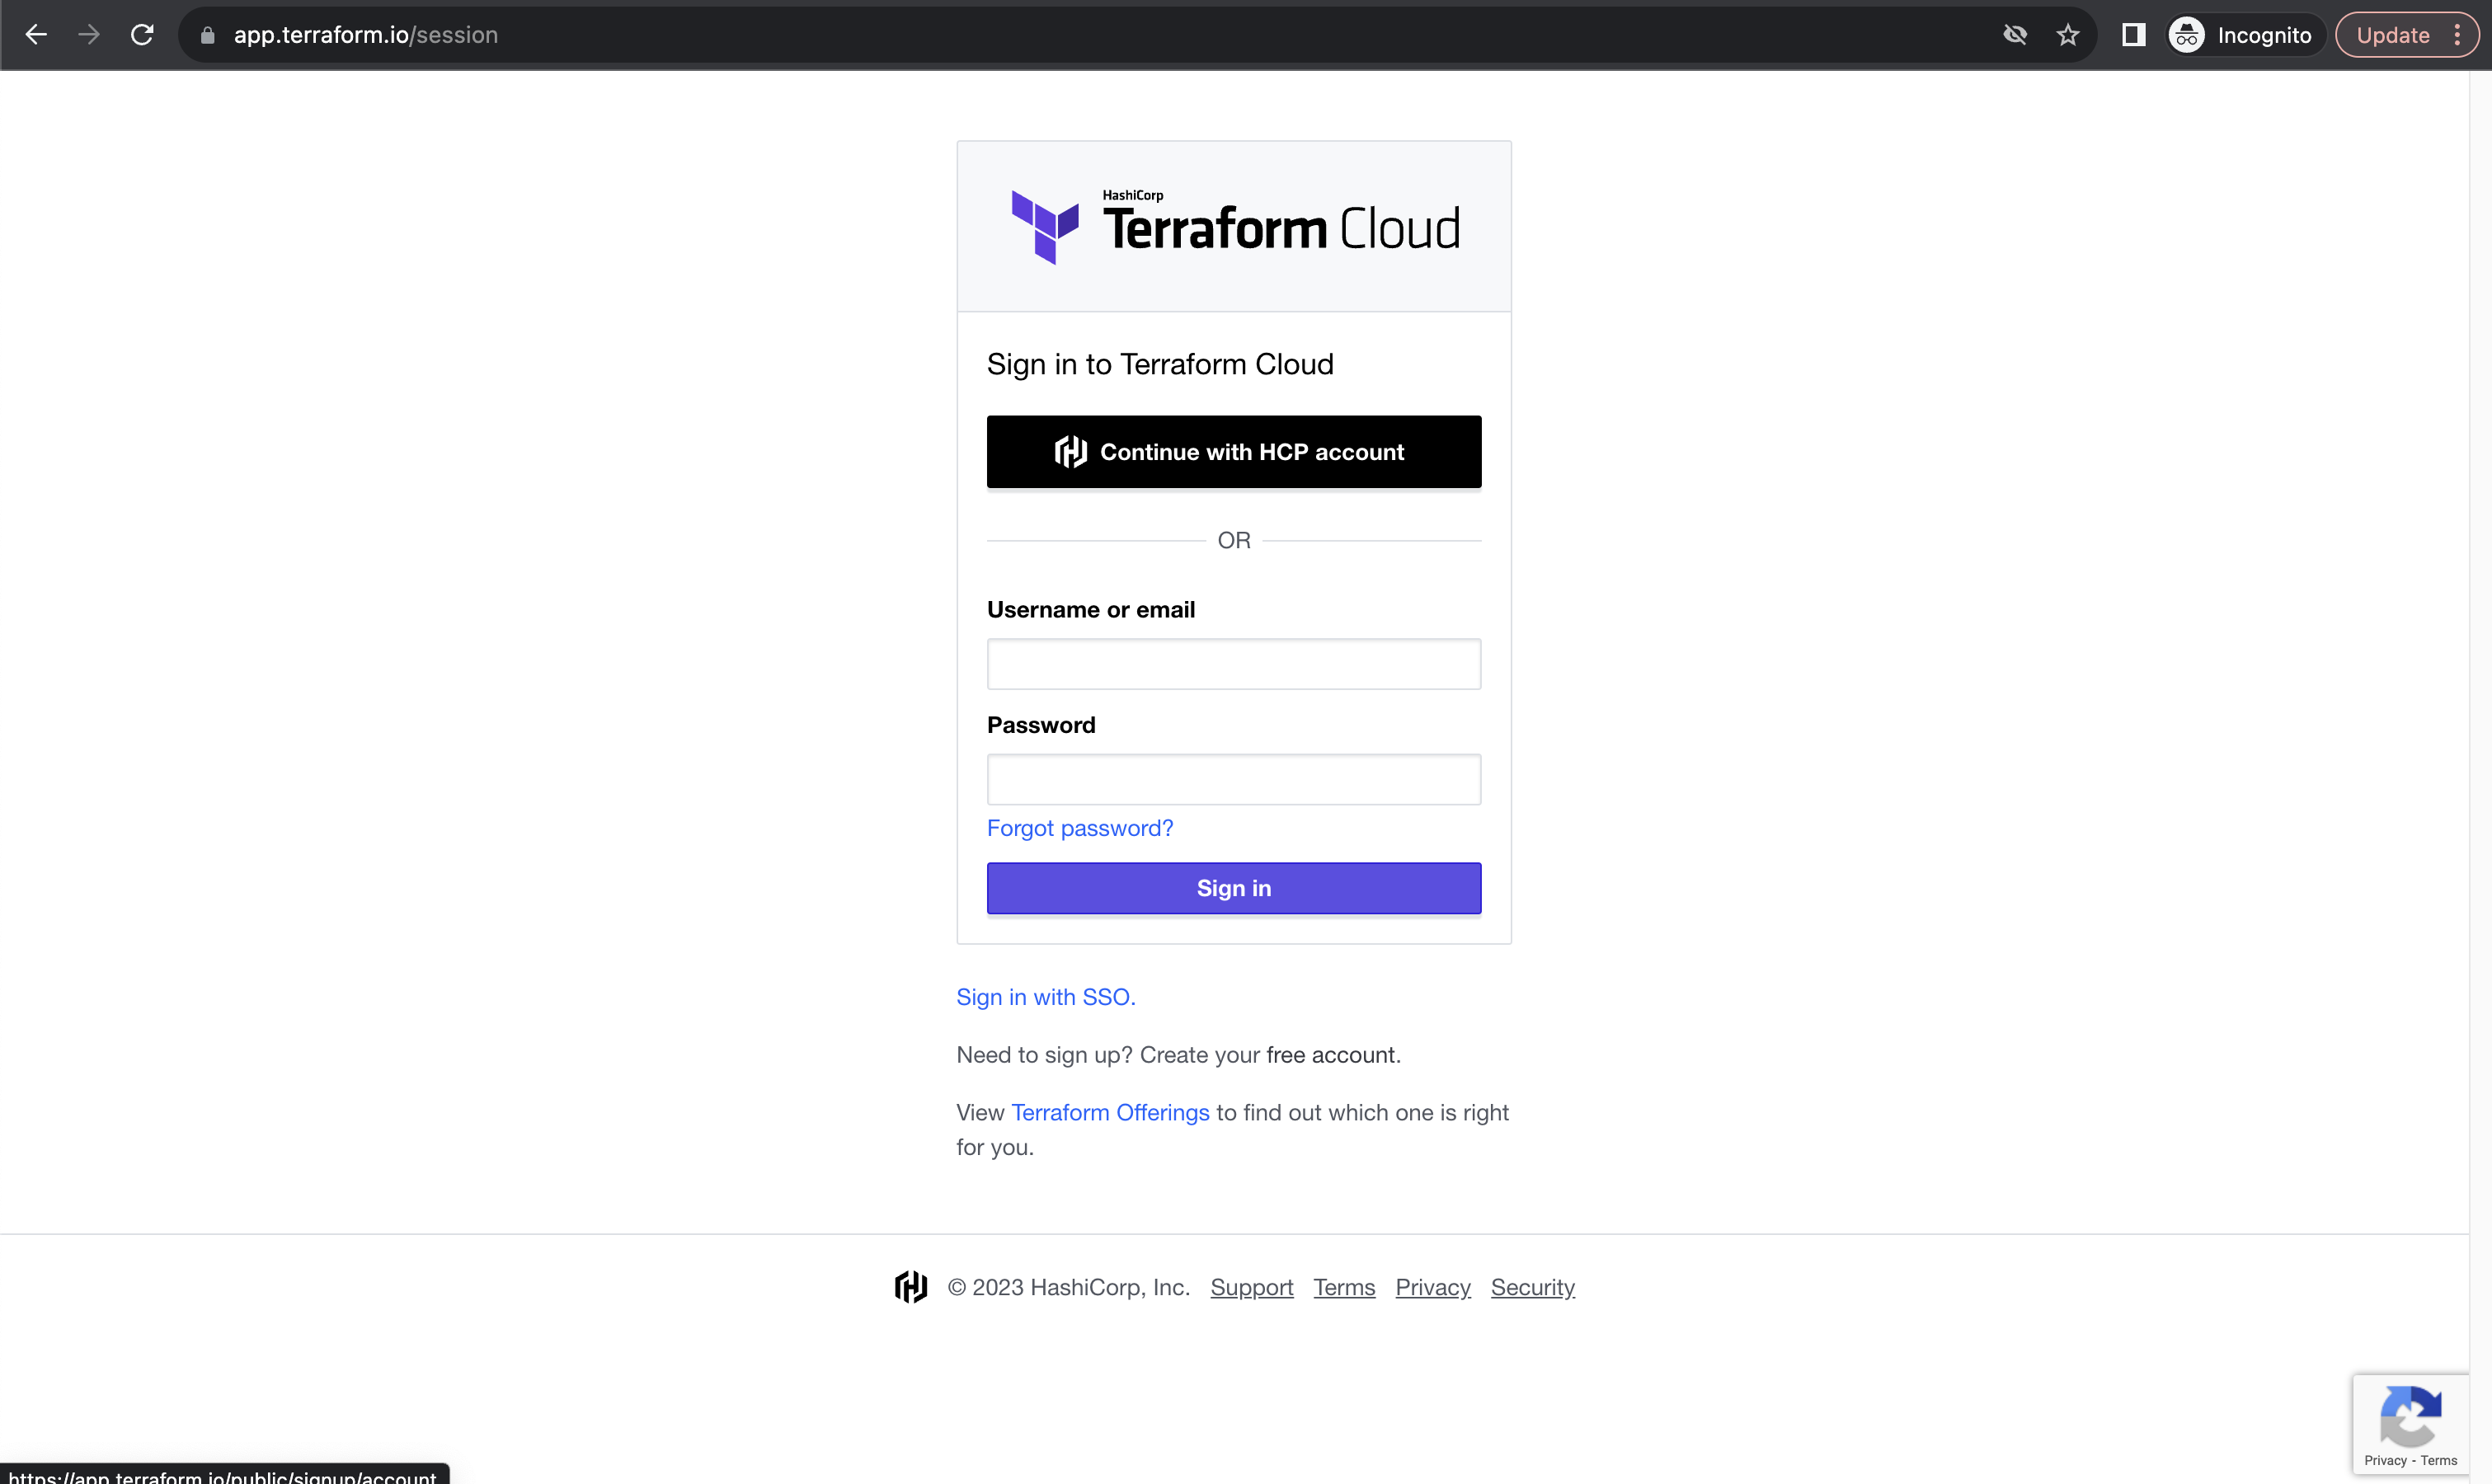
Signing up for a Terraform Cloud account
- Create a workspace (e.g.,
terraform-hashicorp-hashiqube):
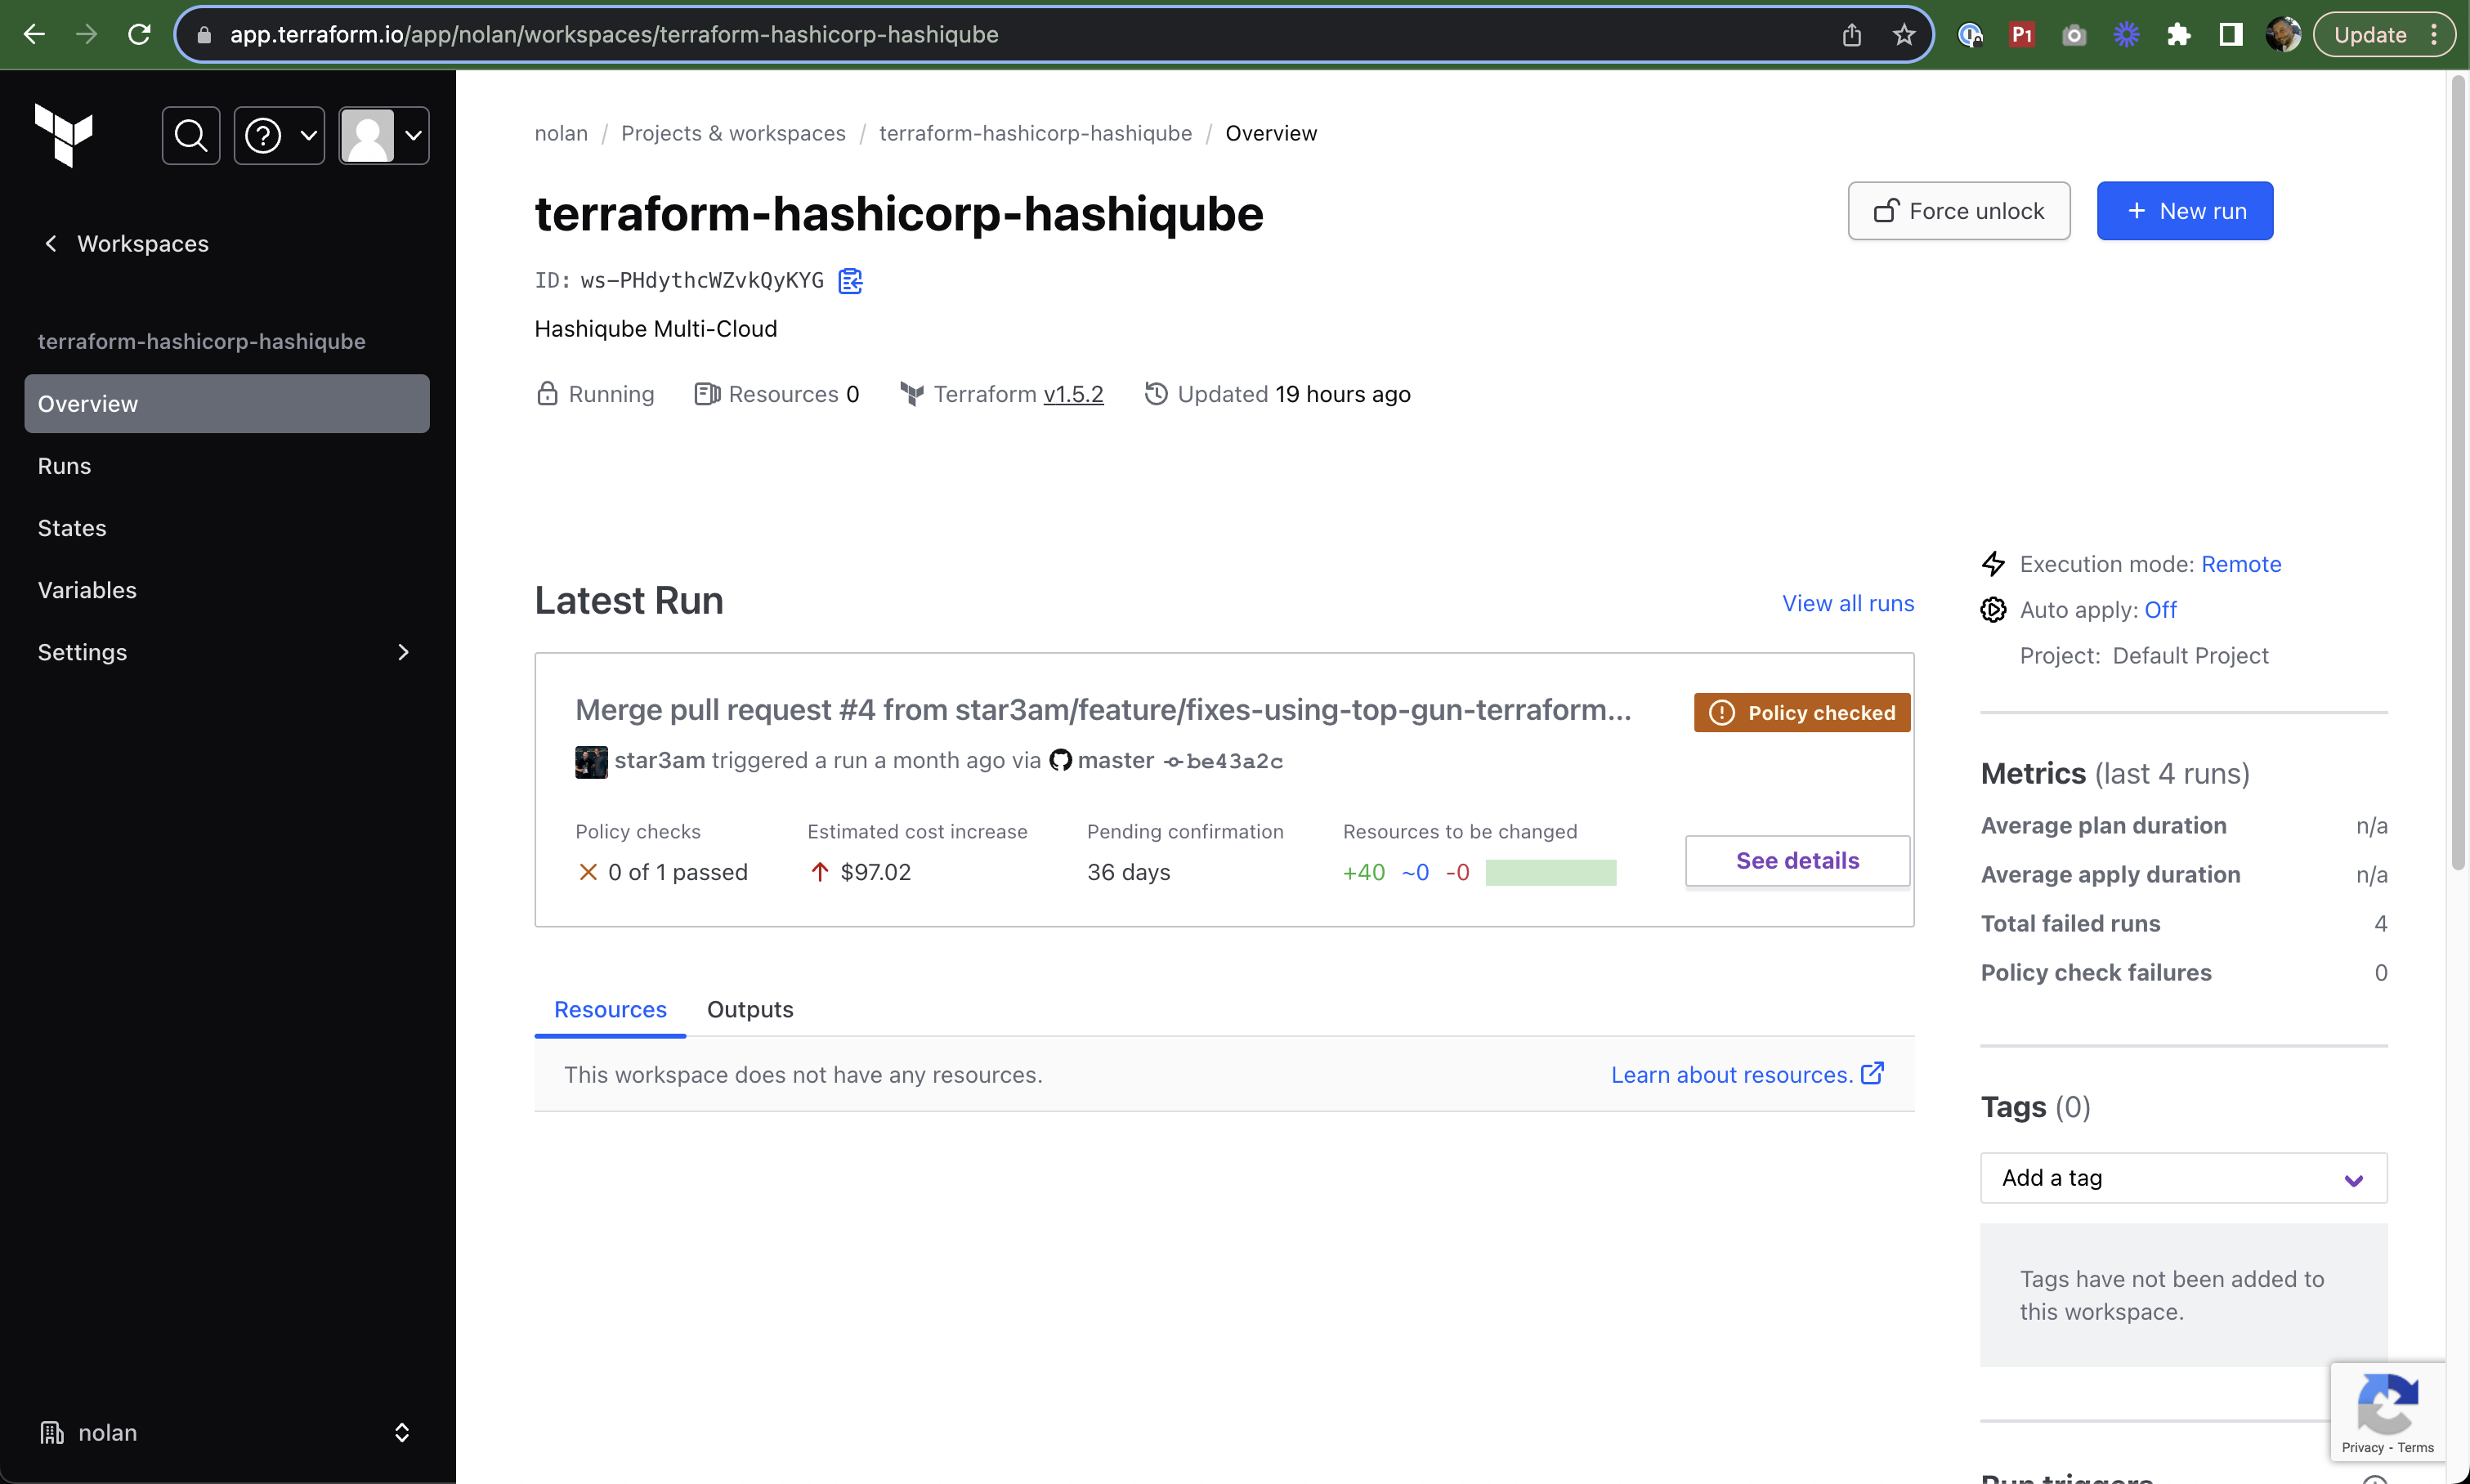
Creating a Terraform Cloud workspace
- Generate a Terraform Cloud token for API access:
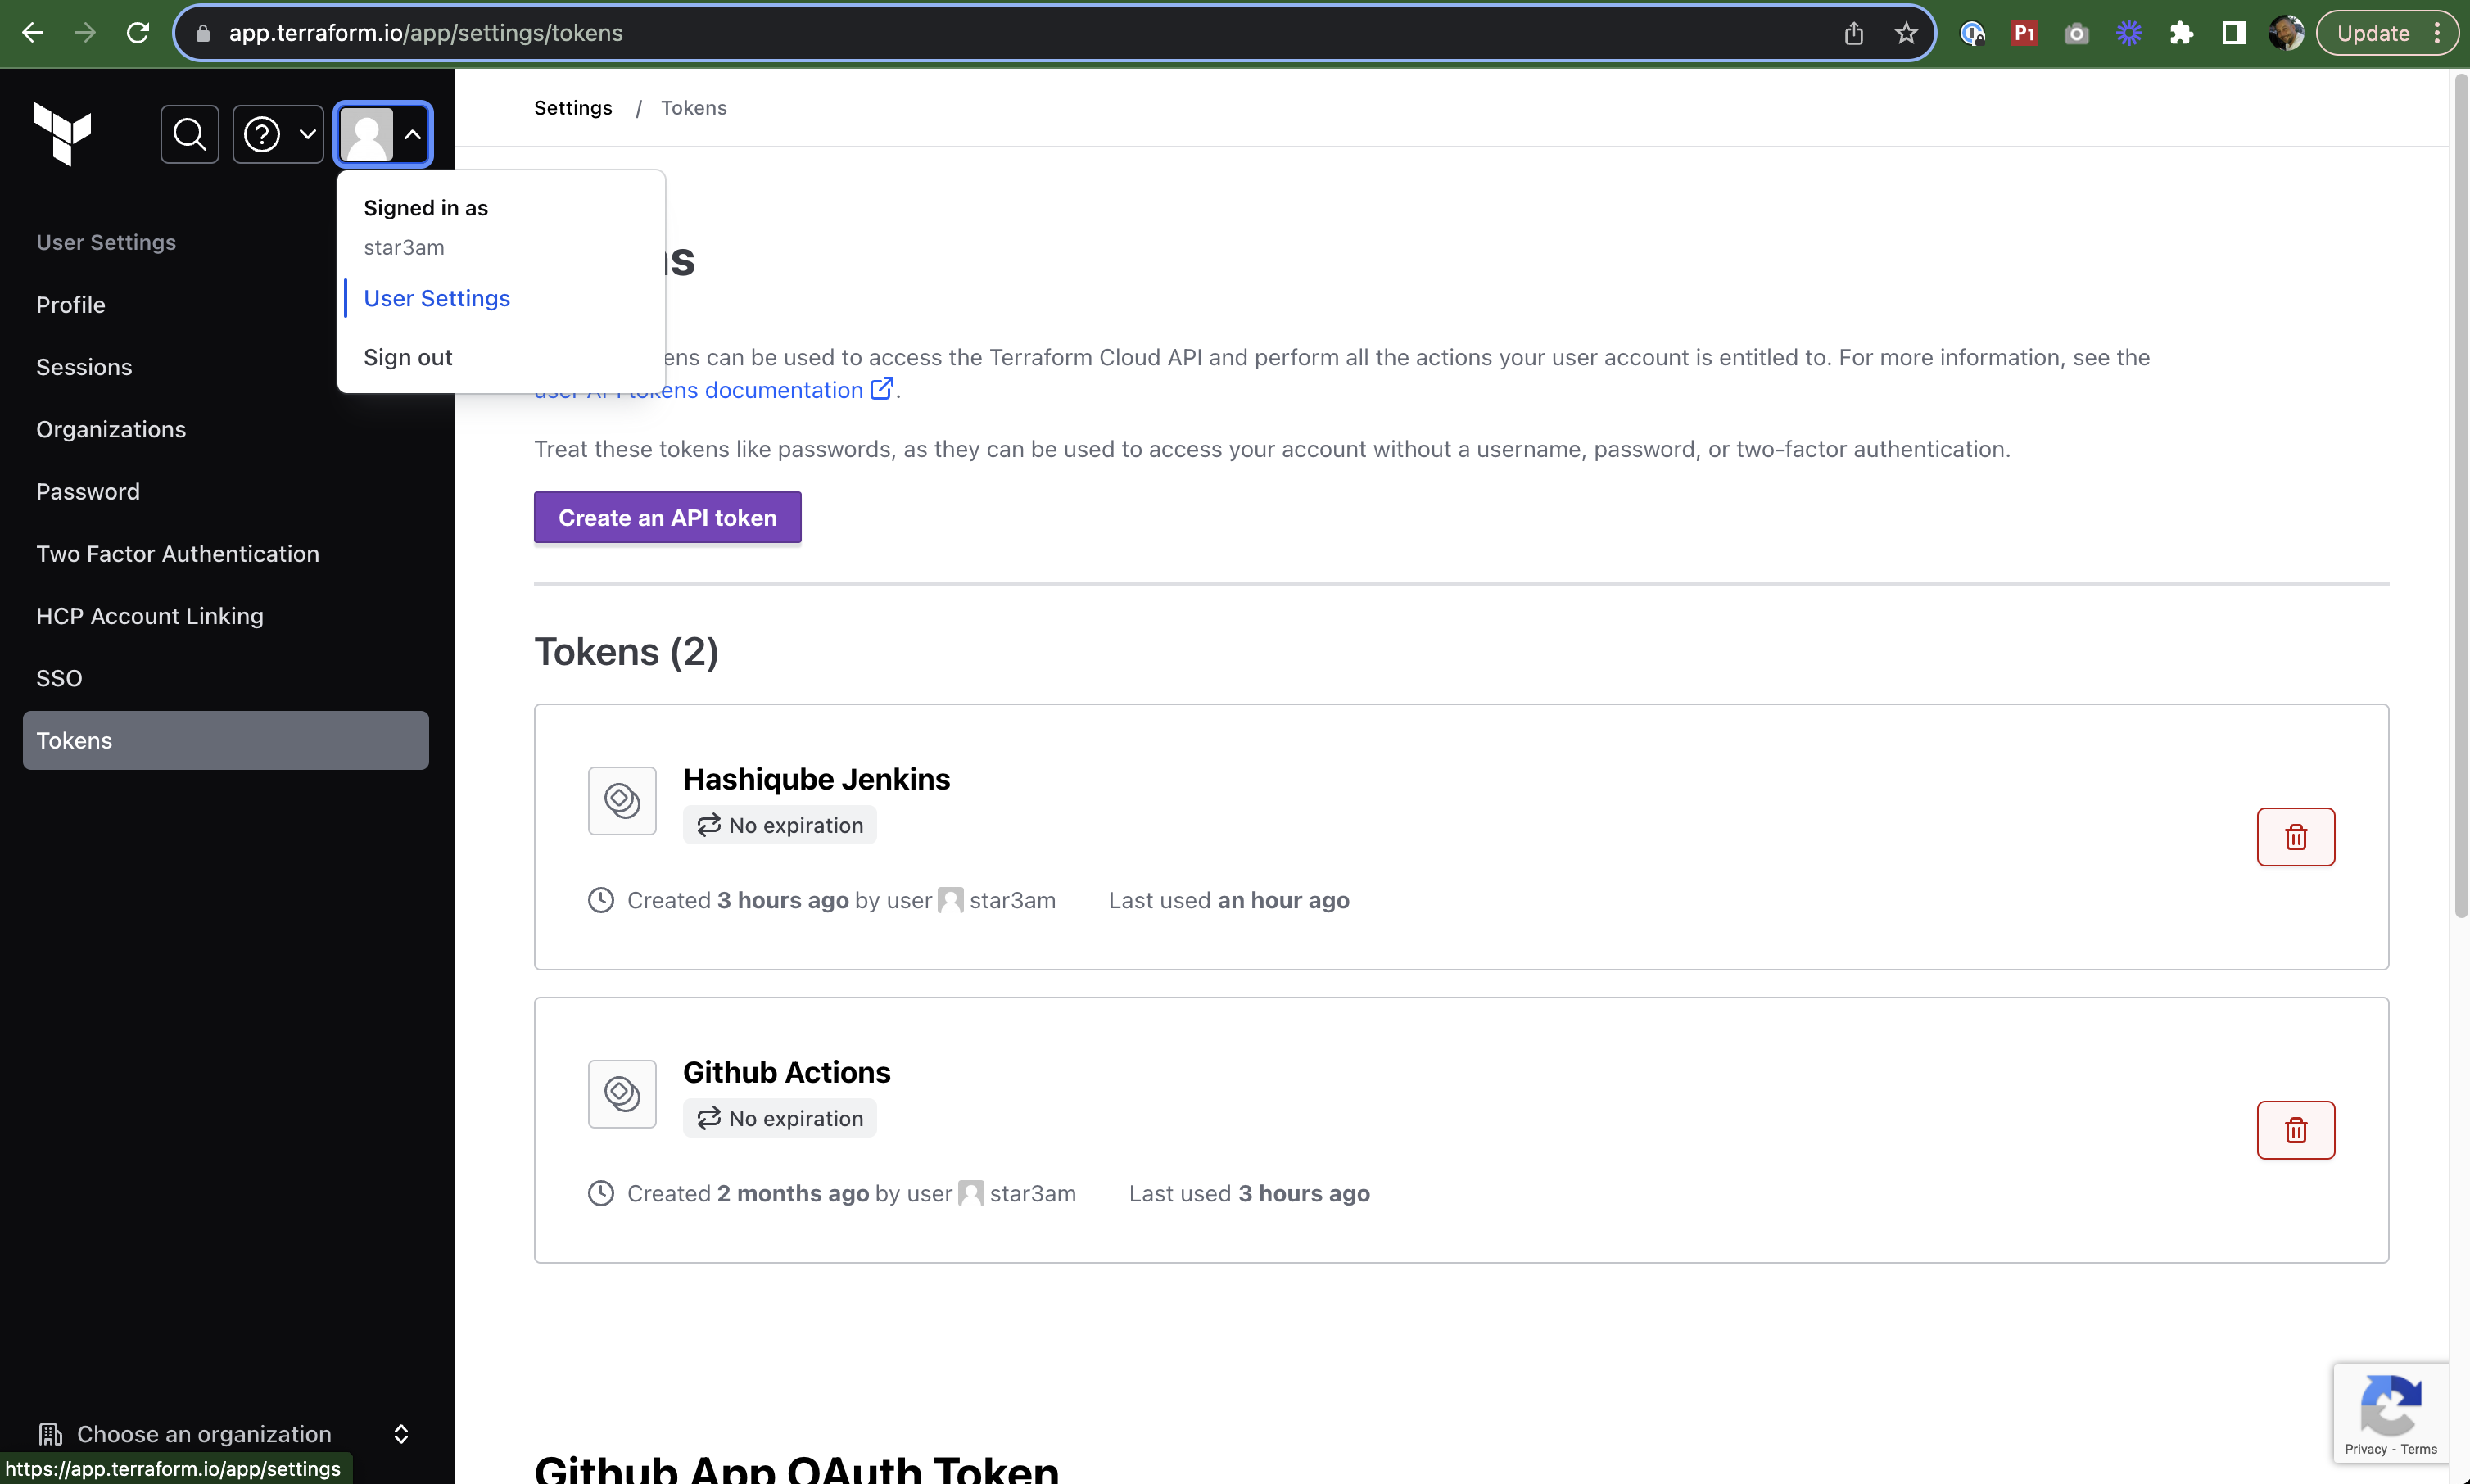
Generating a Terraform Cloud API token
Adding Terraform Cloud Token
Add your Terraform Cloud token as a "Secret Text" credential in Jenkins:
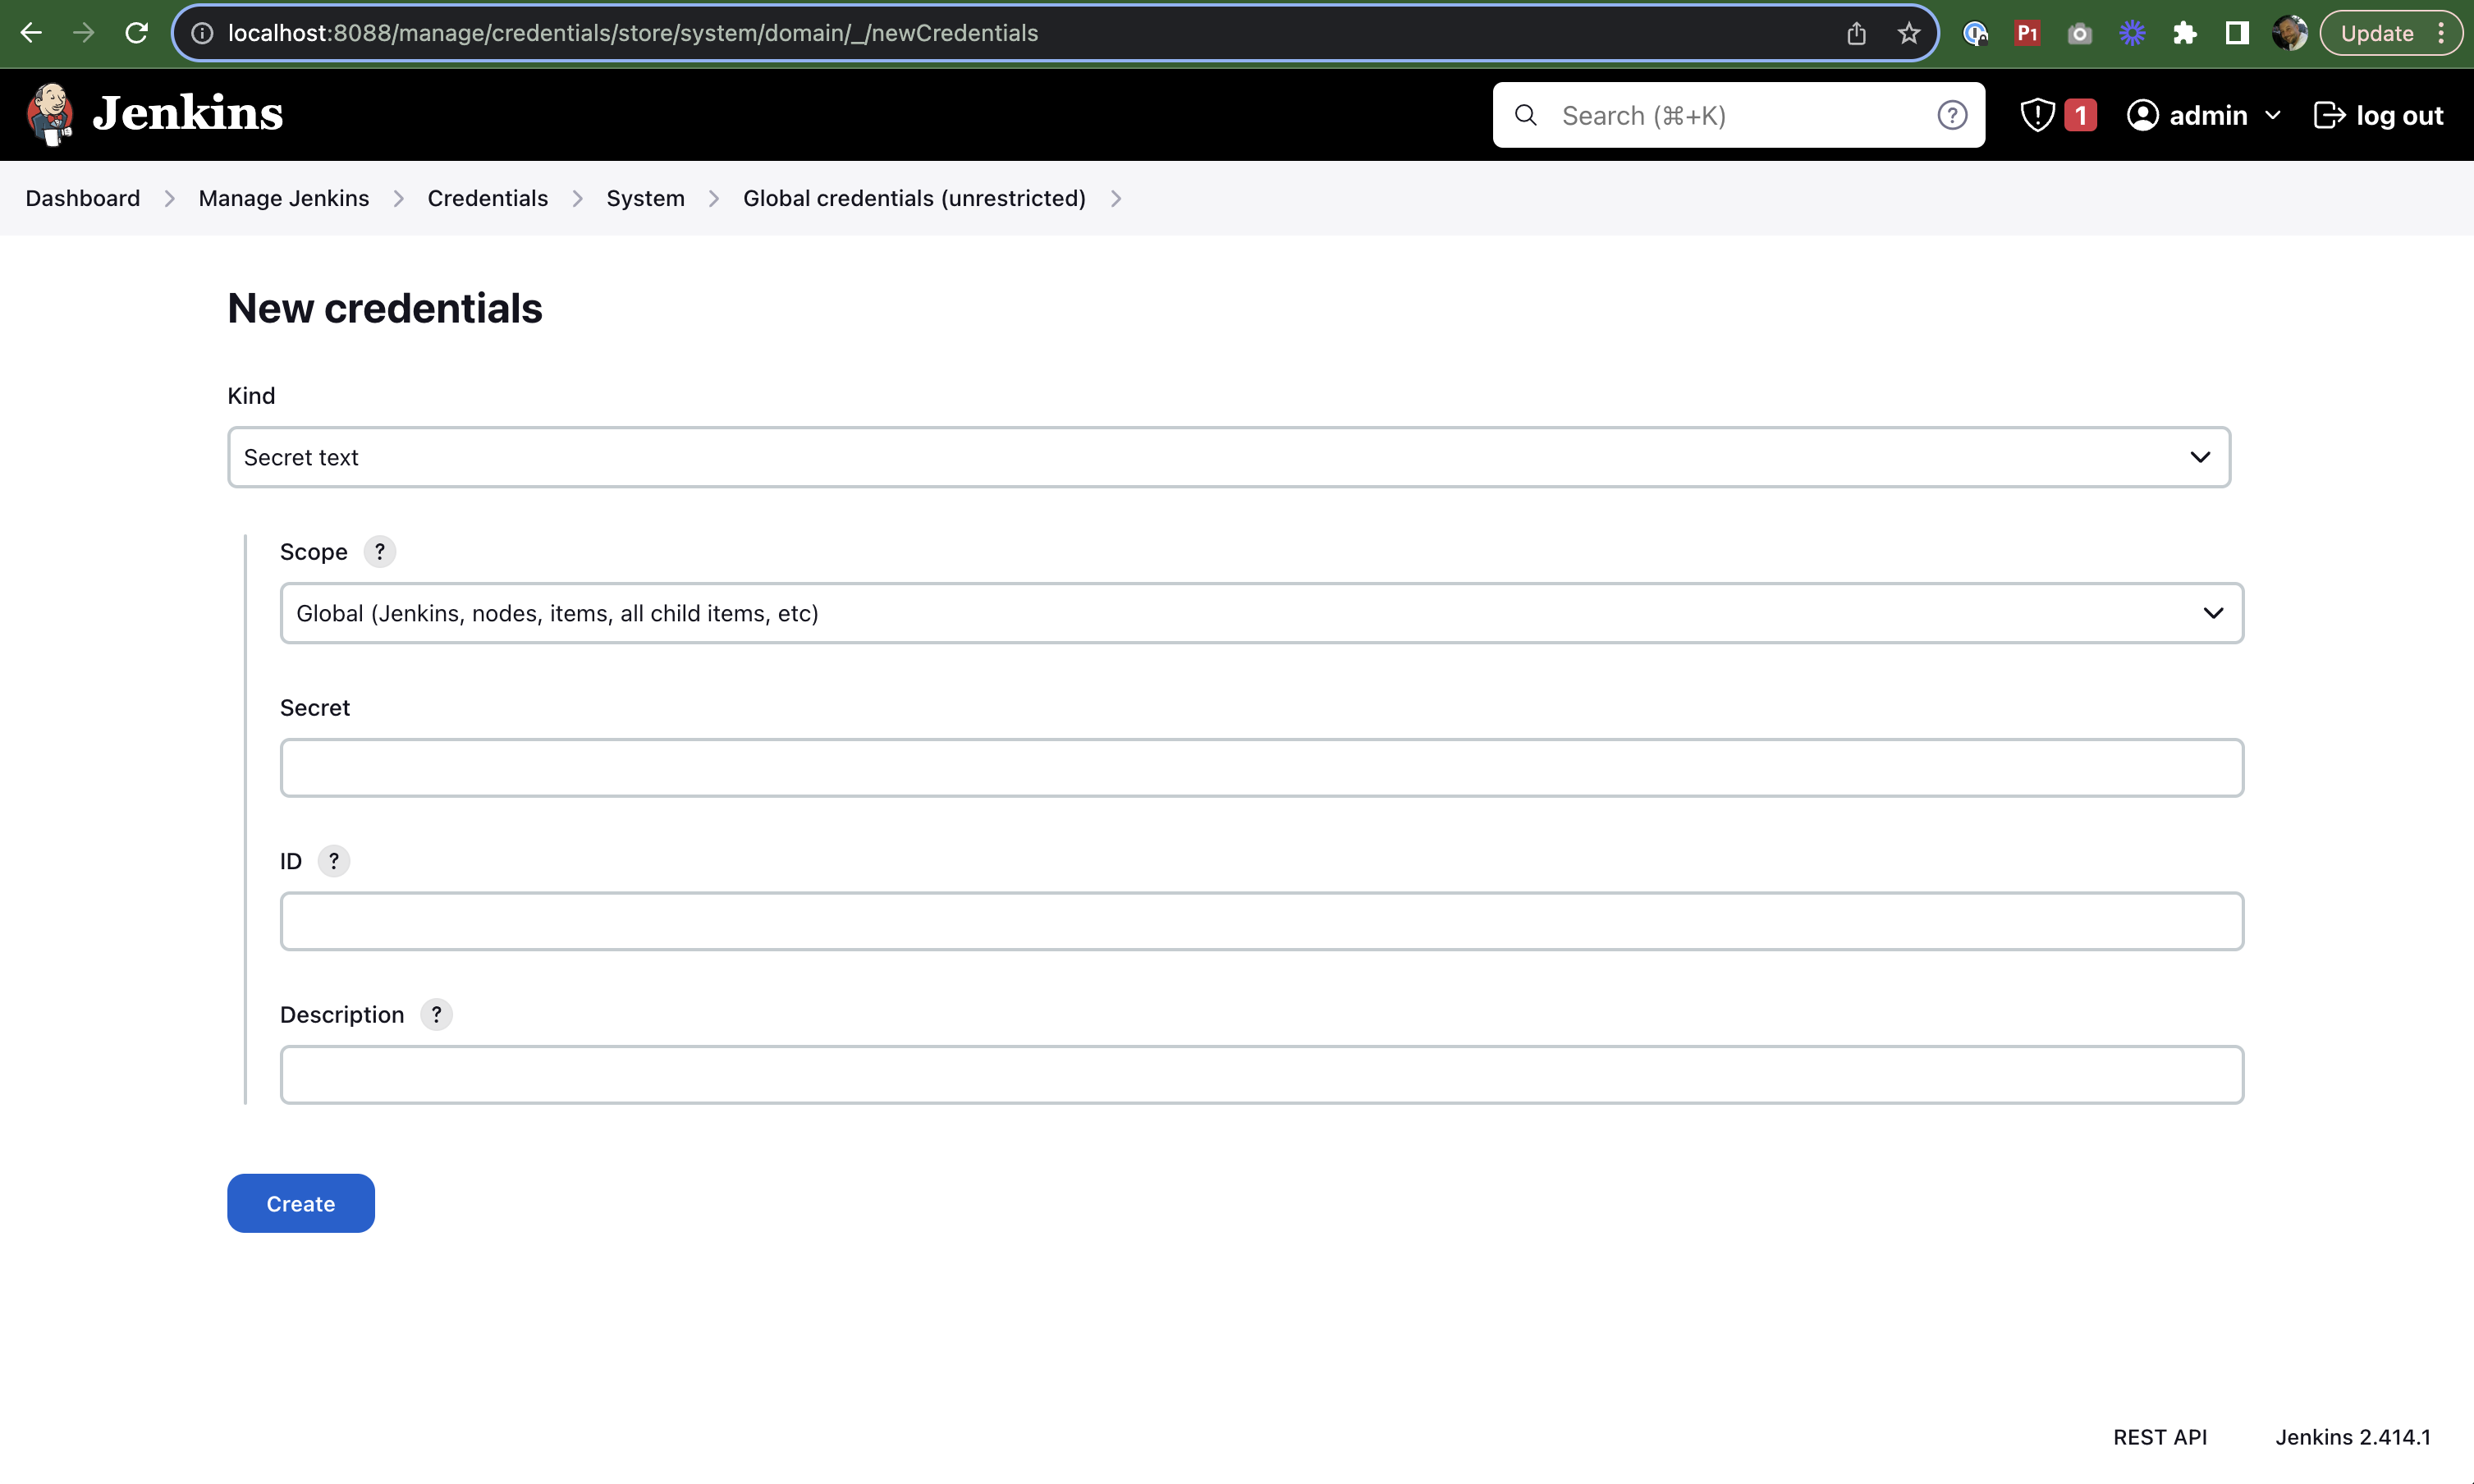
Adding a Secret Text credential to Jenkins
📝 Creating a Jenkins Pipeline
Now let's create a Jenkins pipeline that demonstrates integration with Vault and Terraform Cloud:
- In Jenkins, click on "New Item" → "Pipeline" and give it a name (e.g.,
vault-jenkins) - In the pipeline definition section, add the following Jenkinsfile code, replacing the placeholders with your values:
// https://github.com/jenkinsci/hashicorp-vault-plugin
// https://www.jenkins.io/doc/book/pipeline/jenkinsfile/
import hudson.model.Job
import jenkins.scm.api.mixin.ChangeRequestSCMHead
import jenkins.scm.api.mixin.TagSCMHead
import org.jenkinsci.plugins.workflow.multibranch.BranchJobProperty
node {
properties([disableConcurrentBuilds()])
stage('Checkout https://github.com/star3am/terraform-hashicorp-hashiqube') {
sh """
git config --global --add safe.directory "${env.WORKSPACE}"
"""
git(
url: "https://github.com/star3am/terraform-hashicorp-hashiqube.git",
branch: "master",
changelog: true,
poll: true
)
}
stage('Echo Variables') {
echo "JOB_NAME: ${env.JOB_NAME}"
echo "BUILD_ID: ${env.BUILD_ID}"
echo "BUILD_NUMBER: ${env.BUILD_NUMBER}"
echo "BRANCH_NAME: ${env.BRANCH_NAME}"
echo "PULL_REQUEST: ${env.CHANGE_ID}"
echo "BUILD_NUMBER: ${env.BUILD_NUMBER}"
echo "BUILD_URL: ${env.BUILD_URL}"
echo "NODE_NAME: ${env.NODE_NAME}"
echo "BUILD_TAG: ${env.BUILD_TAG}"
echo "JENKINS_URL: ${env.JENKINS_URL}"
echo "EXECUTOR_NUMBER: ${env.EXECUTOR_NUMBER}"
echo "WORKSPACE: ${env.WORKSPACE}"
echo "GIT_COMMIT: ${env.GIT_COMMIT}"
echo "GIT_URL: ${env.GIT_URL}"
echo "GIT_BRANCH: ${env.GIT_BRANCH}"
LAST_COMMIT_MSG = sh(returnStdout: true, script: "git log -n 1 --pretty=format:'%s'")
echo "LAST_COMMIT_MSG: ${LAST_COMMIT_MSG}"
env.ARCH = sh(returnStdout: true, script: "lscpu | grep 'Architecture' | tr -s ' ' | cut -d ' ' -f 2 | tr -d '[:space:]'")
echo "ARCH: ${env.ARCH}"
env.PATH = "${env.PATH}:${env.WORKSPACE}/bin"
env.TF_CLI_ARGS = "-no-color"
echo sh(script: 'env|sort', returnStdout: true)
sh('echo $(hostname)')
}
stage('Create Backend Config for Terraform Cloud') {
withCredentials([string(credentialsId: 'YOUR_CREDENTIALS_ID', variable: 'SECRET')]) {
sh """
cat <<EOF | tee backend.tf
terraform {
cloud {
organization = "YOUR_TF_CLOUD_ORGANIZATION"
workspaces {
name = "YOUR_TF_WORKSPACE"
}
token = "${SECRET}"
}
}
EOF
"""
}
}
stage('Install Dependencies') {
sh """
pwd
mkdir -p bin
"""
if (env.ARCH == "x86_64*") {
script {
env.arch = "amd64"
echo "${env.arch}"
}
}
if (env.ARCH == 'aarch64') {
script {
env.arch = "arm64"
echo "${env.arch}"
}
}
sh """
curl -s "https://releases.hashicorp.com/terraform/1.5.7/terraform_1.5.7_linux_${env.arch}.zip" --output bin/terraform.zip
(cd bin && unzip -o terraform.zip && cd ${env.WORKSPACE})
curl -Lso bin/tfsec "https://github.com/aquasecurity/tfsec/releases/download/v1.28.4/tfsec-linux-${env.arch}"
chmod +x bin/tfsec
curl -s "https://releases.hashicorp.com/vlt/1.0.0/vlt_1.0.0_linux_${env.arch}.zip" --output bin/vlt.zip
(cd bin && unzip -o vlt.zip && cd ${env.WORKSPACE})
pwd
ls -la
ls -la bin/
terraform -v
tfsec -v
vlt -v
echo "${env.arch}"
echo "${env.PATH}"
"""
}
stage('Run Aquasecurity TFSec') {
sh('tfsec ./modules --no-color --soft-fail')
}
stage('Run Terraform init') {
sh('terraform init')
}
stage('Run Terraform plan on Terraform Cloud') {
sh('terraform plan')
}
// https://developer.hashicorp.com/hcp/docs/vault-secrets/commands/config
// https://developer.hashicorp.com/vault/tutorials/hcp-vault-secrets-get-started/hcp-vault-secrets-retrieve-secret
stage('Get Secret from HCP Vault Secrets') {
withCredentials([usernamePassword(credentialsId: 'YOUR_CREDENTIALS_ID', usernameVariable: 'HCP_CLIENT_ID', passwordVariable: 'HCP_CLIENT_SECRET')]) {
sh """
HCP_CLIENT_ID=${HCP_CLIENT_ID} HCP_CLIENT_SECRET=${HCP_CLIENT_SECRET} vlt login
vlt secrets list --organization YOUR_HCP_ORGANIZATION_NAME --project YOUR_HCP_PROJECT_NAME --app-name YOUR_HCP_APP_NAME
vlt secrets get --organization YOUR_HCP_ORGANIZATION_NAME --project YOUR_HCP_PROJECT_NAME --app-name YOUR_HCP_APP_NAME Password
"""
}
}
stage('Get ENV vars from Vault') {
// define the secrets and the env variables
// engine version can be defined on secret, job, folder or global.
// the default is engine version 2 unless otherwise specified globally.
def secrets = [
[path: 'kv2/secret/another_test', engineVersion: 2, secretValues: [
[vaultKey: 'another_test']]],
[path: 'kv1/secret/testing/value_one', engineVersion: 1, secretValues: [
[vaultKey: 'value_one']]],
[path: 'kv1/secret/testing/value_two', engineVersion: 1, secretValues: [
[envVar: 'my_var', vaultKey: 'value_two']]]
]
// optional configuration, if you do not provide this the next higher configuration
// (e.g. folder or global) will be used
def configuration = [vaultUrl: 'http://10.9.99.10:8200',
vaultCredentialId: 'vault-initial-root-token',
engineVersion: 1]
// inside this block your credentials will be available as env variables
withVault([configuration: configuration, vaultSecrets: secrets]) {
sh 'echo $value_one'
sh 'echo $my_var'
sh 'echo $another_test'
}
}
stage('Echo some ENV vars') {
withCredentials([[$class: 'VaultTokenCredentialBinding', credentialsId: 'vault-initial-root-token', vaultAddr: 'http://10.9.99.10:8200']]) {
// values will be masked
sh 'echo TOKEN=$VAULT_TOKEN'
sh 'echo ADDR=$VAULT_ADDR'
}
echo sh(script: 'env|sort', returnStdout: true)
}
}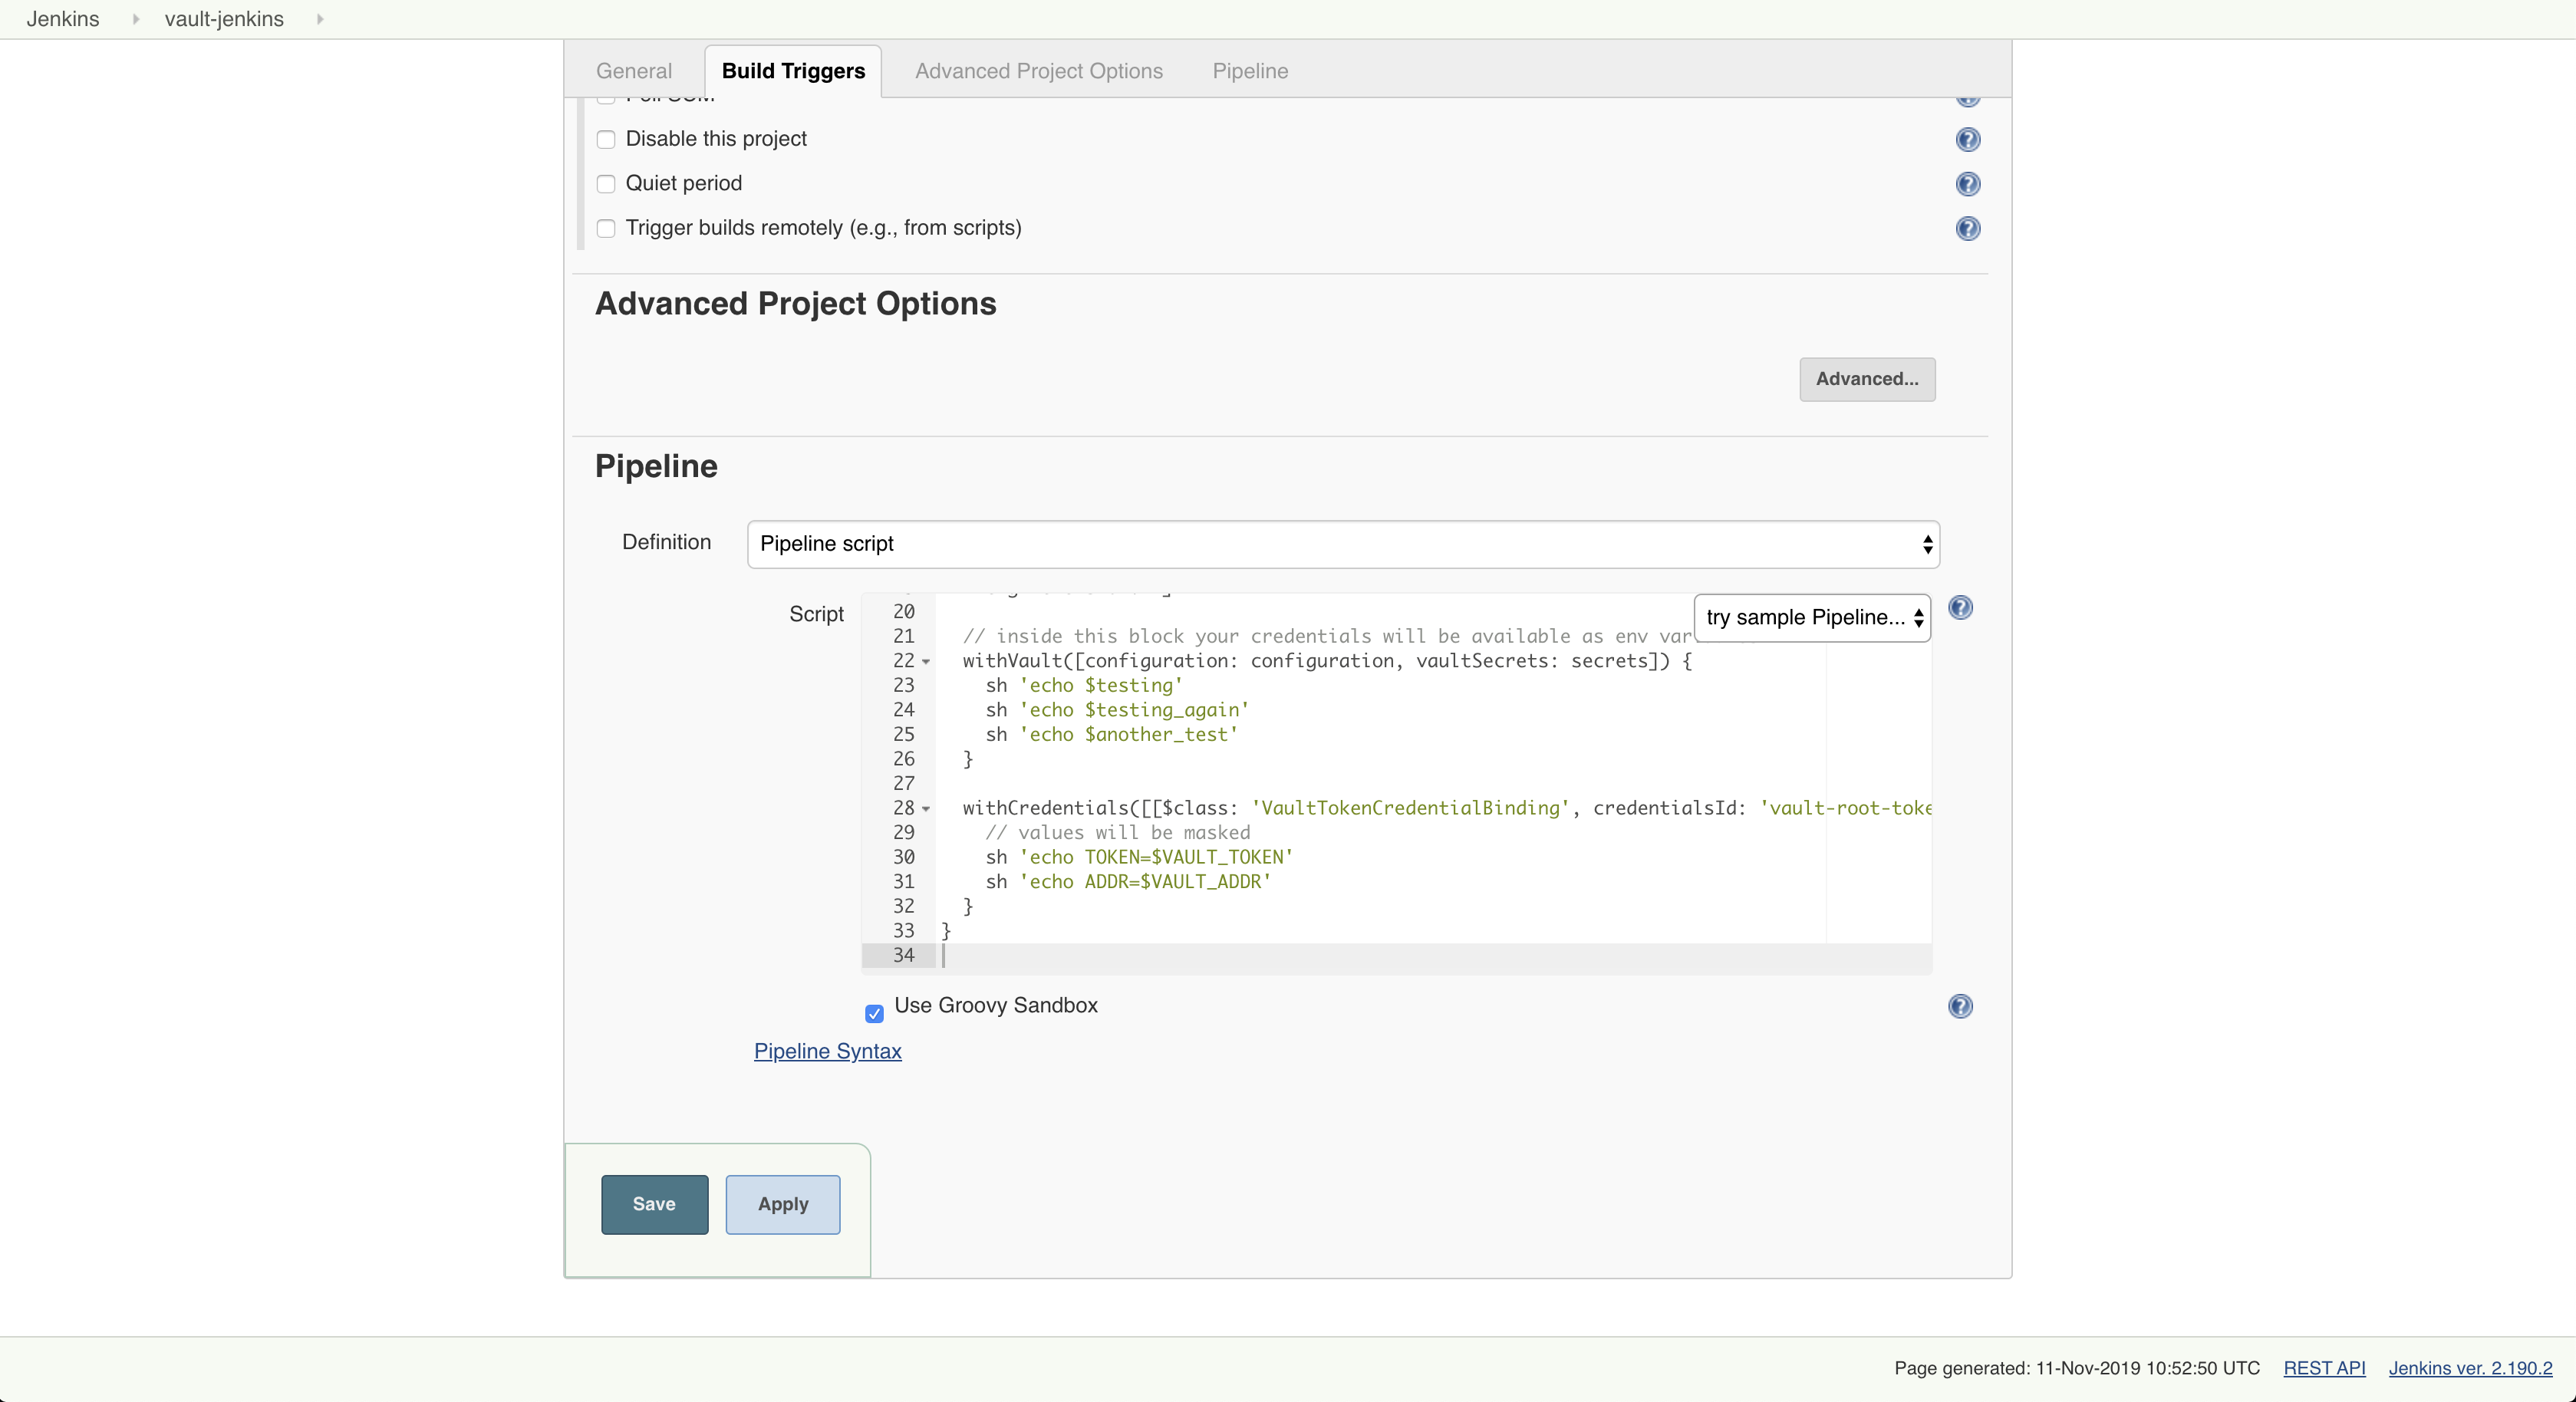
Configuring the Jenkins pipeline
- Click "Save" to save your pipeline configuration
▶️ Running the Pipeline
Click on "Build Now" in the left menu to run your pipeline:
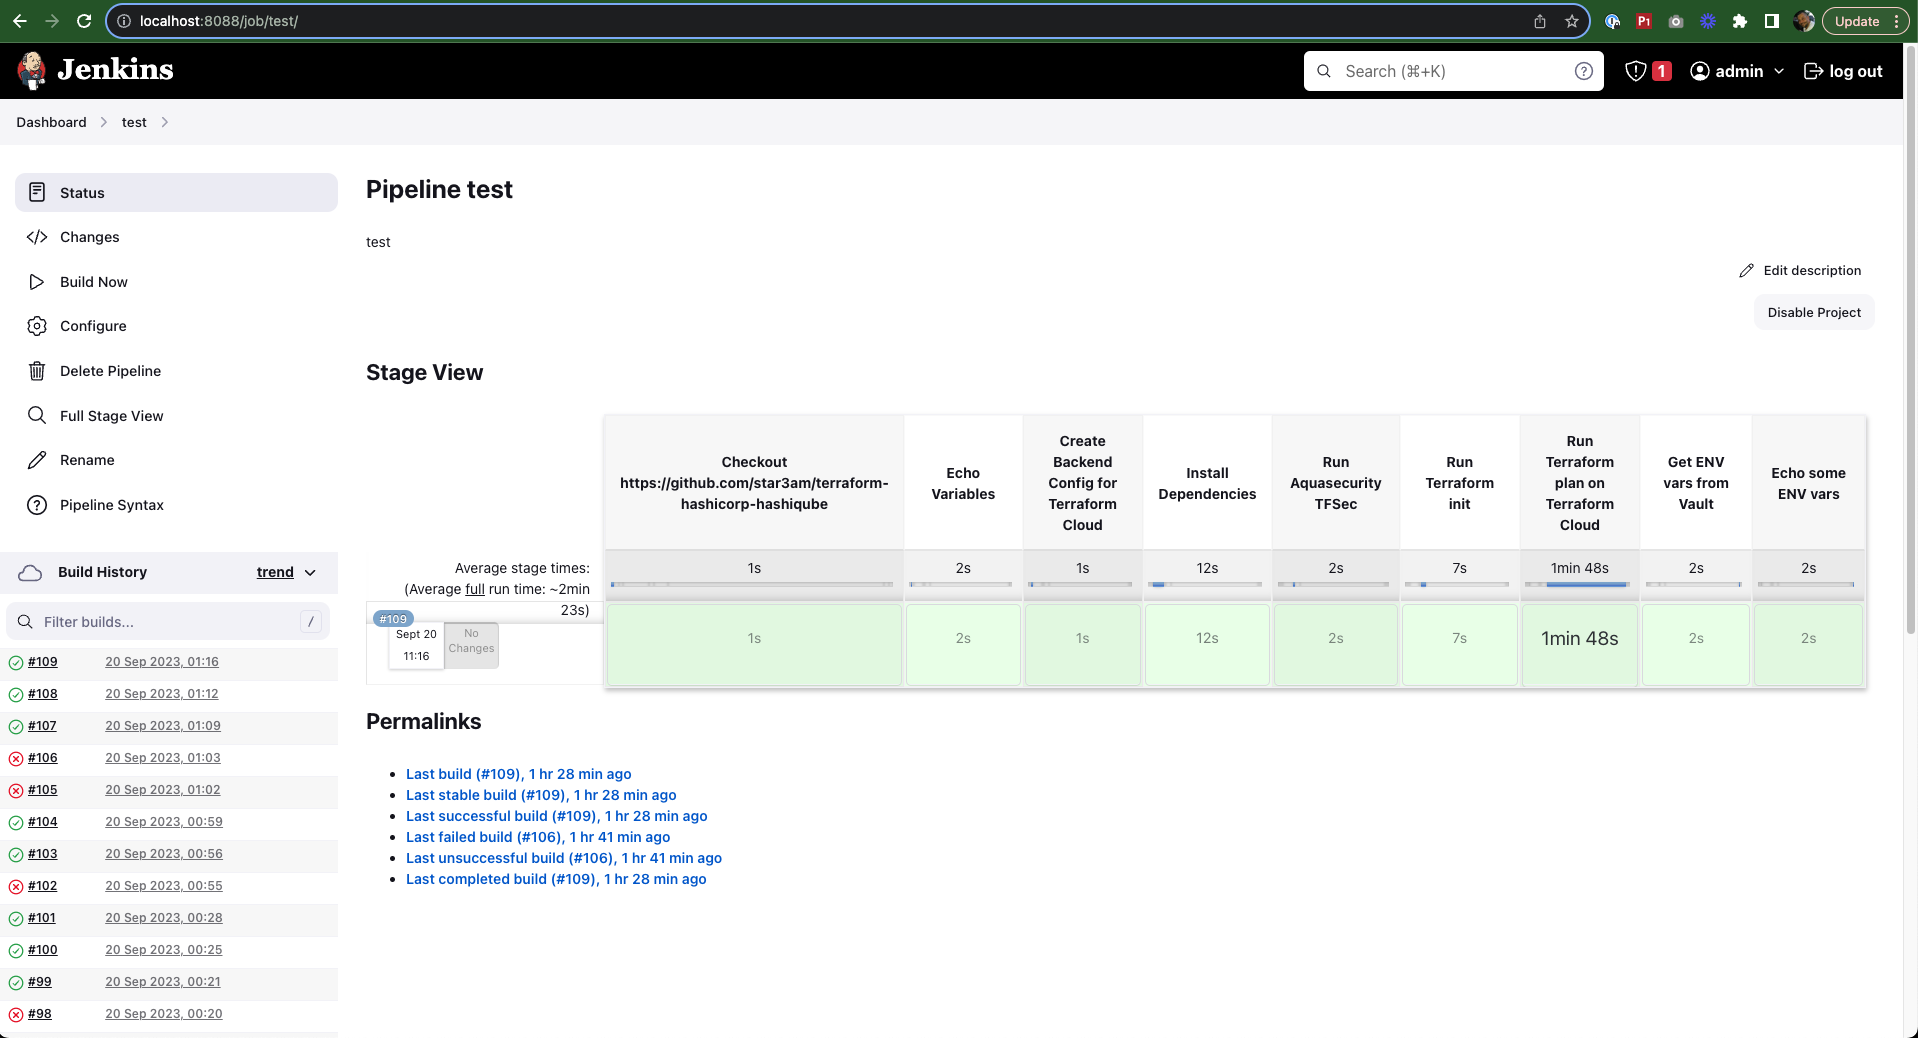
Pipeline build in progress
View the console output to see the detailed execution:
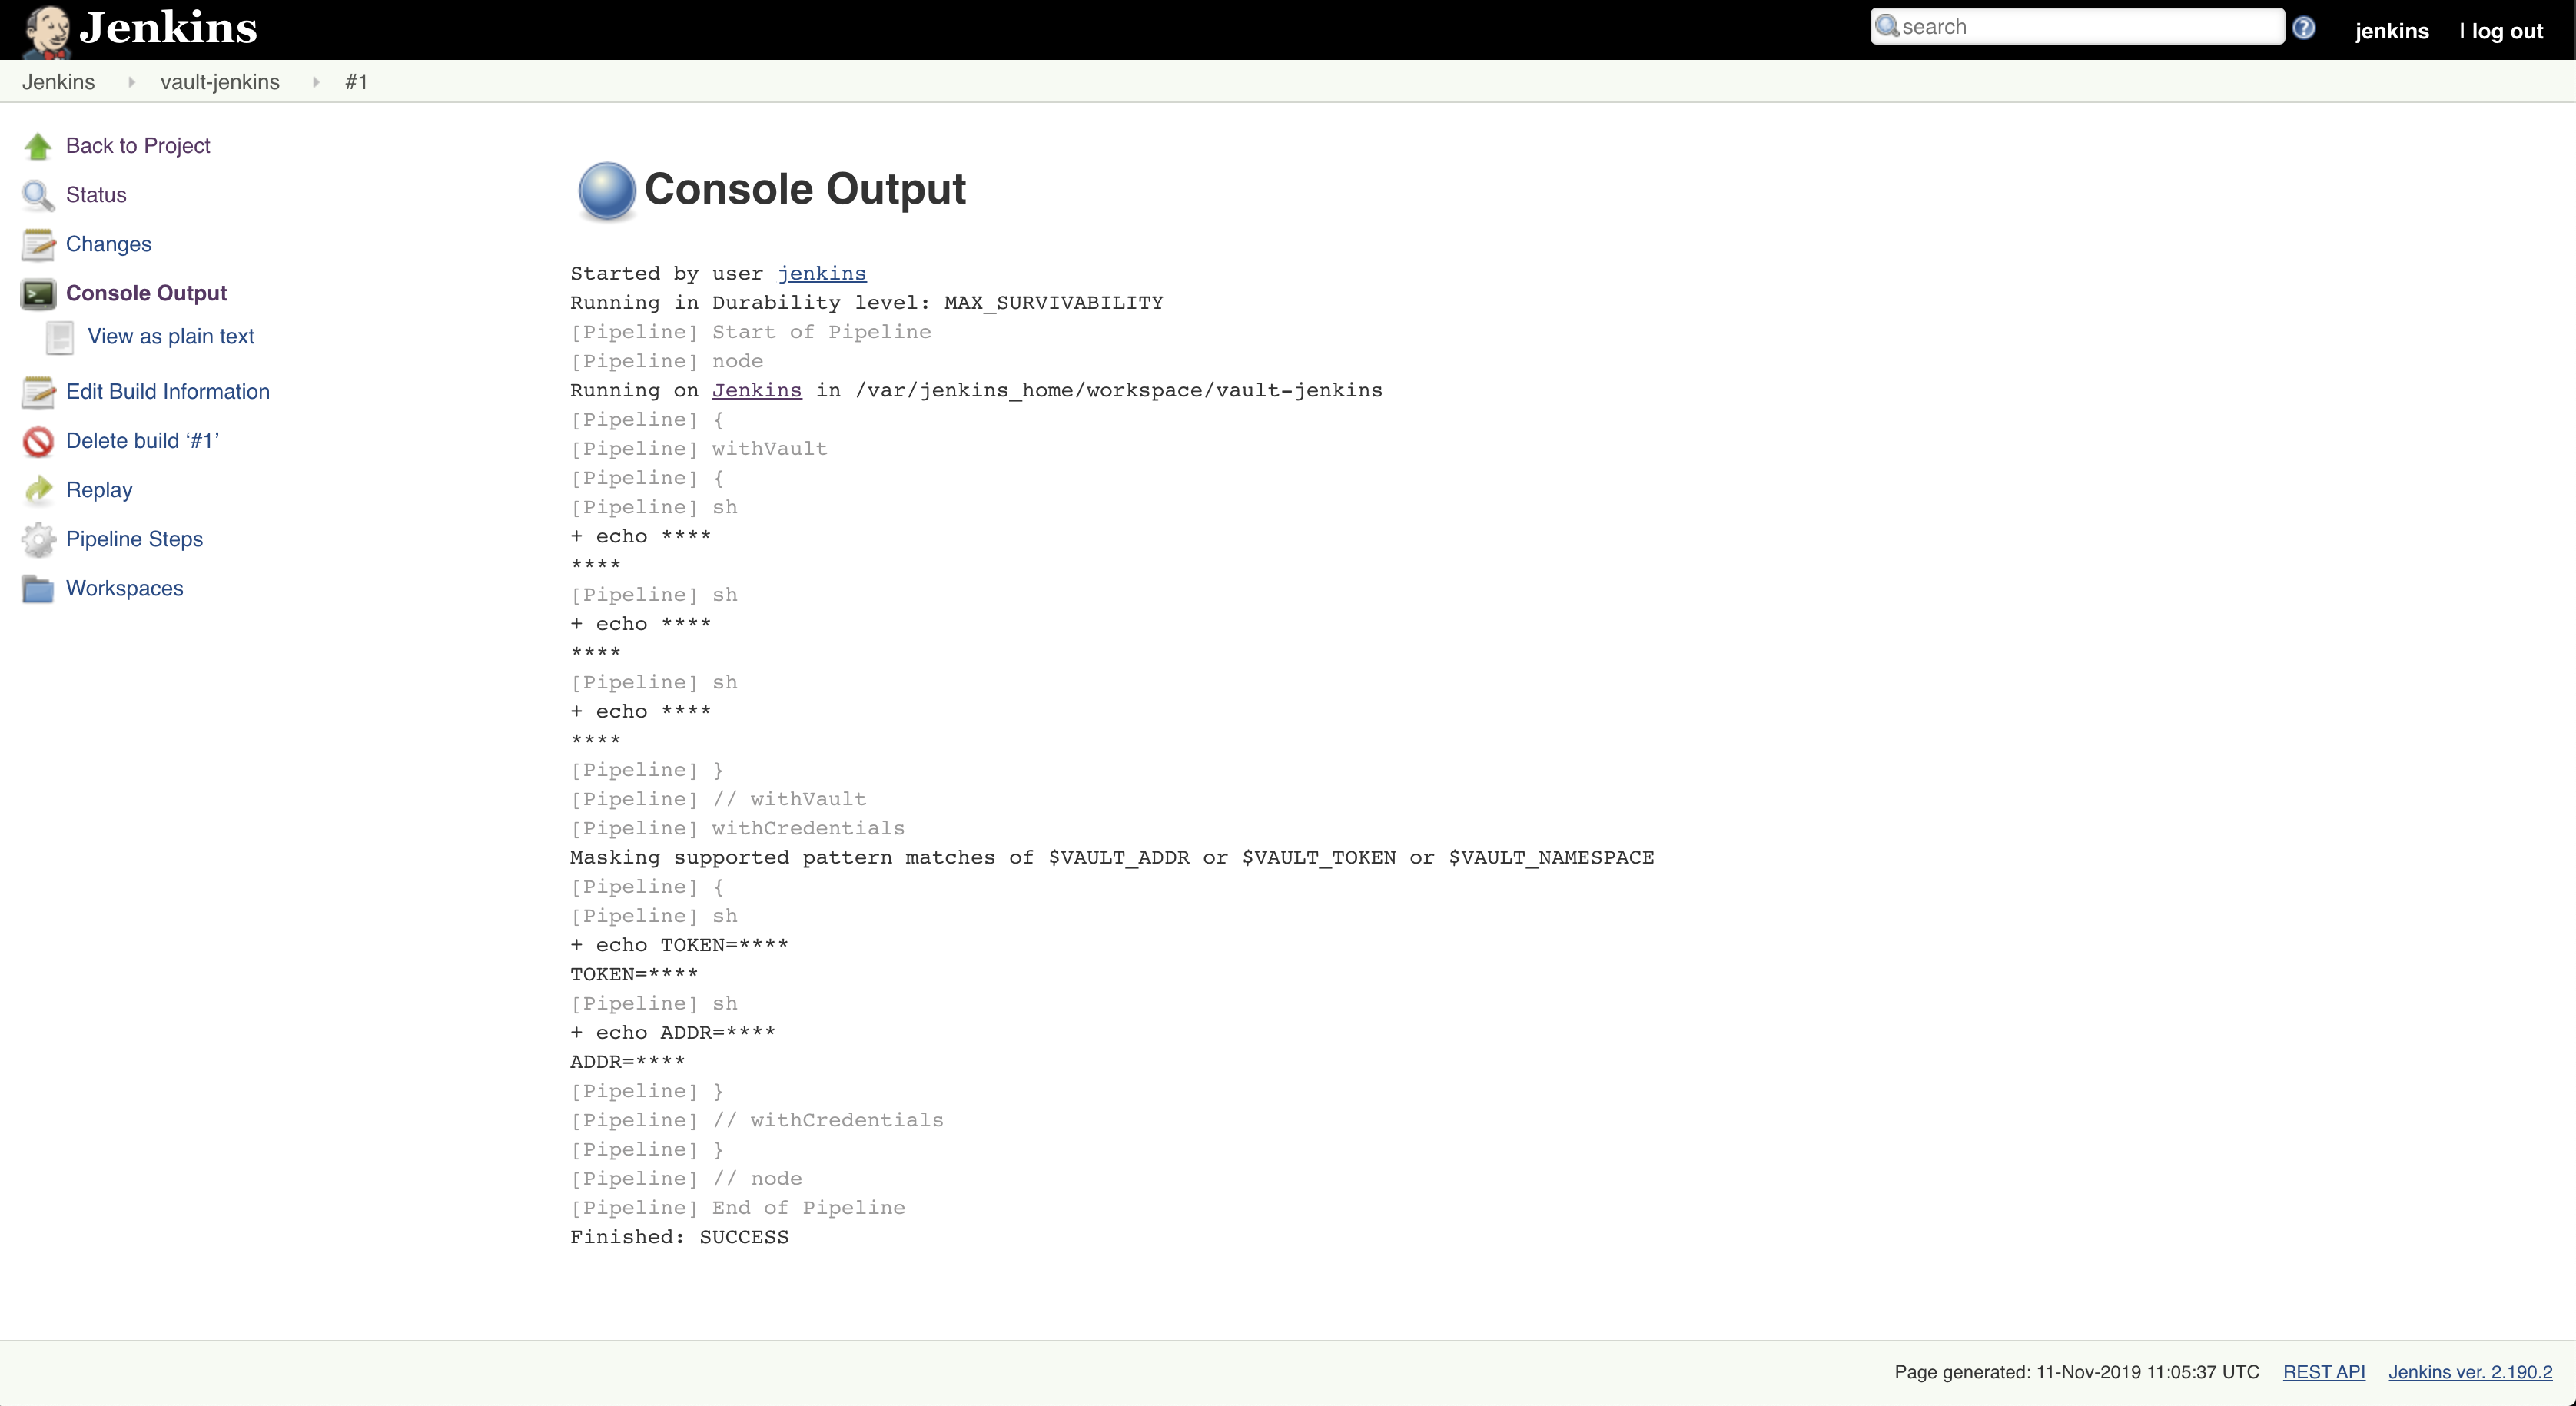
Pipeline console output showing secret retrieval
The Jenkins console log will show that:
- The GitHub repository is cloned
- Aquasec's TFSec scans the code for security issues
- Terraform runs a plan on Terraform Cloud
- Secrets are fetched from both local Vault and HCP Vault Secrets (masked in the output)
🧩 Pipeline Components
The pipeline demonstrates several key integrations:
- HashiCorp Vault Integration - Secure retrieval of secrets from Vault KV v1 and v2 engines
- HCP Vault Secrets - Cloud-based secrets management
- Terraform Cloud - Remote Terraform plan and apply execution
- Security Scanning - TFSec for Terraform security scanning
- Environment Variables - Secure handling of sensitive credentials
🔧 Provisioner Script
The Jenkins environment is set up using this script:
#!/bin/bash
# https://github.com/jenkinsci/hashicorp-vault-plugin
# https://www.jenkins.io/doc/book/pipeline/jenkinsfile/
echo -e '\e[38;5;198m'"++++ "
echo -e '\e[38;5;198m'"++++ Cleanup"
echo -e '\e[38;5;198m'"++++ "
sudo docker stop jenkins
sudo docker rm jenkins
yes | sudo docker system prune -a
yes | sudo docker system prune --volumes
echo -e '\e[38;5;198m'"++++ "
echo -e '\e[38;5;198m'"++++ Start Jenkins"
echo -e '\e[38;5;198m'"++++ "
sudo docker run -d -p 8088:8088 -e JENKINS_OPTS="--httpPort=8088" --memory 1024M --restart always --name jenkins -v /vagrant/jenkins/jenkins_home:/var/jenkins_home jenkins/jenkins:lts
sleep 20
echo -e '\e[38;5;198m'"++++ "
echo -e '\e[38;5;198m'"++++ Check if Hashicorp Vault is running"
echo -e '\e[38;5;198m'"++++ "
if pgrep -x "vault" >/dev/null
then
echo "Vault is running"
else
echo -e '\e[38;5;198m'"++++ Ensure Vault is running.."
sudo bash /vagrant/vault/vault.sh
fi
echo -e '\e[38;5;198m'"++++ "
echo -e '\e[38;5;198m'"++++ Ensure Environment Variables from /etc/environment"
echo -e '\e[38;5;198m'"++++ "
set -a; source /etc/environment; set +a;
echo -e '\e[38;5;198m'"++++ "
echo -e '\e[38;5;198m'"++++ vault secrets enable -path=kv1 kv1"
echo -e '\e[38;5;198m'"++++ "
vault secrets enable -path=kv1 -version=1 kv
echo -e '\e[38;5;198m'"++++ "
echo -e '\e[38;5;198m'"++++ vault secrets enable -path=kv2 kv2"
echo -e '\e[38;5;198m'"++++ "
vault secrets enable -path=kv2 -version=2 kv
echo -e '\e[38;5;198m'"++++ "
echo -e '\e[38;5;198m'"++++ lets add some secrets in kv2/secret using kv put"
echo -e '\e[38;5;198m'"++++ "
vault kv put kv2/secret/another_test another_test="another_test_VALUE"
echo -e '\e[38;5;198m'"++++ "
echo -e '\e[38;5;198m'"++++ lets list the secrets in kv2/secret using kv get"
echo -e '\e[38;5;198m'"++++ "
vault kv get kv2/secret/another_test
echo -e '\e[38;5;198m'"++++ "
echo -e '\e[38;5;198m'"++++ lets add some secrets in kv1/secret using kv put"
echo -e '\e[38;5;198m'"++++ "
vault kv put kv1/secret/testing/value_one value_one="ONE"
vault kv put kv1/secret/testing/value_two value_two="TWO"
echo -e '\e[38;5;198m'"++++ "
echo -e '\e[38;5;198m'"++++ lets list the secrets in kv1/secret/testing using kv get"
echo -e '\e[38;5;198m'"++++ "
vault kv get kv1/secret/testing/value_one
vault kv get kv1/secret/testing/value_two
echo -e '\e[38;5;198m'"++++ "
echo -e '\e[38;5;198m'"++++ To use Jenkins please open in your browser"
echo -e '\e[38;5;198m'"++++ http://localhost:8088"
echo -e '\e[38;5;198m'"++++ Login with username: admin and password: `sudo cat /vagrant/jenkins/jenkins_home/secrets/initialAdminPassword`"


