
.
Terraform
Infrastructure as Code for managing cloud resources across multiple providers
![]()
🚀 Introduction
In this HashiQube DevOps lab, you will get hands-on experience with HashiCorp Terraform. Terraform is an open-source infrastructure as code software tool that enables users to define and provision datacenter infrastructure using a high-level configuration language known as HashiCorp Configuration Language (HCL), or optionally JSON.
Why Terraform
- Provides a high-level abstraction of infrastructure (IaC)
- Allows for composition and combination
- Supports parallel management of resources (graph, fast)
- Separates planning from execution (dry-run)
Because of this flexibility, Terraform can be used to solve many different problems.
📰 Latest News
- Terraform 1.6 adds a test framework for enhanced code validation
- Terraform 1.5 brings config-driven import and checks
- Terraform 1.4 improves the CLI experience for Terraform Cloud
- Terraform 1.3 Improves Extensibility and Maintainability of Terraform Modules
- Terraform 1.2 Improves Exception Handling and Updates to the CLI-driven Workflow
🛠️ Provision
Choose one of the following methods to set up your environment:
![]()
bash docker/docker.sh
bash localstack/localstack.sh
bash terraform/terraform.shvagrant up --provision-with basetools,docsify,docker,localstack,terraformdocker compose exec hashiqube /bin/bash
bash hashiqube/basetools.sh
bash docker/docker.sh
bash docsify/docsify.sh
bash localstack/localstack.sh
bash terraform/terraform.sh🧩 Terraform Basics
Terraform Lifecycle
The Terraform lifecycle consists of the following four phases:
terraform init -> terraform plan -> terraform apply -> terraform destroyTerraform Language
HashiCorp Configuration Language (HCL) includes:
- Variables
- Outputs
- Resources
- Providers
Providers extend the language functionality to support Infrastructure as Code (IaC) for different platforms.
Terraform Modules and Providers
Modules build and extend on the resources defined by providers:
| Modules | Providers |
|---|---|
| Container of multiple resources used together | Defines resource types that Terraform manages |
| Sourced through a registry or local files | Configure a specific infrastructure platform |
| Consists of .tf and/or .tf.json files | Contains instructions for API interactions |
| Re-usable Terraform configuration | Written in Go Language |
| Built on top of providers | Foundation for modules |
Example Terraform Plan
Here's an example of what a terraform plan looks like:
Refreshing Terraform state in-memory prior to plan...
The refreshed state will be used to calculate this plan, but will not be
persisted to local or remote state storage.
null_resource.ec2_instance_disk_allocations_indexed["3"]: Refreshing state... [id=8937245650602921629]
null_resource.ec2_instance_disk_allocations_indexed["5"]: Refreshing state... [id=7730763927227710655]
null_resource.ec2_instance_disk_allocations_indexed["1"]: Refreshing state... [id=2667993646128215089]
null_resource.ec2_instance_disk_allocations_indexed["2"]: Refreshing state... [id=2799175647628082337]
null_resource.ec2_instance_disk_allocations_indexed["4"]: Refreshing state... [id=3516596870015825764]
null_resource.ec2_instance_disk_allocations_indexed["0"]: Refreshing state... [id=2638599405833480007]
aws_s3_bucket.localstack-s3-bucket: Refreshing state... [id=localstack-s3-bucket]
------------------------------------------------------------------------
An execution plan has been generated and is shown below.
Resource actions are indicated with the following symbols:
+ create
Terraform will perform the following actions:
# aws_s3_bucket.localstack-s3-bucket will be created
+ resource "aws_s3_bucket" "localstack-s3-bucket" {
+ acceleration_status = (known after apply)
+ acl = "public-read"
+ arn = (known after apply)
+ bucket = "localstack-s3-bucket"
+ bucket_domain_name = (known after apply)
+ bucket_regional_domain_name = (known after apply)
+ force_destroy = false
+ hosted_zone_id = (known after apply)
+ id = (known after apply)
+ region = (known after apply)
+ request_payer = (known after apply)
+ website_domain = (known after apply)
+ website_endpoint = (known after apply)
+ versioning {
+ enabled = (known after apply)
+ mfa_delete = (known after apply)
}
}
Plan: 1 to add, 0 to change, 0 to destroy.⚙️ Terraform Provisioner Script
The terraform.sh script handles the installation and configuration of Terraform:
[filename](terraform.sh ':include :type=code')📊 Terraform Best Practices
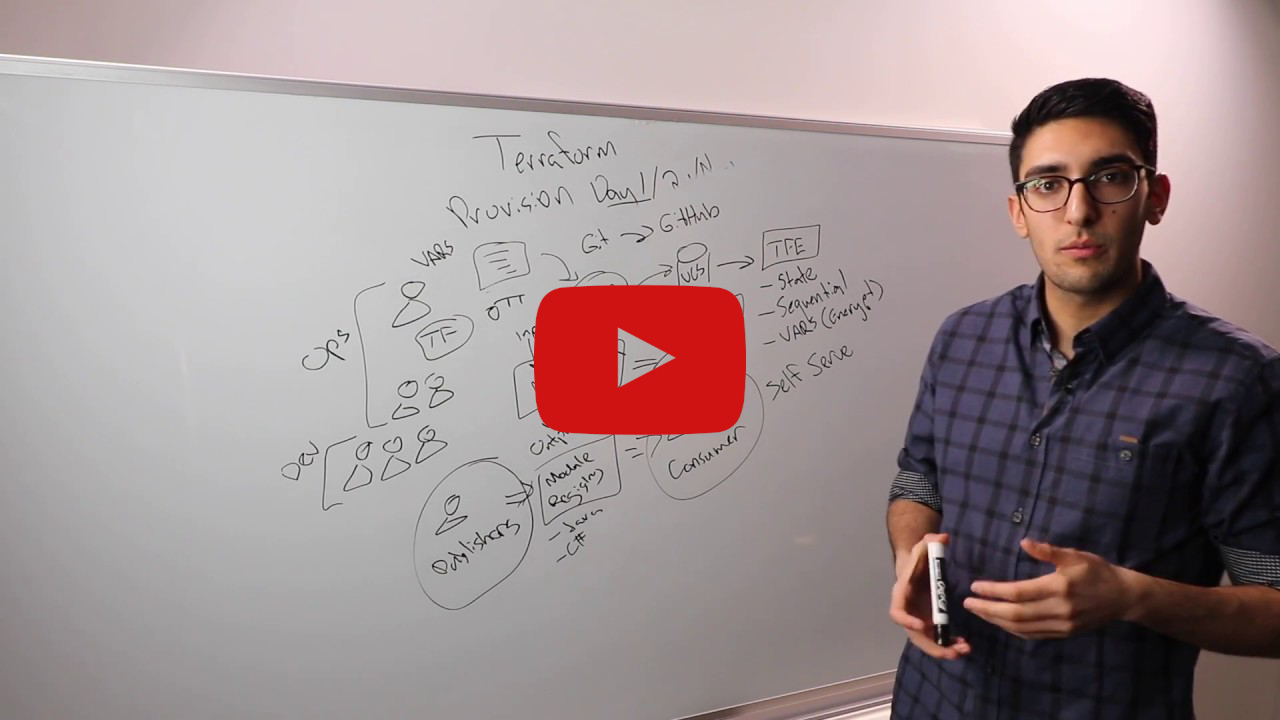
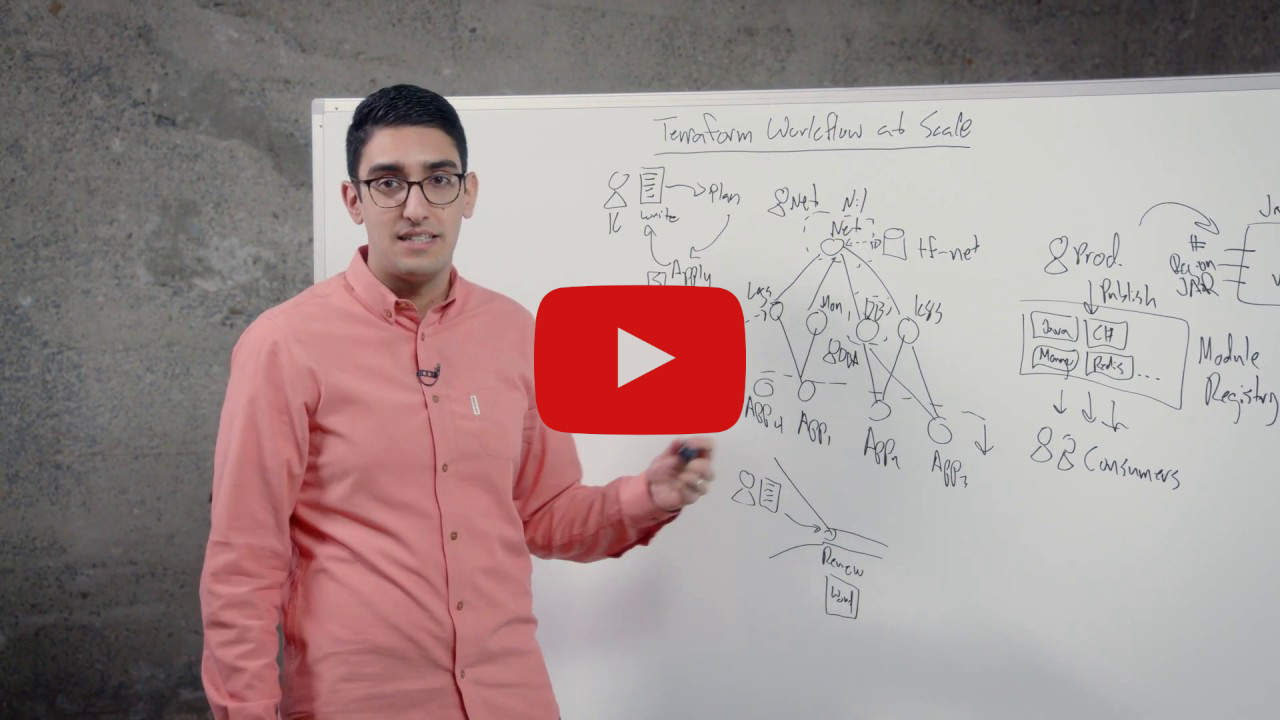
Watch this whiteboard video by Terraform co-creator Armon Dadgar to learn about high-scale Terraform best practices:
☁️ Terraform Cloud
Terraform Cloud is a SaaS platform that simplifies Terraform usage by:
- Managing state files remotely instead of locally
- Providing version control and backups for state files
- Enabling team collaboration and governance
- Centralizing runs with plan approvals
- Maintaining a history of all infrastructure changes
Collaboration and Governance
Terraform Cloud adds several key capabilities to the Terraform workflow:
- Centralized runs through Terraform Cloud instead of direct provider access
- Complete history of all infrastructure changes
- Approval workflows for infrastructure changes
- Access control for team members
- Standardized Terraform workflows across teams
💡 You can still use the same familiar
terraform planandterraform applycommands with Terraform Cloud - it automatically uses Terraform Cloud in the backend.
Authentication Options
🌐 HashiQube Multi-Cloud
Terraform Cloud can be used to build and test Terraform changes for the HashiQube Multi-Cloud Terraform Registry Module:

Terraform Cloud Variables
| Key | Value | Category |
|---|---|---|
| aws_region | ap-southeast-2 | terraform |
| deploy_to_aws | true | terraform |
| deploy_to_azure | true | terraform |
| deploy_to_gcp | true | terraform |
| gcp_project | SENSITIVE | terraform |
| gcp_region | australia-southeast1 | terraform |
| ssh_public_key | SENSITIVE | terraform |
| ARM_CLIENT_ID | SENSITIVE | env |
| ARM_CLIENT_SECRET | SENSITIVE | env |
| ARM_SUBSCRIPTION_ID | SENSITIVE | env |
| ARM_TENANT_ID | SENSITIVE | env |
| AWS_ACCESS_KEY_ID | SENSITIVE | env |
| AWS_SECRET_ACCESS_KEY | SENSITIVE | env |
| AWS_REGION | ap-southeast-2 | env |
| GOOGLE_CREDENTIALS | SENSITIVE | env |
💡 Google credentials can be generated by passing the Google Authentication JSON file to this command:
cat ~/.gcp/credentials.json | jq -c
🏢 Terraform Enterprise
Terraform Enterprise is the self-hosted distribution of Terraform Cloud. It offers enterprises a private instance of the Terraform Cloud application, with no resource limits and additional enterprise-grade features like:
- Audit logging
- SAML single sign-on
- Advanced security controls
Setup Instructions
Make sure you have a Terraform License file placed in the HashiCorp directory (e.g.,
hashicorp/ptfe-license.rli)Run the following command:
vagrant up --provision-with terraform-enterpriseSystem logs and Docker logs will be followed (in red). This is normal and for status output.
The installation takes a while. It will finish when Terraform Enterprise is ready.
When done, you'll see:
++++ To finish the installation go to http://10.9.99.10:8800


🧰 Terraform Development Environment
For a comprehensive guide on setting up a Terraform development environment, check out this article: Top Gun Terraform Development Environment
Terraform Modules Library
The Terraform Modules Library provides:
- Pre-coded modules to quickly start development
- Tools like TFEnv, Terraform Docs, and Linters
- VSCode's Dev/Remote containers for a portable development setup

Development Features
The Terraform Modules Library includes several tools and features to improve the developer experience:
| Product | State |
|---|---|
| VSCode Dev Container | ✓ |
| Pre-Commit | ✓ |
| Terratest | ✘ |
| Terraform | ✓ |
| Terragrunt | ✓ |
| TFEnv | ✓ |
| TGEnv | ✓ |
| TFsec | ✓ |
| AWS | ✓ |
| GCP | ✓ |
| Azure | ✓ |
| Custom | ✓ |
| Terraform Lint | ✓ |
| Terraform Format | ✓ |
| Terraform Validate | ✓ |
| Terraform Docs | ✓ |

Getting Started with the Dev Environment
- Install VSCode, Docker Desktop, and Git
- Clone the repository locally
- Open the repository folder in VSCode
- Launch in Remote Dev Container
- Create your module in the designated cloud module folder
- Use
./run.shto check your Terraform syntax and create documentation

Cloud Operating Model

📚 Resources
- Terraform Official Website
- Terraform Cloud
- Terraform Enterprise Documentation
- Terraform Modules Library
- Top Gun Terraform Development Environment
#!/bin/bash
function terraform-install() {
arch=$(lscpu | grep "Architecture" | awk '{print $NF}')
if [[ $arch == x86_64* ]]; then
ARCH="amd64"
elif [[ $arch == aarch64 ]]; then
ARCH="arm64"
fi
echo -e '\e[38;5;198m'"CPU is $ARCH"
sudo DEBIAN_FRONTEND=noninteractive apt-get --assume-yes install -qq curl unzip jq < /dev/null > /dev/null
if [ -f /usr/local/bin/terraform ]; then
echo -e '\e[38;5;198m'"++++ `/usr/local/bin/terraform version` already installed at /usr/local/bin/terraform"
else
LATEST_URL=$(curl -sL https://releases.hashicorp.com/terraform/index.json | jq -r '.versions[].builds[].url' | sort -t. -k 1,1n -k 2,2n -k 3,3n -k 4,4n | egrep -v 'rc|beta' | egrep "linux.*$ARCH" | sort -V | tail -n1)
wget -q $LATEST_URL -O /tmp/terraform.zip
mkdir -p /usr/local/bin
(cd /usr/local/bin && unzip /tmp/terraform.zip)
echo -e '\e[38;5;198m'"++++ Installed: `/usr/local/bin/terraform version`"
fi
pip3 install --upgrade awscli-local --break-system-packages --quiet
export PATH=$HOME/.local/bin:$PATH
sudo rm -rf awscliv2.zip
# https://aws.amazon.com/blogs/developer/aws-cli-v2-now-available-for-linux-arm/ aarch64
curl -s "https://awscli.amazonaws.com/awscli-exe-linux-${arch}.zip" -o "awscliv2.zip"
sudo unzip -q awscliv2.zip
yes | sudo ./aws/install --update
echo -e '\e[38;5;198m'"++++ aws --version"
aws --version
# ensure localstack is running
echo -e '\e[38;5;198m'"++++ To Terraform plan, and apply using Localstack, run the following command: vagrant up --provision-with localstack"
echo -e '\e[38;5;198m'"++++ See Localstack folder for Terraform files"
}
terraform-install